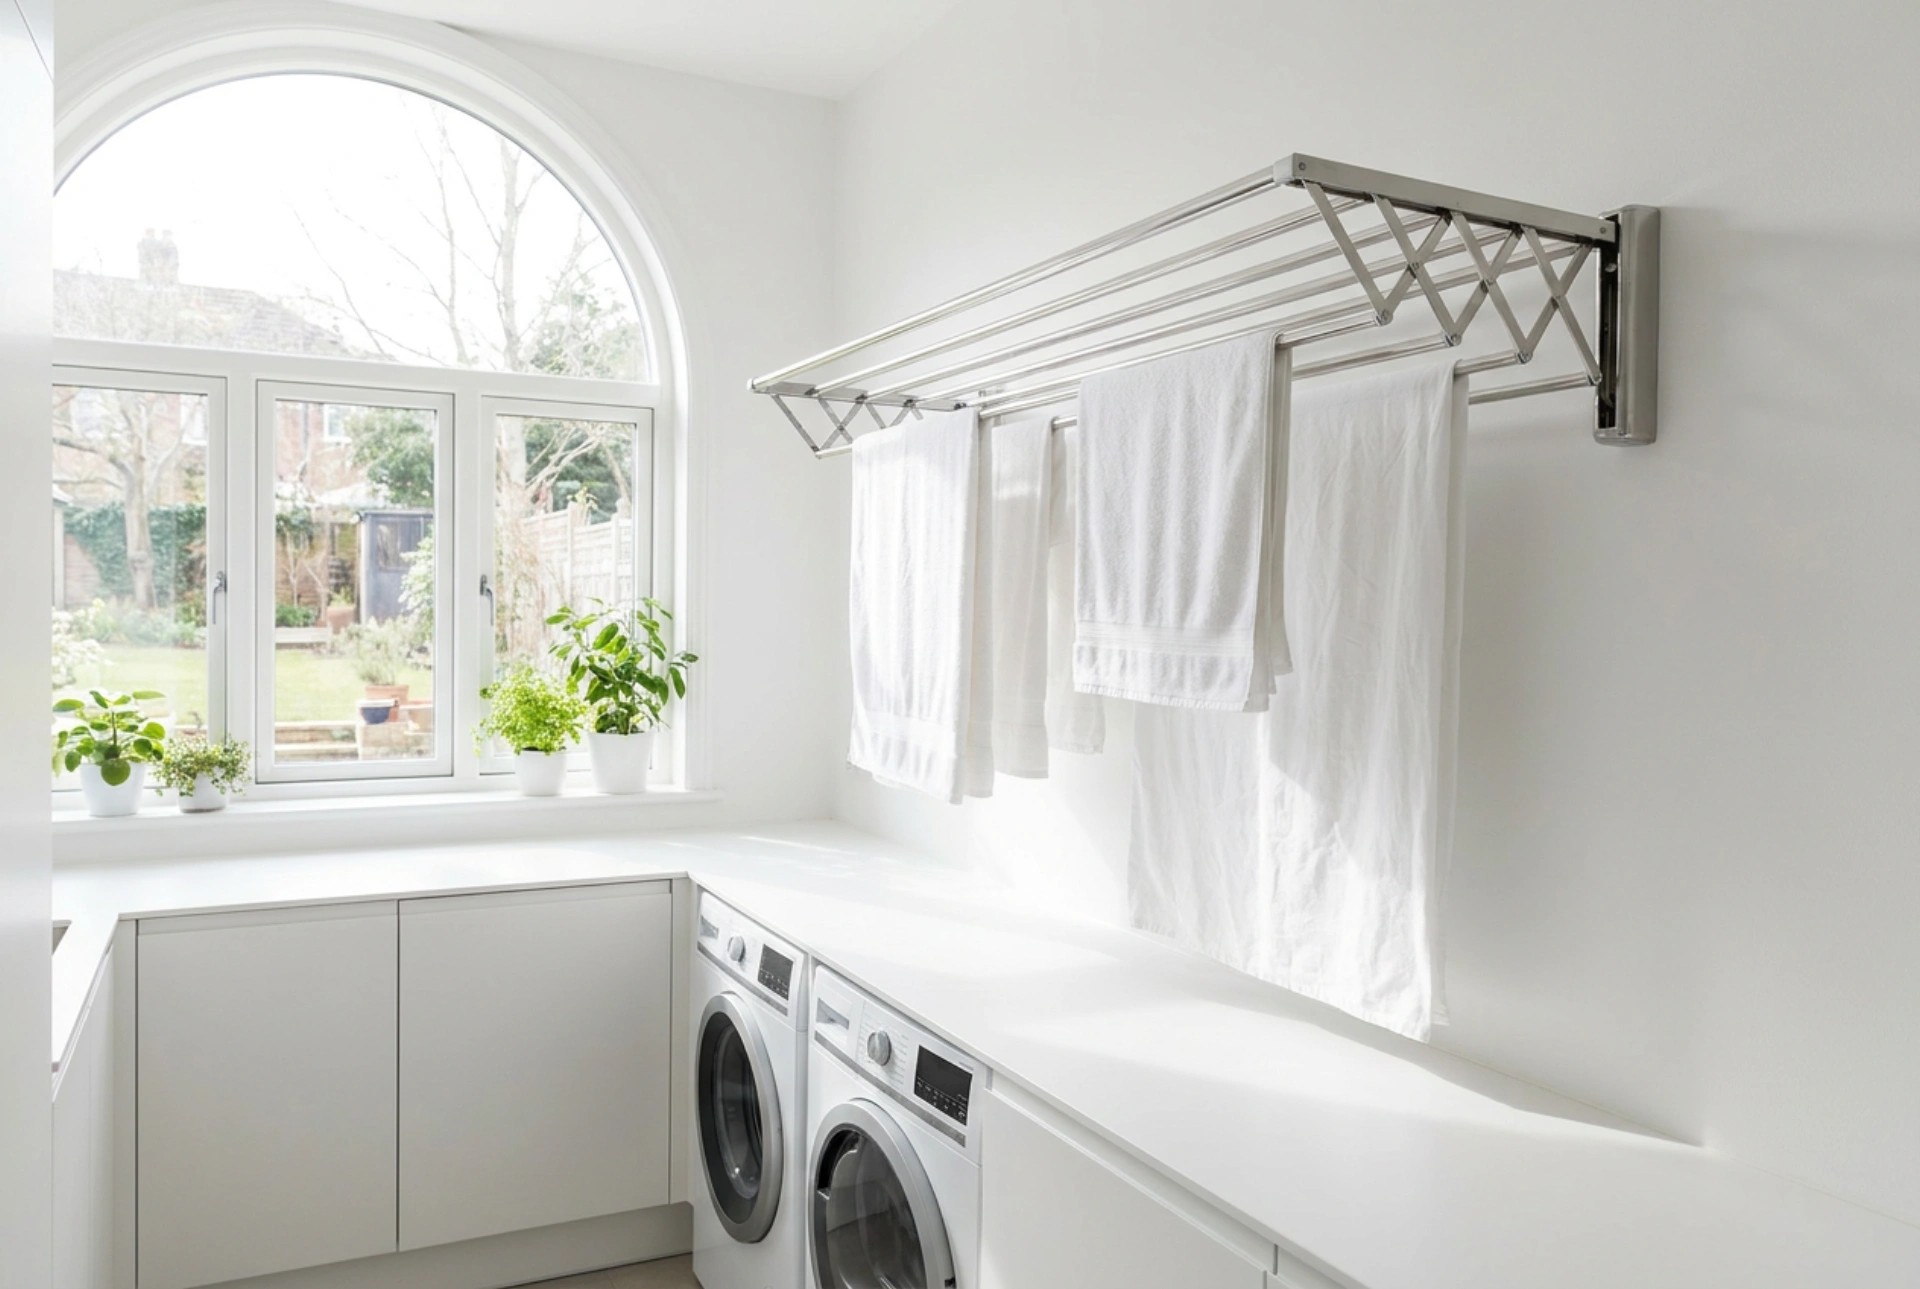


Maximising the efficiency of a standing clothes airer relies on the fundamental physics of evaporation, thermodynamics, and strategic airflow rather than simply draping wet garments over metal bars.
The Science of Evaporation on a Drying Rack
To speed up drying without mechanical heat, you must manipulate the microclimate surrounding each garment. Evaporation is a cooling process that requires energy to break the hydrogen bonds between water molecules in wet fabric. As water evaporates, it creates a layer of highly humid air directly around the cloth, known as the boundary layer. If this saturated air remains stagnant, drying slows down drastically. Positioning your standing clothes airer in a location with cross-ventilation—such as between an open window and an interior door—allows air currents to continuously strip away this boundary layer, replacing it with drier air that can absorb more moisture. Additionally, heating the room slightly reduces relative humidity, which increases the vapour pressure deficit between the wet fabric and the surrounding air, accelerating the drying rate.
Strategic Weight Distribution and Physics of the Rack
A standard foldable clothes airer can become unstable or structurally compromised if loaded improperly. Physics dictates that the centre of gravity must remain low and aligned with the central vertical axis of the stand. Always load heavier textiles, such as thick cotton towels or denim trousers, closest to the main support joints or along the central top rails where the frame is stiffest. Lightweight synthetics, delicate silks, and underwear should occupy the outer wings or lower racks. This distribution prevents the frame from warping or bowing under asymmetric stress. Spacing is equally critical: leave at least two finger-widths of space between garments. Draping clothes too closely restricts convective airflow, trapping moist air within the core of the airer and leading to musty odours caused by slow-growing microbial activity.
Hanging Techniques for Fabric Care and Efficiency
Different fibres react uniquely to gravity and moisture retention, requiring distinct hanging techniques to preserve their structure and accelerate drying:
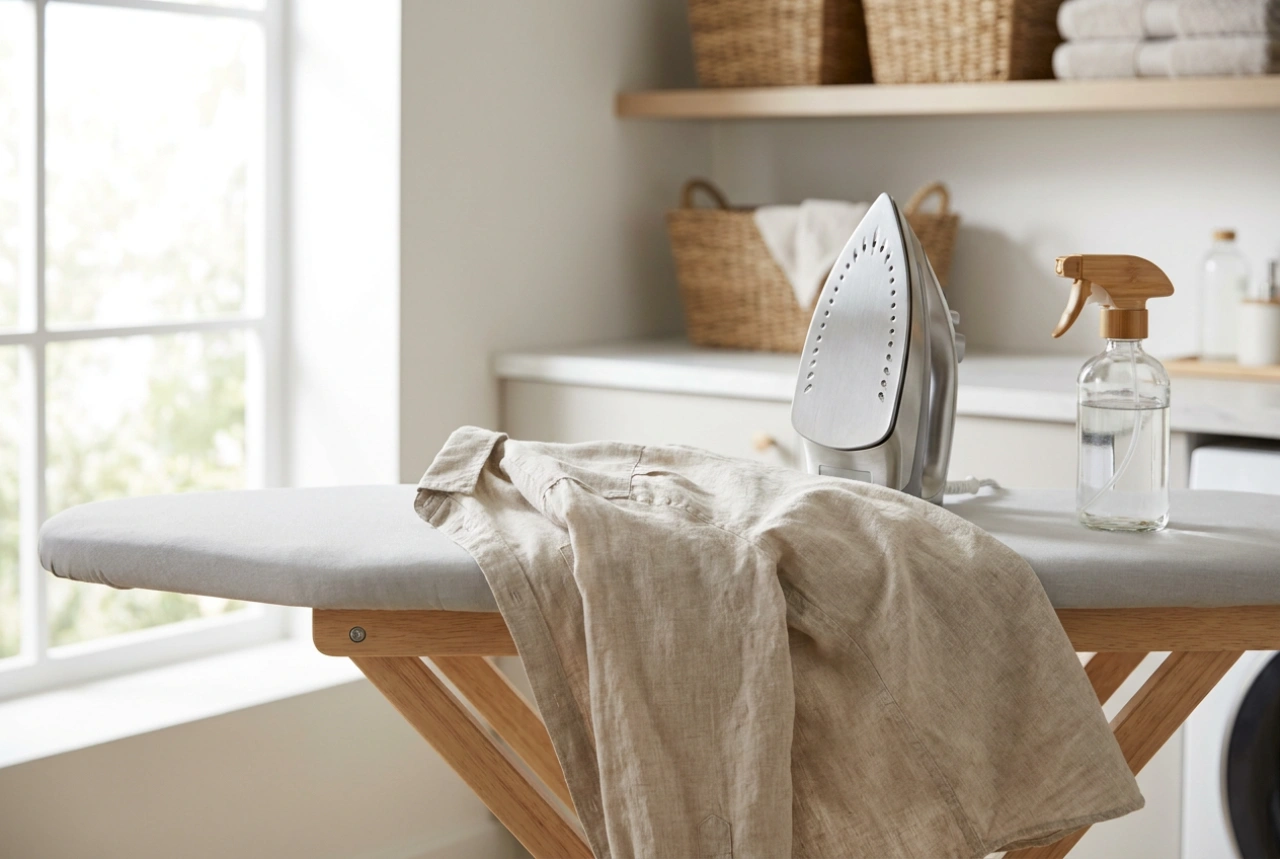
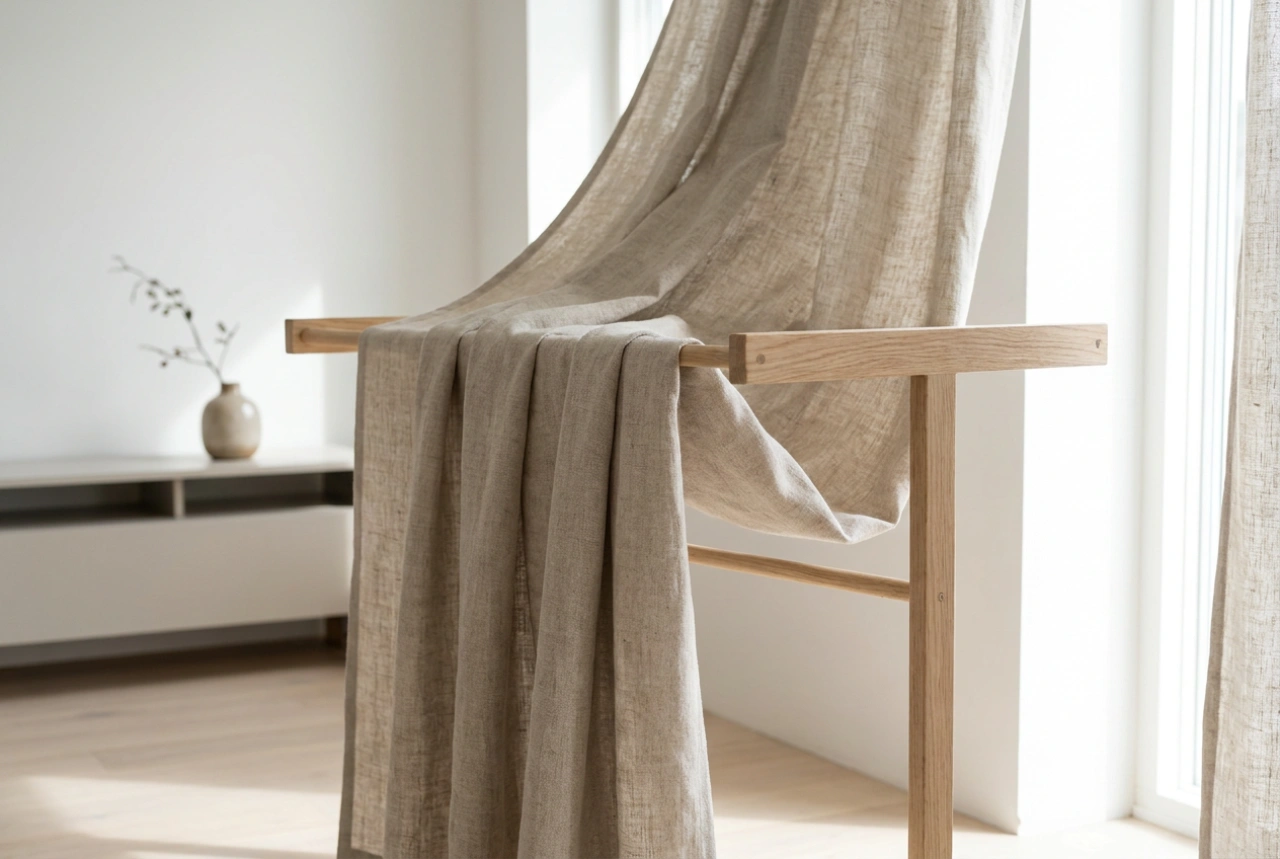
- Cotton and Linen: These hydrophilic natural fibres hold significant amounts of water. Hang them vertically from their strongest points (like the waistbands of trousers or the bottom hems of shirts) using rust-proof pegs. This utilises gravity to pull water downwards, smoothing out wrinkles naturally and reducing the need for intensive ironing later.
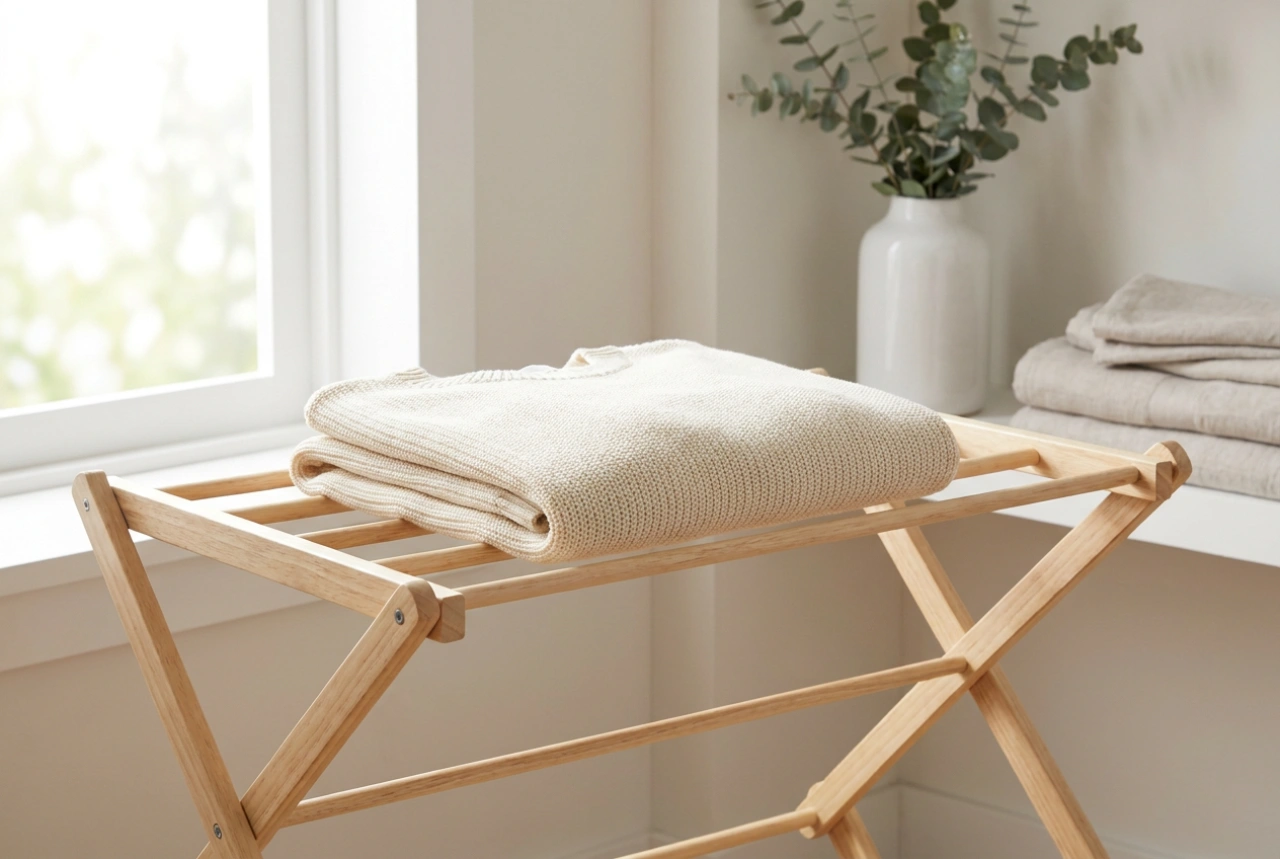
- Knitted Wool and Cashmere: Wool fibres lose structural integrity when wet because the hydrogen bonds that hold the keratin proteins together are temporarily weakened. Hanging wool vertically causes severe elongation and misshapen garments. Instead, lay woollen items flat across the top horizontal plane of the airer on top of a dry, clean towel to absorb excess moisture safely.
- Synthetic Fabrics: Polyester, nylon, and acrylic are hydrophobic, meaning they retain very little water. Hang these on the lower tiers or outer edges of the rack, as they will dry rapidly even in areas with slightly lower ambient temperature or airflow.
Optimising the Airer's Microclimate
The physical arrangement of the drying rack in a room significantly influences drying times. Placing the airer directly against a cold wall or in a stagnant corner traps damp air and can cause condensation issues on wall surfaces. Instead, position the rack at least 30 centimetres away from walls, preferably near a mild convective heat source like a radiator, but never directly touching it. This proximity allows warm air to rise through the hanging clothes, creating a natural chimney effect where warm, dry air enters from below, absorbs moisture, and carries it upward away from the fabrics. Utilising a simple household fan set to its lowest speed directed at the base of the rack can simulate natural wind, vastly accelerating the mechanical displacement of the boundary layer without consuming high amounts of energy.
The Step-by-Step Loading Sequence
Following a systematic order of operations ensures consistent drying times and preserves the longevity of your standing airer:
- Extract Excess Moisture: Before hanging, run an extra spin cycle in the washing machine if the fabric permits. Eliminating bulk water mechanically is far more energy-efficient than thermal evaporation on the rack.
- Shake and Snap: Hold each garment by its sturdiest seam and give it a firm shake to align the fabric fibres and release deep creases.
- Load from Inside Out: Begin by hanging heavier, larger items in the centre to establish structural stability, then work your way outward with lighter, smaller garments.
- Rotate if Necessary: If drying a dense load in low-airflow conditions, rotate the rack 180 degrees halfway through the drying process to expose the shielded side to the main air current.