

Transitioning between wet and dry vacuuming requires a precise understanding of your machine's filtration system to prevent irreversible motor or filter damage. Adhering to a strict order of operations is crucial for maintaining optimal suction and preventing the growth of mold within the appliance.
The Mechanics of Wet and Dry Filtration
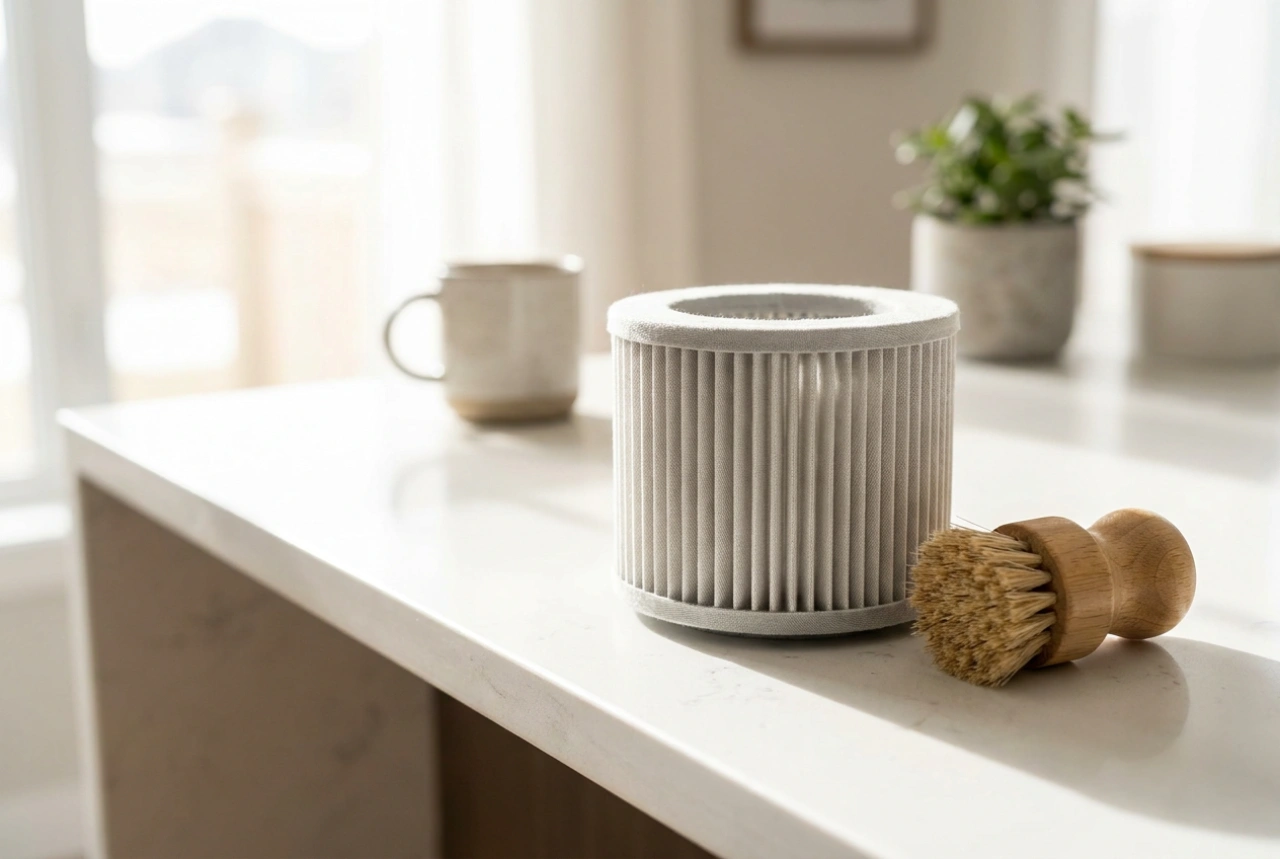
Wet and dry vacuum cleaners utilize specialized motors, often bypass motors, which separate the cooling air for the motor from the vacuumed airflow. However, the internal filtration system remains vulnerable to incorrect usage. Standard pleated paper cartridge filters are designed to capture fine dust particles such as drywall dust, sawdust, and household grime. When these paper fibers come into contact with water, the structural integrity of the cellulose collapses. The wet dust creates a dense, impermeable paste that clogs the pores of the filter, choking the airflow and putting immense strain on the motor.
For liquid extraction, a foam sleeve or a specialized washable polyester filter must be used. The foam sleeve acts as a mechanical barrier against larger debris while allowing moisture to pass freely into the collection tank. It does not filter out fine dust, but it prevents water droplets and heavy debris from reaching the motor housing. Understanding this physical distinction is the first step to avoiding costly filter damage.
Transitioning from Dry to Wet Vacuuming
To safely switch your vacuum cleaner from dry dust collection to liquid extraction, always follow this systematic sequence:
- Disconnect the Power: Always unplug the appliance before opening the motor housing to ensure safety.
- Remove the Dry Filter: Take out the pleated paper cartridge or paper bag. Never attempt to vacuum even small amounts of water with a paper filter in place. Store it in a clean, dry location.
- Inspect and Install the Foam Sleeve: Slide the foam sleeve over the filter cage. Ensure it fits snugly without any tears or gaps, as even minor bypass can allow dirty water spray to enter the motor chamber.
- Check the Float Valve: Ensure the safety float valve mechanism inside the filter cage moves freely. This floating mechanism rises with the water level to mechanically seal off the suction when the tank is full, preventing water from overflowing into the motor.
Transitioning from Wet to Dry Vacuuming
Reversing the process requires meticulous attention to moisture. Introducing dry dust into a damp vacuum canister or onto a damp filter will immediately cause clogging and mold. Follow these steps:
- Empty and Clean the Tank: Pour out all liquid waste and thoroughly rinse the collection canister to remove residual silt or organic matter.
- Complete Dehydration: Allow the tank, the hose, and the foam sleeve to dry completely. Any residual humidity in the hose will travel straight to your dry filter, ruin its paper lining, and cause dust to cake on its surface.
- Reinstall the Dry Filter: Once the unit is bone dry, remove the foam sleeve and reinstall the dry-use cartridge filter or dust bag. Ensure all rubber gaskets seat tightly against the housing to prevent fine dust bypass.
Maintaining Filter Integrity and Airflow
To extend the lifespan of your filters, clean them using appropriate material-science principles. Washable polyester cartridge filters can be rinsed under cold running water, but you must avoid high-pressure streams or stiff brushes, which can separate the synthetic fibers and increase the pore size, rendering the filter useless against fine dust. Never dry synthetic or paper filters using heat guns or radiators, as extreme heat warps the polymer endcaps and shrinks the filtering media. Always allow them to air-dry naturally for at least 24 hours.