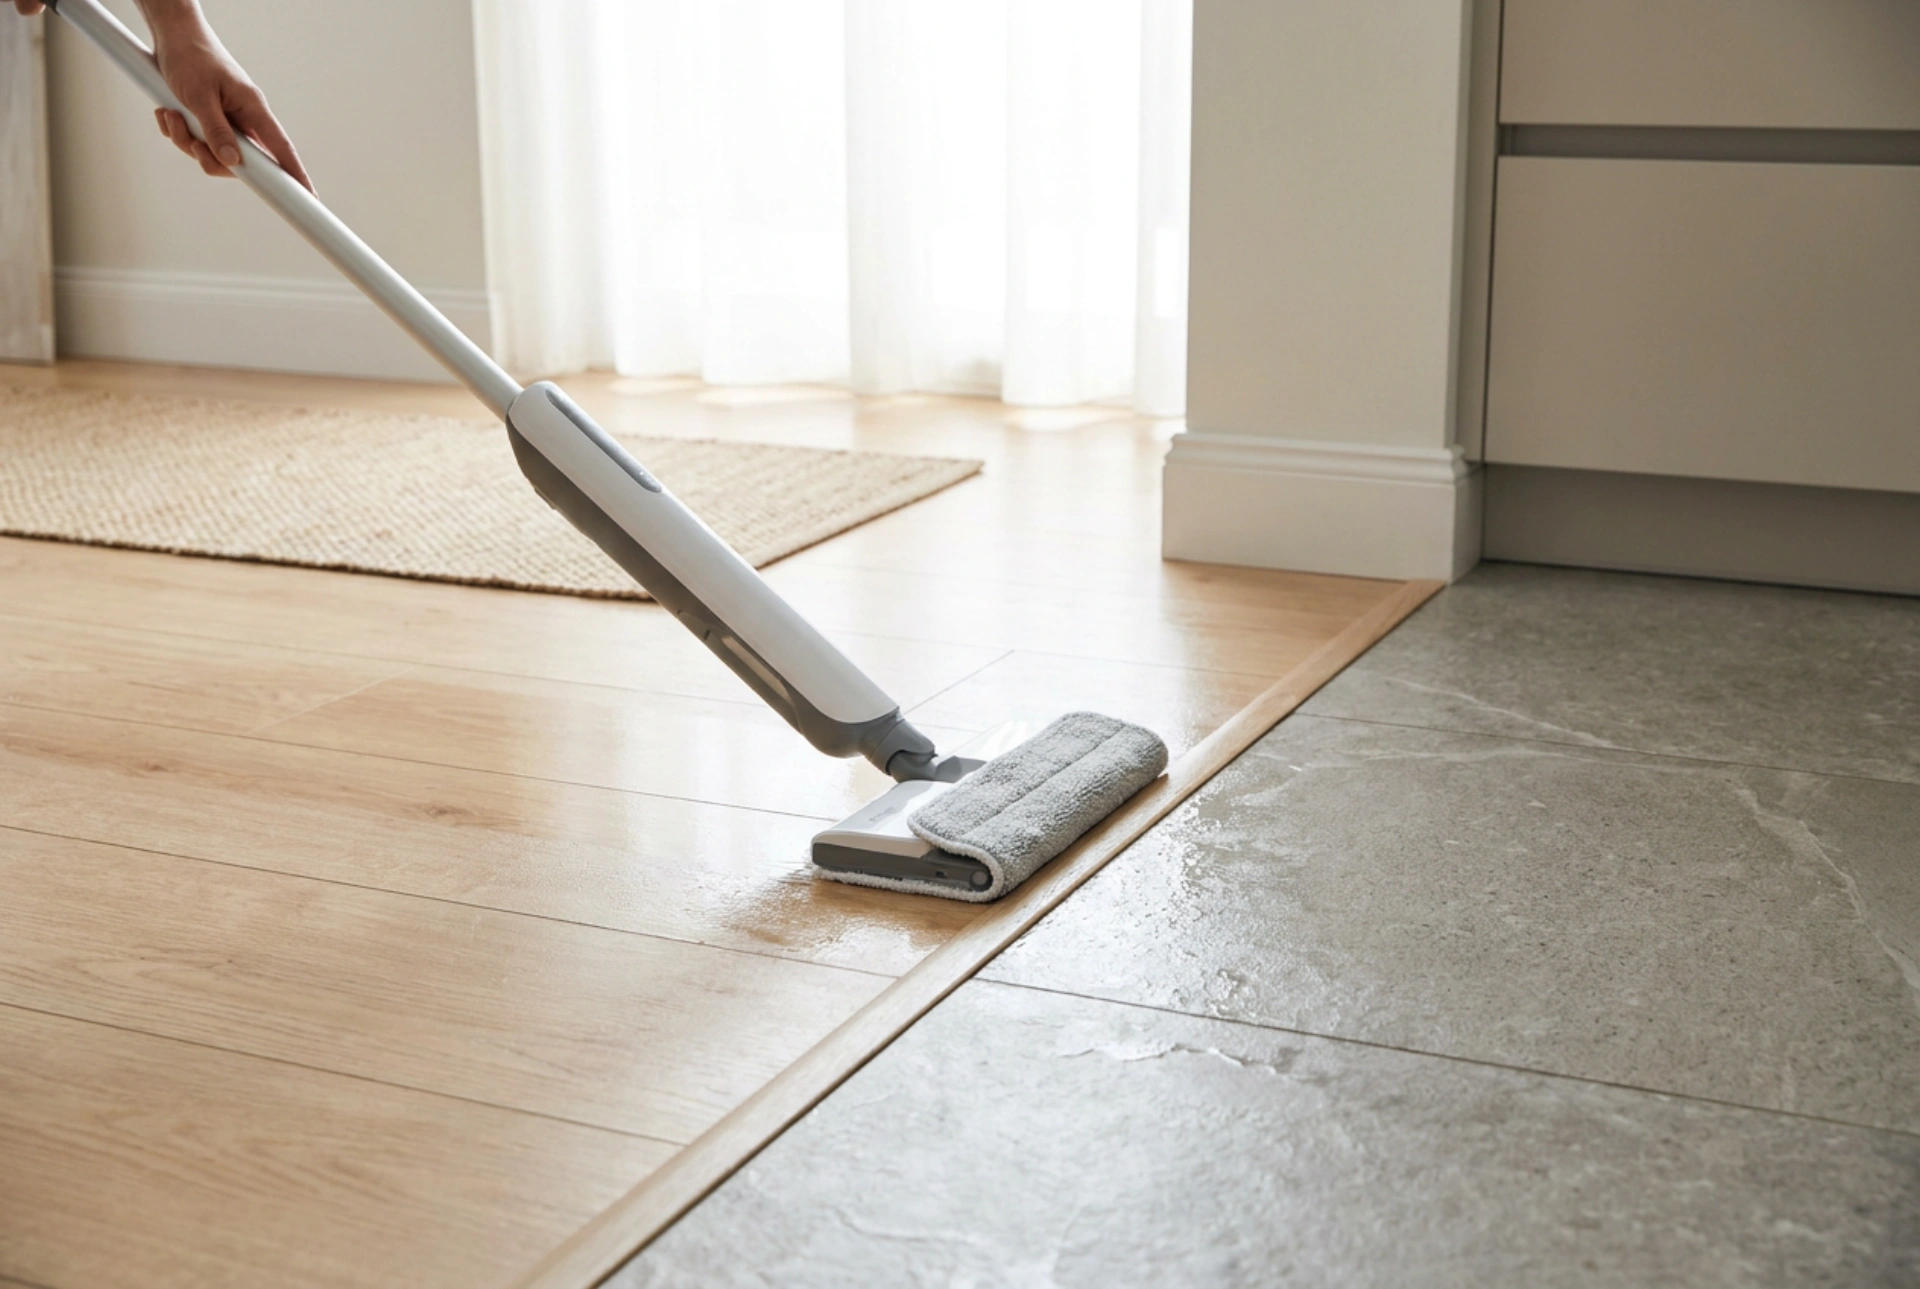


Using a wet and dry vacuum cleaner on different flooring materials requires a deep understanding of how moisture, mechanical agitation, and chemical agents interact with wood-based, ceramic, and synthetic surfaces. Adapting your technique to each material ensures a streak-free clean while preserving the physical integrity of your floors.
The Physics of Wet Vacuuming: Balancing Moisture and Suction
A wet-dry vacuum works by spraying a solution of water and detergent onto the floor, agitating the surface with a rotating brush, and immediately vacuuming up the dirty slurry. The critical variable in this process is the contact time of the moisture with the flooring material. While ceramic surfaces can withstand prolonged wetness, engineered wood, laminate, and vinyl are highly sensitive to standing water. Controlling the liquid discharge rate and maximizing the extraction suction are the fundamental keys to preventing structural damage and achieving a streak-free finish.
Laminate and Engineered Wood: Minimizing Moisture Exposure
Laminate flooring consists of highly compressed wood fibers covered by a decorative photographic layer and a clear protective wear layer. While the top surface is highly water-resistant, the joints between the planks are highly vulnerable. If water penetrates these seams, the core material absorbs the moisture through capillary action, leading to irreversible swelling, warping, and buckling. When cleaning laminate or engineered wood with a wet vacuum, follow these strict operating principles:
- Minimize liquid discharge: Use the lowest water delivery setting on your device. The surface should only be lightly misted, never flooded.
- Use lukewarm water: Keep the water temperature below 30°C. Hot water accelerates the swelling of wood fibers and can weaken the protective resin coatings.
- Maintain continuous movement: Never let the machine idle while spraying water. Work in long, straight overlapping passes, moving parallel to the joints to avoid pushing water directly into the seams.
- Execute double dry passes: After a wet pass, perform two suction-only dry passes over the same area to extract every droplet of remaining moisture.
Ceramic and Porcelain Tiles: Agitating Grout Lines
Ceramic and porcelain are highly durable, non-porous materials that can handle higher water temperatures and greater mechanical friction. However, the weak point of tiled floors is the grout. Grout is porous and sits slightly lower than the tile surface, making it a natural trap for dirty water and grease. To clean tiles effectively without leaving gray, dirty grout lines, focus on emulsification and agitation:
- Elevate water temperature: Use warm water (up to 50°C) to help emulsify grease and oils, making them easier to lift from the textured tile surfaces.
- Utilize a stiff brush roll: Select a brush roll with slightly stiffer bristles designed to penetrate the recessed grout lines.
- Slow down your pace: Move the vacuum slowly to allow the mechanical action of the brush roll to scrub the dirt out of the tile pores and grout grooves.
- Avoid acidic detergents: Acidic cleaners can slowly dissolve cement-based grout over time. Use neutral or slightly alkaline surfactants to suspend dirt safely.
Vinyl and LVT: Protecting the Adhesive Bond
Luxury Vinyl Tiles (LVT) and sheet vinyl are waterproof on their surface, but they are often secured to the subfloor with water-soluble adhesives. Excess water seeping through seams or edges can dissolve these adhesives, causing the vinyl to lift, bubble, or curl. Additionally, vinyl is thermoplastic, meaning it can soften and warp under excessive heat. For safe vinyl cleaning:
- Control the temperature: Use cool or barely lukewarm water. Avoid hot steam or heated water settings, which can compromise the dimensional stability of the vinyl and soften the adhesive underneath.
- Optimize surfactant chemistry: Avoid harsh solvents or highly alkaline cleaners, which can dull the protective polyurethane wear layer of the vinyl. A neutral pH cleaner is ideal.
- Verify edge dryness: Pay extra attention to baseboards and transitions where water is more likely to pool and seep under the vinyl.
Post-Cleaning Device Care to Prevent Odors
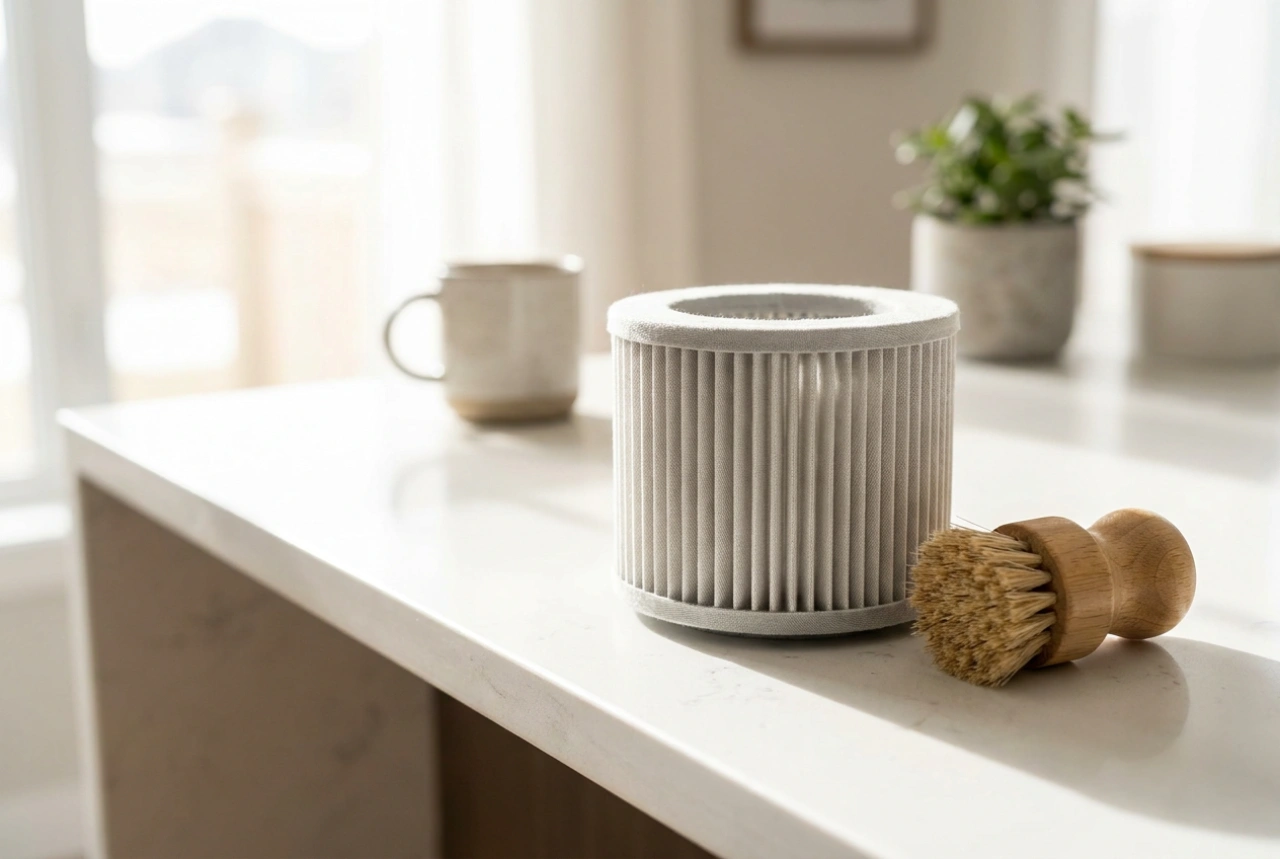
The high suction of a wet vacuum draws organic matter, skin flakes, and pet dander into the dirty water tank. If left inside the machine, this mixture rapidly breeds anaerobic bacteria, leading to foul odors and mold growth. Immediately after finishing, empty the dirty water tank, rinse the filter, and remove the brush roll to let it air dry completely. This simple habit preserves the airflow capacity and suction power of your vacuum for its next use.