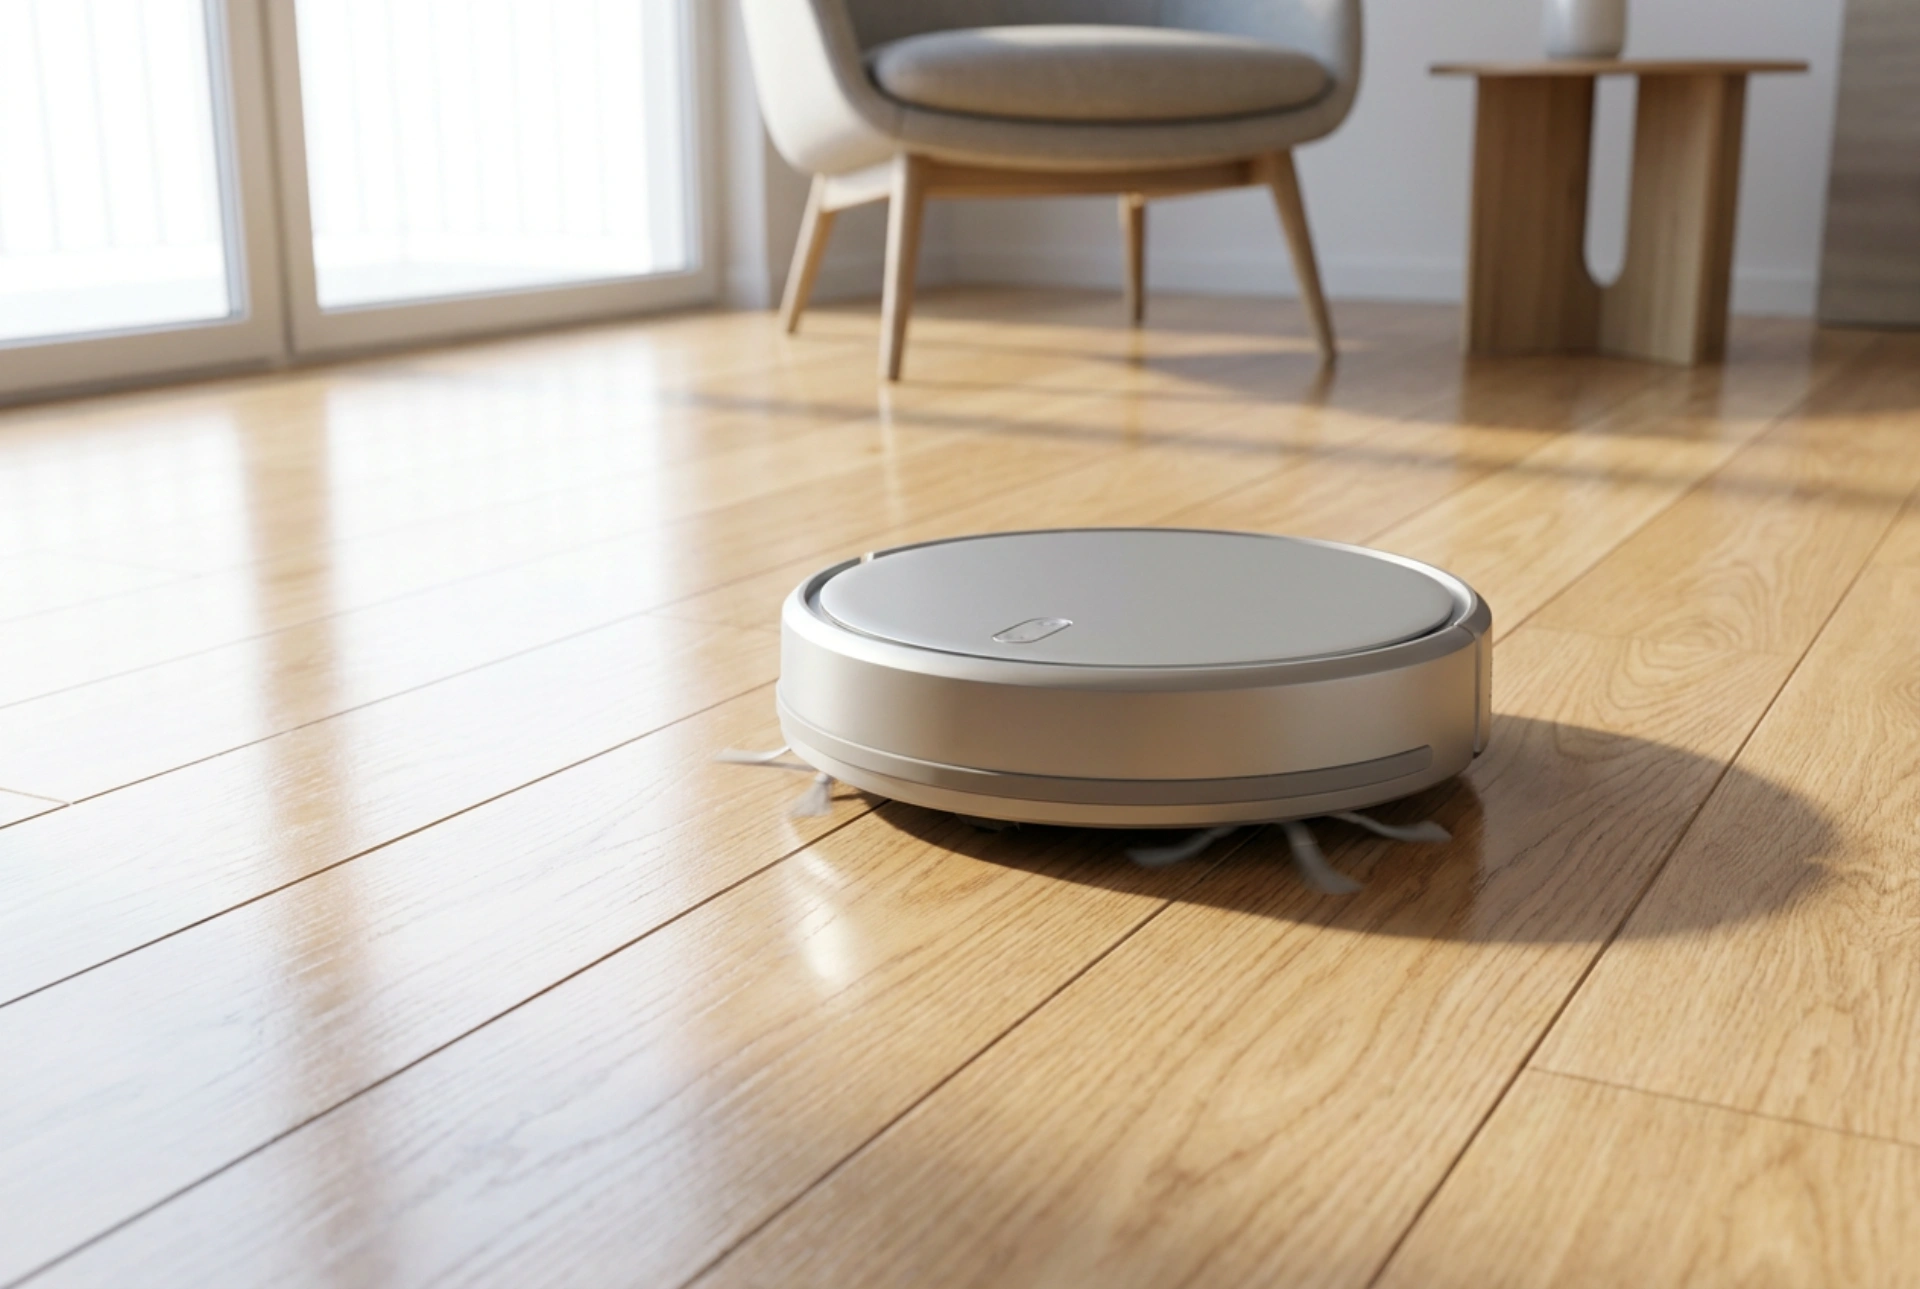


Achieving a streak-free shine with a robotic mop requires understanding the delicate balance between water volume, surfactant concentration, and microfiber pad mechanics. When a robot leaves dull lines or cloudy tracks, it is rarely a mechanical defect, but rather a chemical or physical mismatch on your floor's surface.
The Chemistry of Water Hardness and Detergent Residues
Hard water contains high concentrations of calcium and magnesium ions. When the robotic mop disperses this tap water, it evaporates, leaving behind solid mineral deposits (limescale) that appear as unsightly white streaks. To counter this, using distilled or demineralised water in the robot's tank is highly effective. It prevents mineral buildup not only on your floors but also inside the delicate micro-valves of the device.
Furthermore, detergent overdose is the leading cause of sticky, streak-attracting residues. Standard floor cleaners contain surfactants—molecules with a hydrophilic (water-attracting) head and a hydrophobic (water-repelling) tail. When over-concentrated, these molecules fail to rinse away and instead form a tacky microscopic layer. When the robot's rubber wheels drive over this uncured layer, they leave visible track marks. Always dilute cleaning agents strictly according to the guidelines, or opt for specialised, low-foaming formulas designed specifically for rapid evaporation.
Microfiber Mechanics and Capillary Action
Robotic mop pads rely on microscopic polyester and polyamide fibres. These fibres are split to create millions of tiny hooks that trap dust and absorb liquids through capillary action. However, once these micro-cavities are saturated with dirt and oils, they can no longer hold contaminants. Instead, the pad begins to drag suspended soil across the floor, creating grey streaks.
To maintain capillary efficiency, swap the mopping pad frequently—ideally every 20 to 30 square metres. Washing these pads correctly is also crucial: wash them at a minimum of 60 degrees Celsius to dissolve grease, and never use fabric softeners. Softeners coat the synthetic fibres in a silicone film, destroying their hydrophilicity and rendering them incapable of absorbing water.
Optimising Device Settings and Navigation Patterns
Modern robotic mops allow for granular control over water flow rates and cleaning paths. Selecting the correct water volume is vital for different floor types. Non-porous surfaces like polished porcelain tiles require minimal water flow; excessive liquid pools and dries unevenly, creating water spots. Wood and laminate floors are highly sensitive to moisture and should only be damp-mopped to prevent seam swelling and surface clouding.
Ensure your robot is configured to perform an overlapping cleaning pattern. This physical motion mimics manual mopping, breaking up surface tension more effectively than a single linear pass. Additionally, always schedule a dry vacuuming cycle immediately before the mopping run. If loose dust, hair, and pet dander are not thoroughly extracted beforehand, the wet pad will simply convert dry debris into micro-mud, spreading it across the room.
The Perfect Robotic Mopping Protocol
To guarantee a flawless, streak-free finish, follow this systematic routine:
- Run a high-power dry vacuum cycle to clear all loose particulates.
- Fill the reservoir with demineralised water or a highly diluted, low-residue cleaning agent.
- Dampen the microfiber pad with clean water and wring it out thoroughly before attaching it to the robot to ensure even water distribution from the start.
- Set the water flow rate to low or medium depending on the relative humidity and floor porosity.
- Replace the pad mid-cycle if cleaning an expansive area to prevent soil re-deposition.