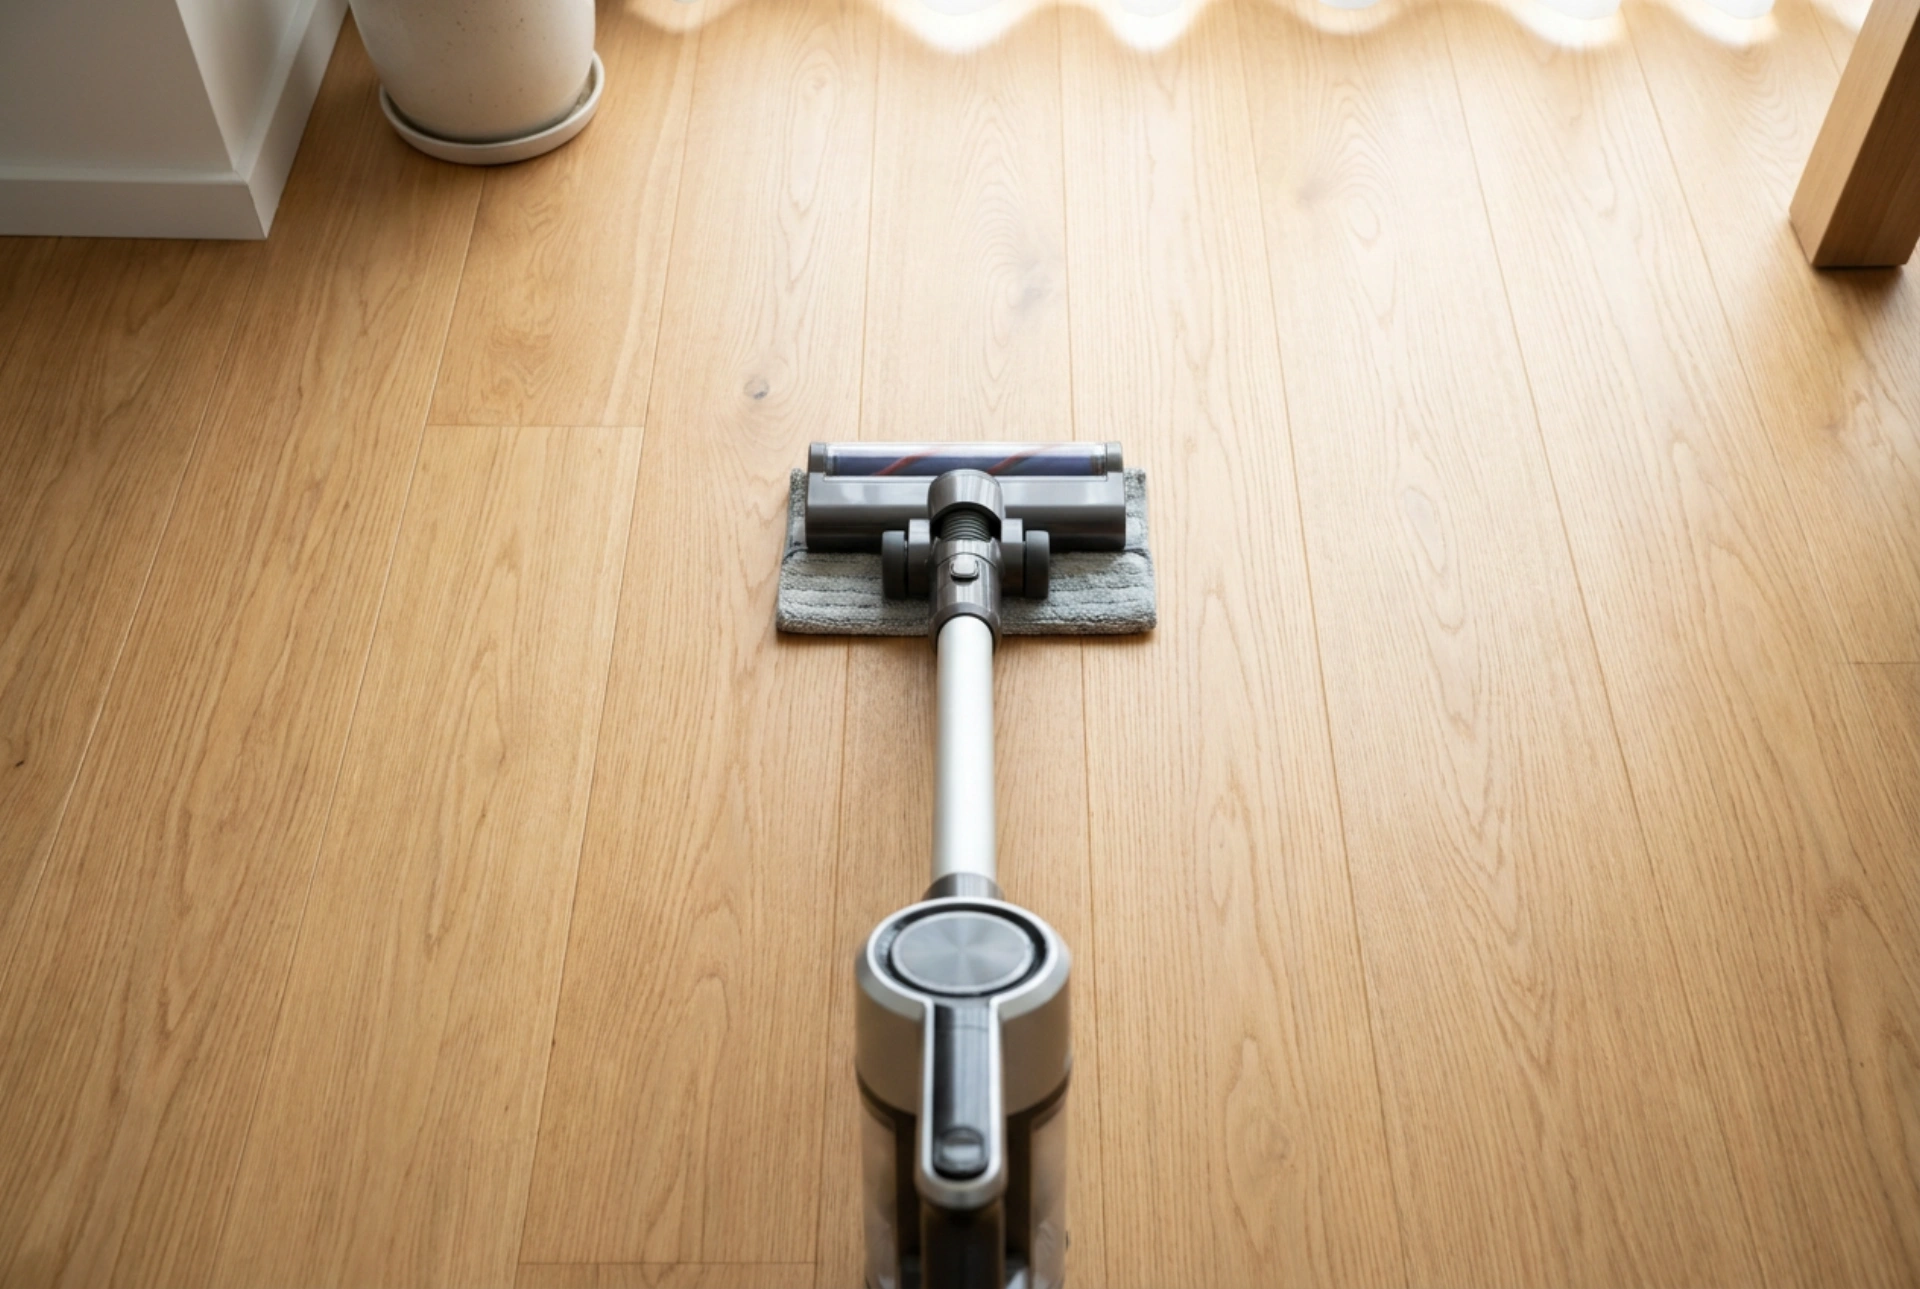


Cleaning kitchen floors after cooking requires addressing a complex mix of dry crumbs, sticky starches, and oily aerosols. A wet-and-dry cordless stick vacuum can handle these simultaneously if you apply the right physical principles and order of operations.
The Chemistry of Kitchen Spillages
Every cooking session deposits a diverse matrix of substances onto the floor. This typically includes three primary organic components: lipids (fats and oils from frying), carbohydrates (sticky starches from pasta water, flour, or sugar), and proteins (from meat or dairy splatters). Traditional cleaning methods require sweeping first to prevent creating a muddy paste, followed by a wet mop. A wet-and-dry cordless vacuum bypasses this by using high-velocity airflow to entrain dry debris into the suction path milliseconds before the damp microfibre pad or roller contacts the surface.
Understanding this sequence is crucial. If you push the wet element over dry flour or dust before the suction can draw it in, the water hydrates the starch, forming a sticky gluten network that bonds tightly to the flooring material. To prevent this, always work in a single direction, allowing the vacuum nozzle to lead the way into untouched, dry areas.
Temperature and Surfactants: Maximising Cleaning Efficiency
To dissolve hydrophobic fats and greasy residues, the physical properties of the cleaning solution must be optimised. Plain water has a high surface tension, which causes it to bead up rather than penetrate grease. Adding a highly diluted surfactant reduces this surface tension, allowing the solution to wet the surface evenly. The hydrophilic heads of the surfactant molecules remain in the water phase, while their hydrophobic tails attach to the grease, forming spherical structures called micelles. These micelles suspend the oil droplets in the water, allowing the vacuum's mechanical action to lift them away.
Temperature also plays a vital role. Warm water (ideally around 35°C to 40°C) increases the kinetic energy of the water molecules, accelerating the rate at which starches dissolve and fats liquefy. Never use boiling water, as high temperatures can warp the plastic tanks, damage internal seals, and compromise the adhesive backing of the microfibre pads.
Caution must be exercised with foaming agents. Excessive foam in the dirty water recovery tank can bypass the float valve and enter the suction motor, causing electrical damage or corrosion. Always use low-foaming, neutral-pH detergents specifically formulated for automated cleaning machines.
The Correct Motion and Pathing Technique
Unlike standard vacuuming, where rapid back-and-forth movements are common, wet cleaning requires a deliberate, slow pace. The mechanical agitation of the spinning roller or dragging microfibre pad needs sufficient contact time to break the intermolecular forces holding dried food particles to the floor.
- The Forward Stroke: Push the appliance forward slowly. This allows the dry suction inlet to remove loose crumbs, pet hair, and coarse salt before the wet roller or pad passes over.
- The Backward Stroke: Pull the machine back along the same path. This second pass utilises the damp element to emulsify any remaining grease and allows the squeegee blade to scrape up the dirty water, directing it into the vacuum channel.
- The Dwell Method: For stubborn, dried-on spots like dried sauce, do not scrub aggressively. Instead, position the wet roller directly over the stain and let it spin in place for three to five seconds. The combination of moisture, warmth, and continuous friction will soften the starch matrix without scratching the floor finish.
Material Care: Adapting to Wood and Tile
Different flooring materials react uniquely to moisture. Glazed ceramic or porcelain tiles are highly resistant to water, but the grout lines are porous and can collect dirty residue. When cleaning tiled surfaces, operate the vacuum at a medium speed to ensure the squeegee can draw water out of the shallow grout depressions.
Engineered wood and laminate flooring demand strict moisture control. Excessive liquid can penetrate the joints between planks, causing the core material to swell and buckle. Ensure your wet-dry vacuum is set to a low-moisture mode, which minimises the rate of water deposition. The microfibre component should feel damp to the touch, never saturated. The high suction power of the device must dry the floor almost instantly, leaving only a thin film of water that evaporates within sixty seconds.
Post-Operation Hygiene to Prevent Odours
A wet-and-dry vacuum collects organic food particles and moisture into a sealed container. Under warm, dark conditions, this mixture becomes an ideal breeding ground for anaerobic bacteria. Within hours, these bacteria produce volatile organic compounds, resulting in persistent sour odours.
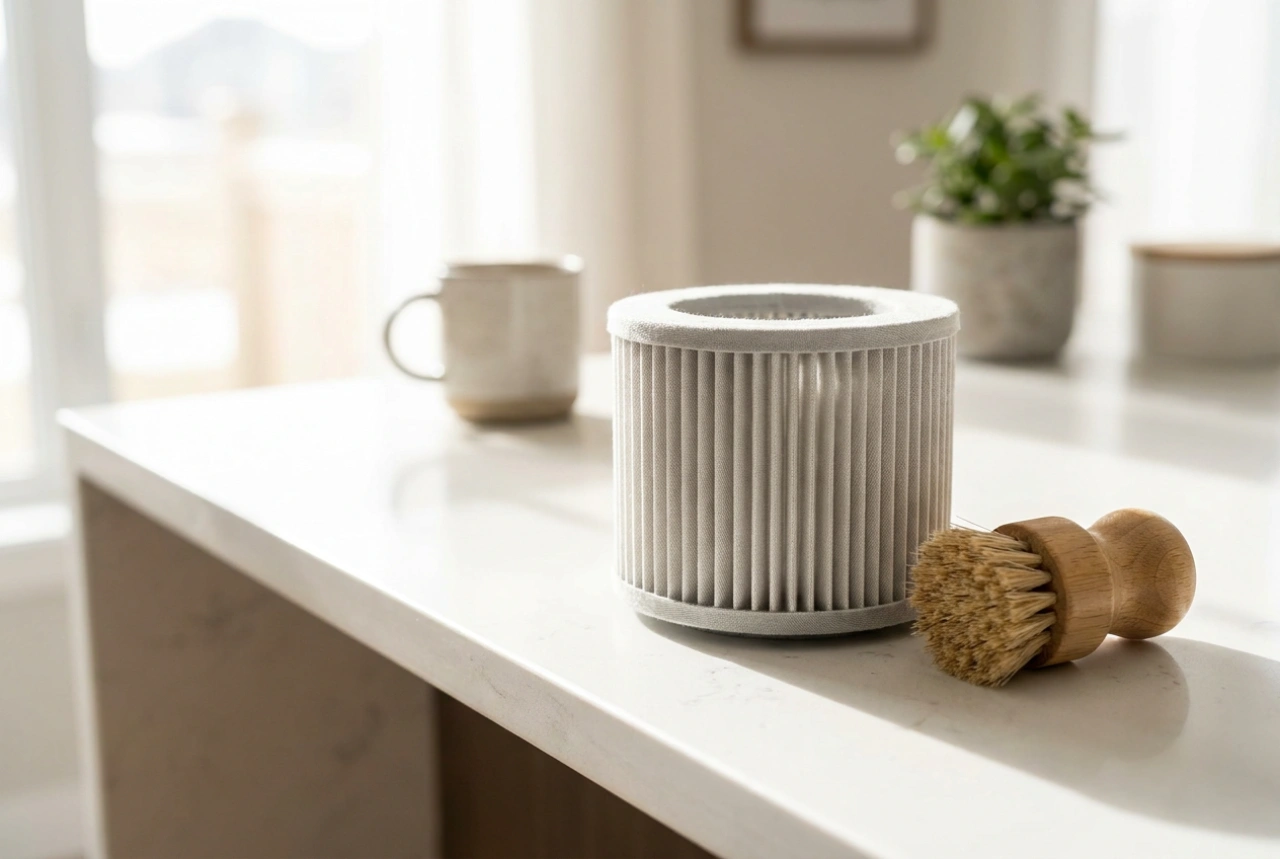
To prevent this, empty the dirty water tank immediately after every cleaning session. Rinse the tank with warm water to remove residual sediment. Remove the roller brush and microfibre components, wash them thoroughly to remove embedded grease, and place them in a well-ventilated area to dry completely for at least 24 hours. Neglecting this step will cause the vacuum to redistribute unpleasant bacteria and odours across your kitchen during the next use.