

Using a spray-extraction vacuum cleaner incorrectly can lead to oversaturated fibers, lingering musty odors, and patchy cleaning results. Establishing a precise, chemically sound order of operations ensures deep soil extraction, prevents fabric damage, and guarantees optimal drying times.
1. Dry Vacuuming: The Indispensable First Step
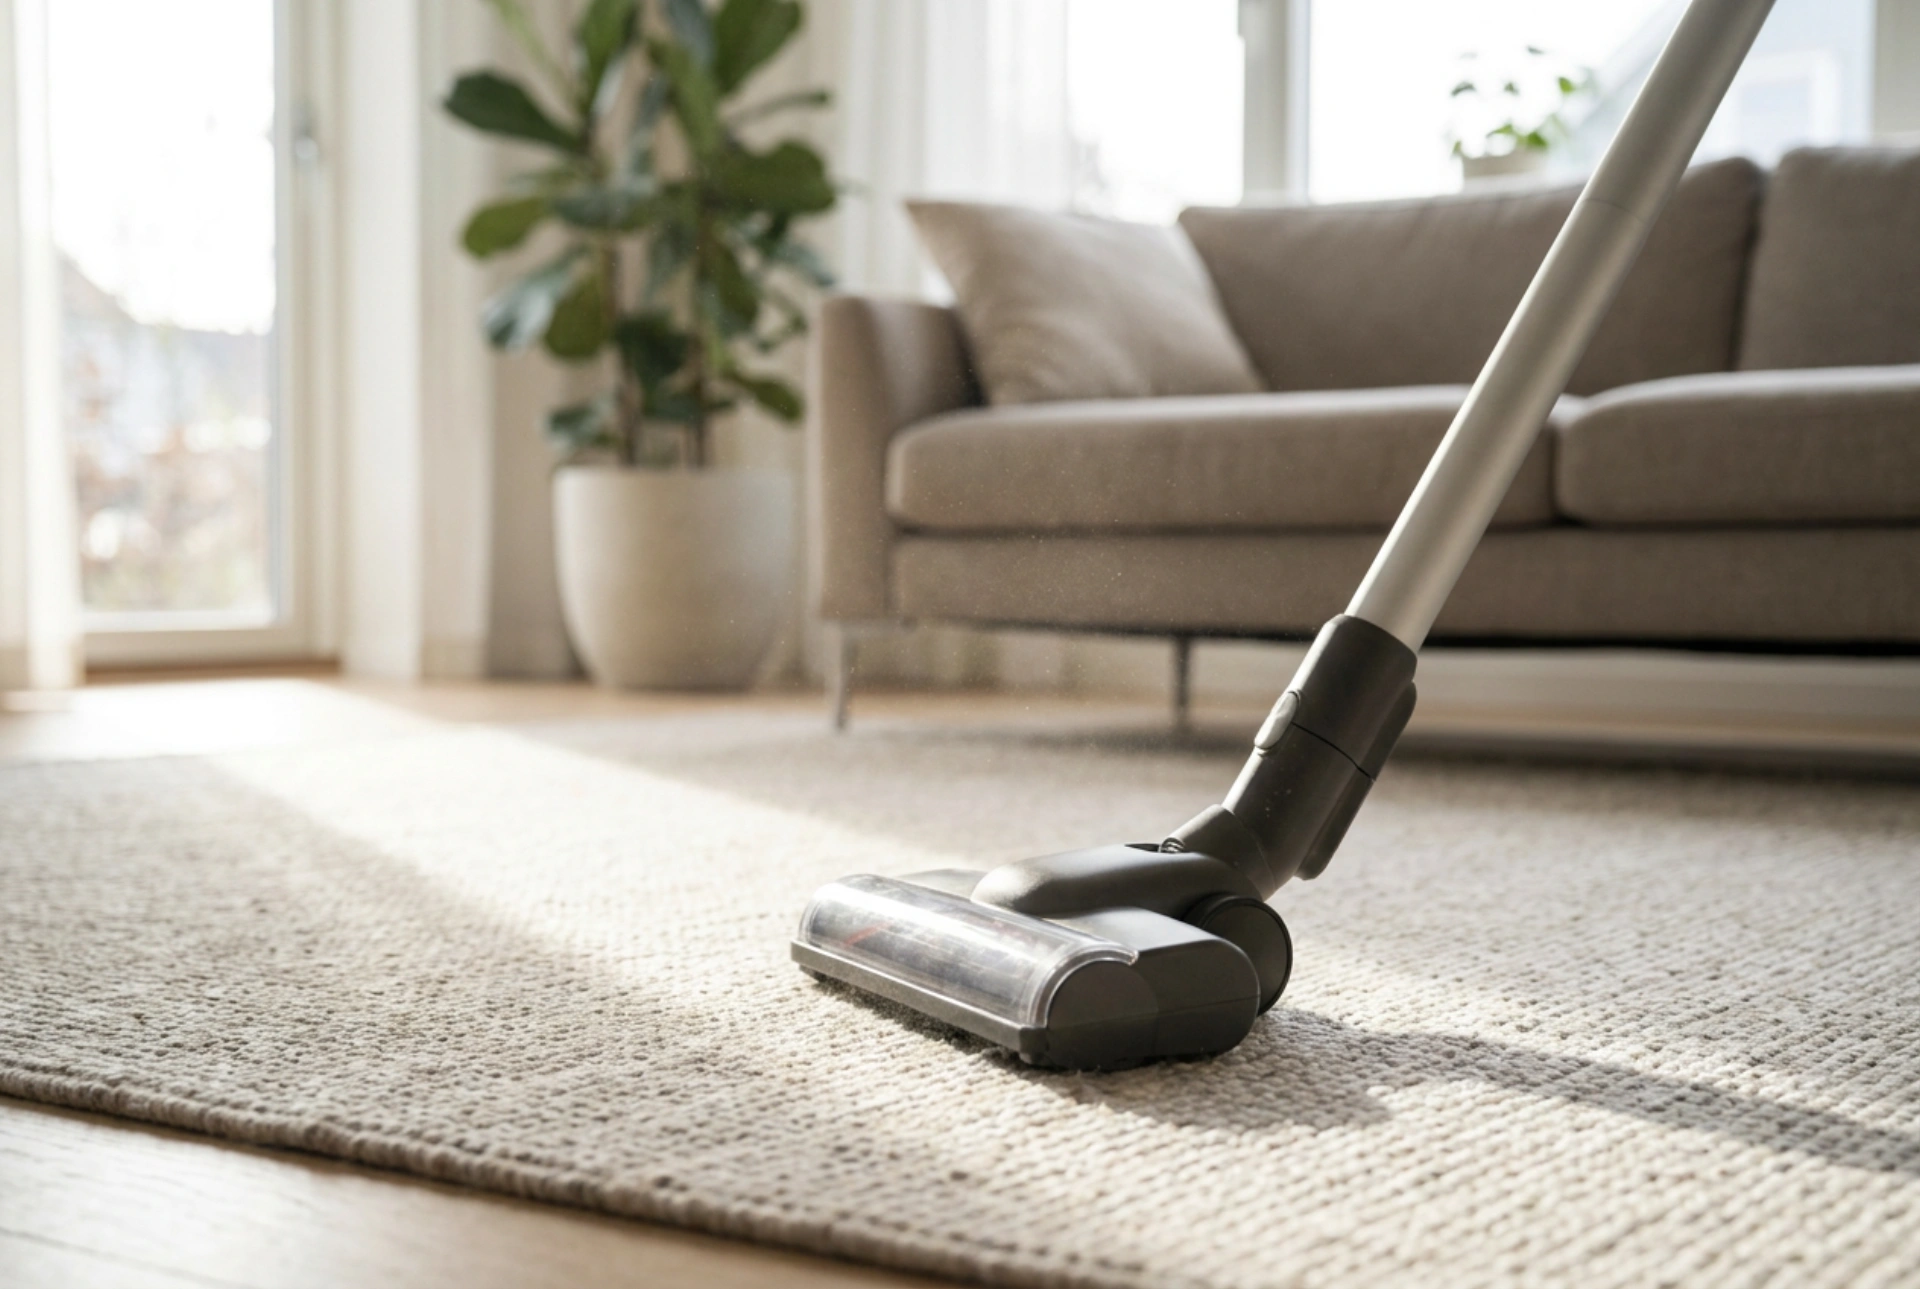
Before introducing any moisture, all loose, dry soil must be entirely removed from the textile structure. If dry dust, skin flakes, pet dander, and sand are left in the carpet fibers when water is applied, they immediately dissolve into a thick mud. This slurry settles deep into the carpet backing, making it almost impossible to extract and leading to rapid re-soiling as the carpet dries. Use a powerful dry vacuum cleaner equipped with a rotating brush bar to agitate the fibers and lift particulate matter from the base of the pile. Move slowly in a cross-hatch pattern—vacuuming both north-to-south and east-to-west—to ensure maximum particle collection. This mechanical action opens up the carpet fibers, preparing them to absorb the cleaning solution uniformly.
2. Chemical Pre-Spray and Contact Time
The chemistry of carpet extraction relies on the balance of temperature, chemistry, and contact time. Instead of immediately running the extraction machine with a mixed detergent solution, a dedicated pre-spray technique should be used. Dissolve a specialized, low-foaming carpet surfactant in warm water—ideally between 30°C and 40°C. Water that is too hot can damage synthetic fibers or shrink wool, while cold water reduces the efficiency of the surfactants. Spray this solution evenly over the carpet using a manual pressure sprayer. This targeted application ensures the fibers are damp but not waterlogged. Allow the solution to dwell for 5 to 10 minutes. During this period, the surfactants surround hydrophobic oil and grease particles, breaking their chemical bonds with the carpet fibers so they can be easily suspended in water.
3. The Extraction and Rinsing Phase
Once the dirt is emulsified, the extraction phase begins. Fill the clean water tank of your extraction vacuum with pure, warm water. Adding detergent to the clean water tank at this stage is a common mistake; it leaves surfactant residues in the carpet, which act as a magnet for new dirt. Start at the furthest corner of the room to avoid stepping on the cleaned areas. Pull the vacuum nozzle toward you in slow, steady strokes while pressing the trigger to spray the clean rinsing water. The spray-extraction nozzle uses high pressure to inject water deep into the pile, immediately followed by high vacuum suction to pull the dirty emulsion out. Release the spray trigger at the end of the stroke, then make a second, "dry" pass over the exact same strip using only suction. Overlap each stroke by approximately 5 to 10 centimeters to prevent striping.
4. Moisture Extraction and Pile Realignment
Excessive moisture is the primary cause of mold, mildew, and fiber rot. To minimize drying time, perform multiple dry passes with the vacuum nozzle after the rinsing is complete. Do this by pulling the nozzle slowly over the carpet without spraying any water. You can monitor the recovery tank or the transparent nozzle head; continue making dry passes until you no longer see water being pulled into the machine. Once the excess moisture is removed, use a clean, medium-stiff carpet brush to gently groom the damp fibers in a single direction. Brushing aligns the pile, which not only improves the final visual appearance once dry but also ensures air can circulate freely between the fibers, accelerating the natural evaporation process.