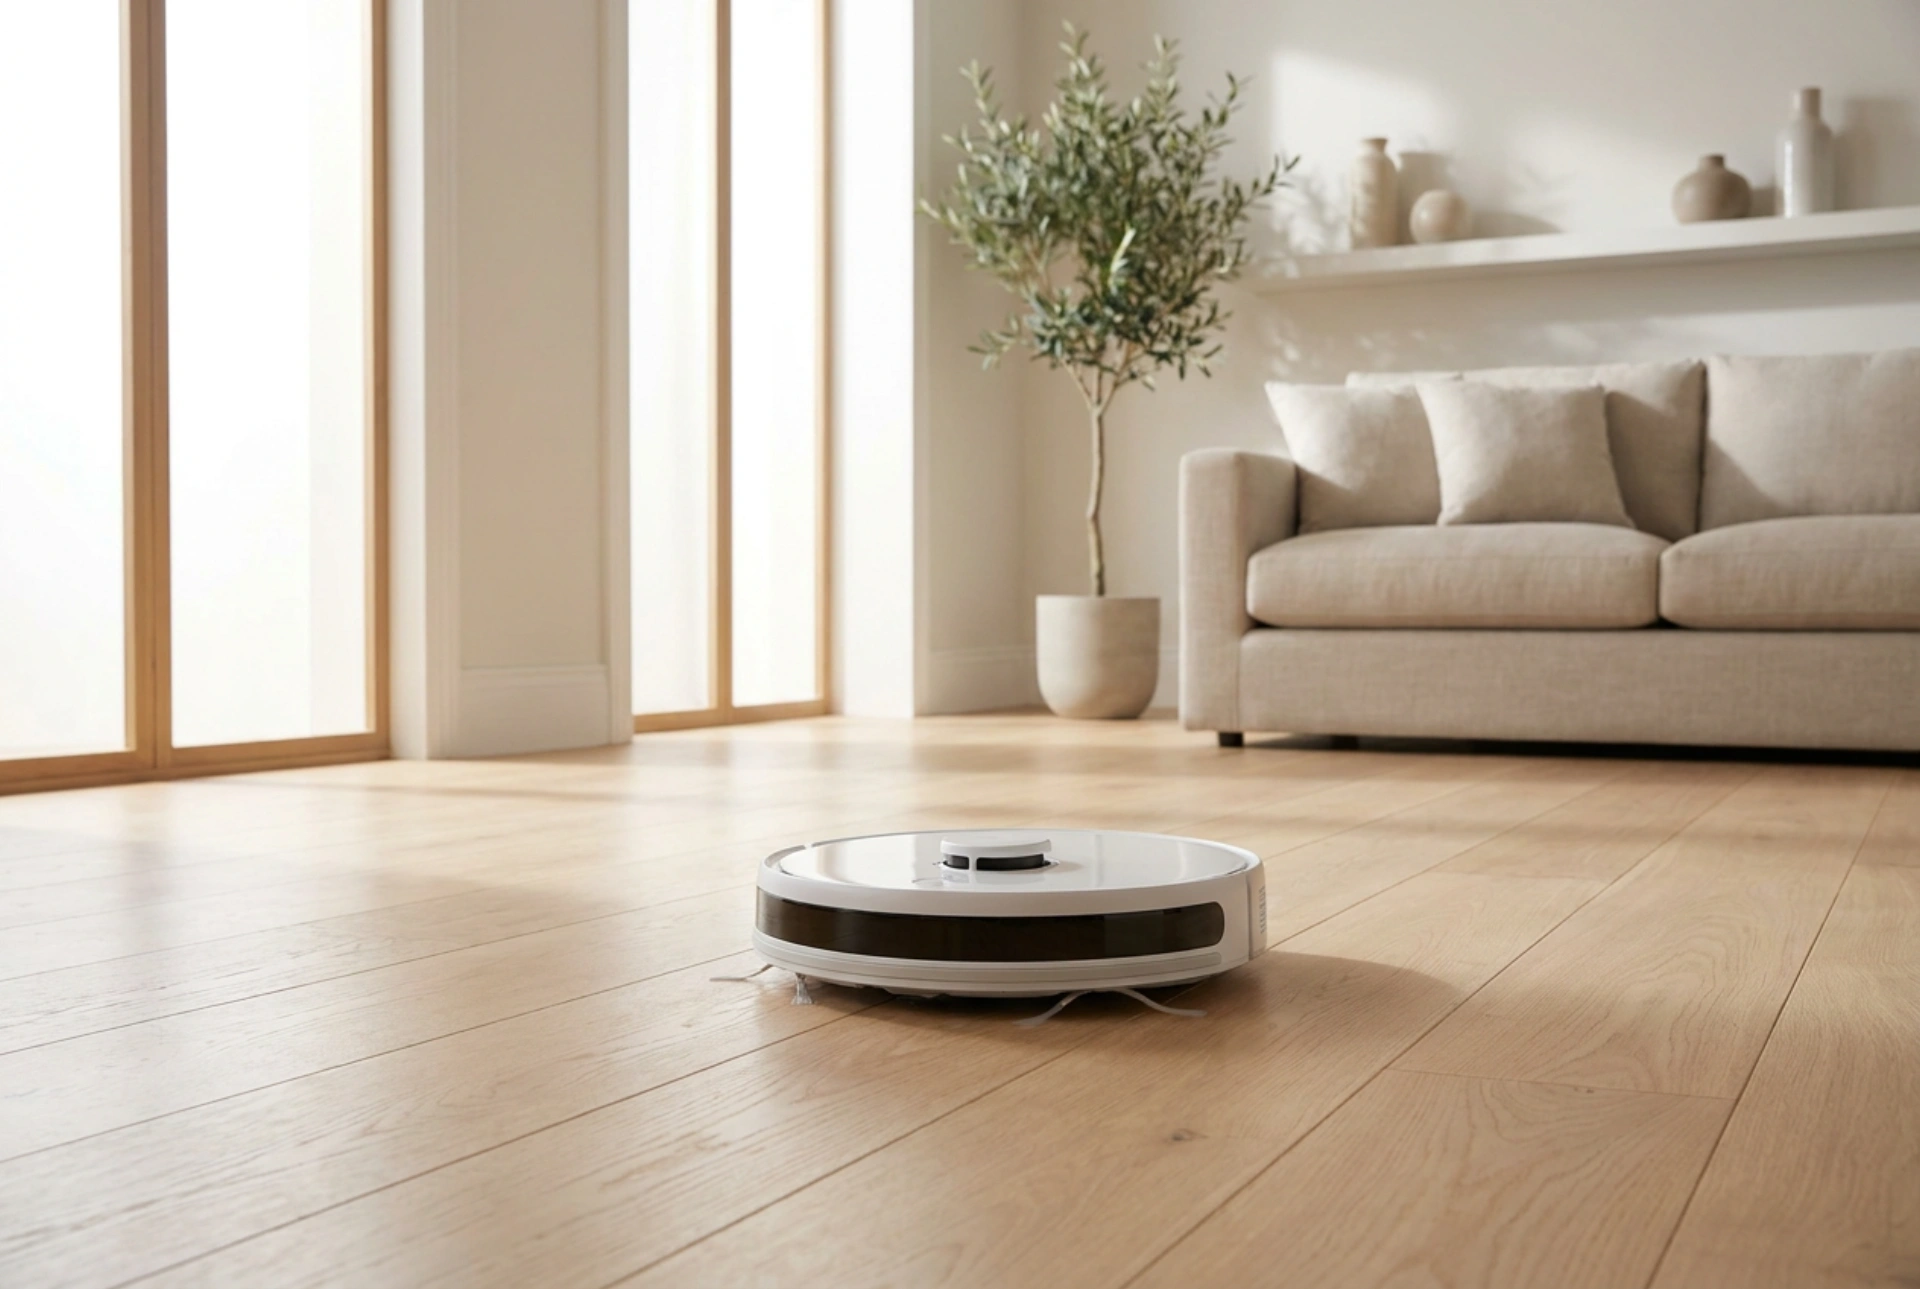


Maximising the efficiency of a hybrid vacuum-mop requires more than just pressing a button; it demands a systematic understanding of surface science, fluid dynamics, and floor preparation. Planning a precise step-by-step cleaning routine ensures streak-free results, protects sensitive floor coverings, and extends the lifespan of your appliance.
1. The Physics of Sequential Cleaning: Dry Before Wet
The fundamental rule of hybrid floor cleaning is that dry particulate removal must always precede wet mopping. When water is introduced to dry dust, pet hair, and dander, it triggers a physical transition known as capillary binding. The liquid bridges the gaps between individual dust particles, turning loose debris into a stubborn, muddy paste that clings to grout lines and timber grains.
A successful cleaning cycle begins with a dedicated dry vacuuming pass. This process relies on high-velocity airflow and mechanical agitation from the roller brush to lift loose soil. By removing these particles first, you ensure that the subsequent wet phase only has to dissolve bonded surface grime, rather than transport heavy solid waste.
2. Managing Surface Tension and Water Temperature
The efficiency of the mopping phase relies heavily on the surface tension of water and the capillary action of the microfibre pad. While it is tempting to use hot water to dissolve grease, warm or hot water evaporates too rapidly when spread in a thin layer across a cool floor. This rapid evaporation leaves behind mineral deposits and surfactant residues, resulting in visible streaks.
Instead, use lukewarm or cool demineralised water. Demineralised water lacks the calcium and magnesium ions found in tap water, preventing hard-water spots. If you must use a detergent, select a neutral-pH, non-foaming surfactant formulated specifically for low-moisture appliances. High-foaming agents can clog the internal fluid channels and leave a sticky film on the floor that actually attracts more dust post-cleaning.
3. Obstacle Dynamics and Path Planning
Modern hybrid vacuums use optical sensors or laser navigation to map rooms, but physical obstacles still disrupt their cleaning efficiency. Before starting the cycle, elevate lightweight rugs, chair legs, and dangling cables. Cables and fringe can easily wrap around the rotating brushes, causing mechanical strain on the drive motor.
Furthermore, mapping out virtual 'no-go zones' is critical for homes with mixed flooring. Microfibre mopping pads remain damp throughout the cycle; allowing a wet pad to drag across wool or synthetic carpets can transfer dissolved dirt and moisture into the carpet pile, leading to musty odours and fibre degradation.
4. Maintaining Microfibre Capillary Action
The cleaning pad is the most critical mechanical component of the wet phase. Microfibre is engineered with split polyester and polyamide fibres that create millions of tiny hooks. These hooks physically grab dirt and trap it within the weave through capillary action. However, once these microscopic pockets are saturated with dirty water, the pad begins to drag grime across the floor rather than lifting it.
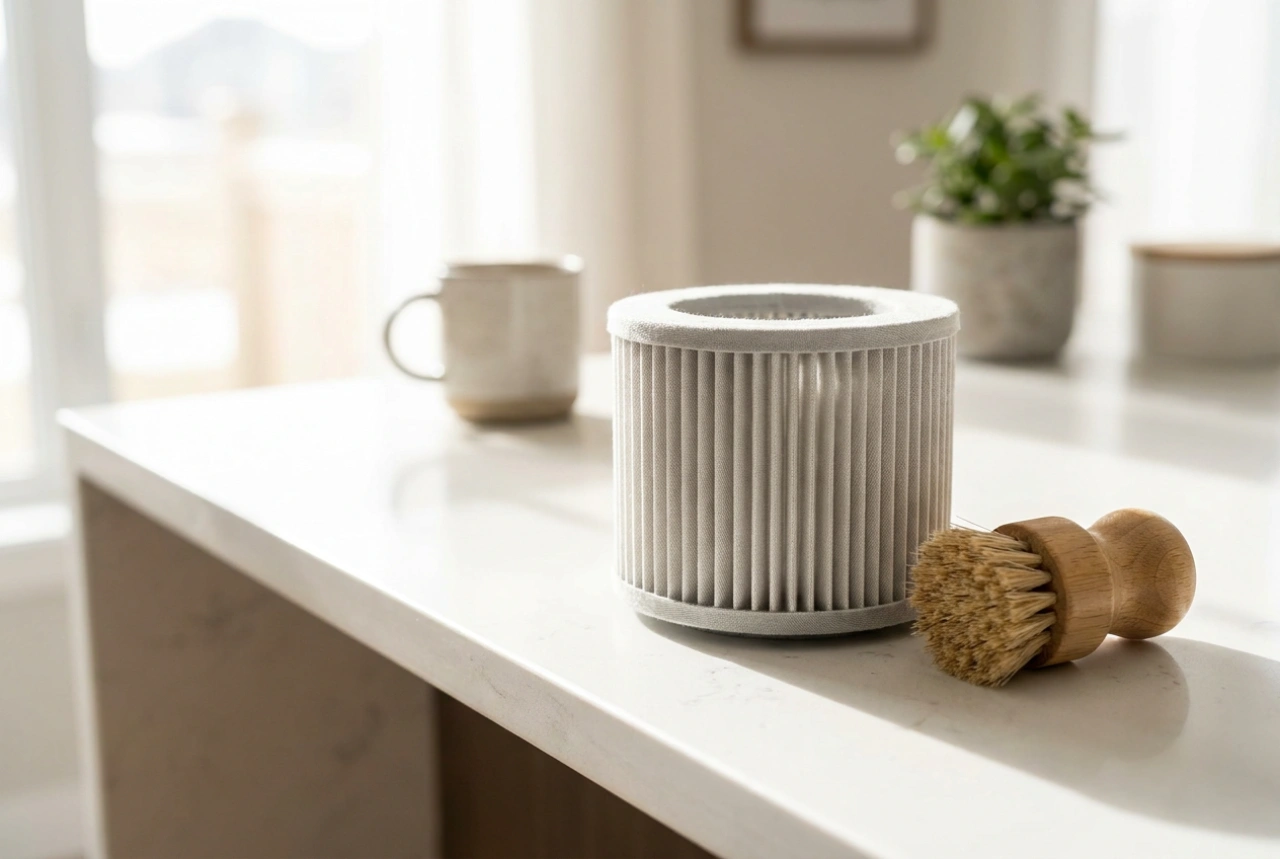
For optimal results, limit the continuous run-time of a single pad to approximately thirty square metres. Always wash used pads immediately after the cycle concludes. Leaving a damp pad attached to the machine encourages the rapid proliferation of anaerobic bacteria, which produces volatile organic compounds (VOCs) that cause unpleasant odours during subsequent cleaning runs. Wash pads at sixty degrees Celsius without fabric softener, as softeners coat the fibres and destroy their capillary properties.
A Quick Checklist for Peak Efficiency
- Step 1: Clear the zone. Remove cables, small mats, and lightweight furniture to allow uninterrupted navigation.
- Step 2: Execute the dry pass. Run a high-suction vacuum cycle to clear all loose dust, hair, and grit.
- Step 3: Prepare the reservoir. Fill the tank with cool, demineralised water and a minimal dose of neutral surfactant if required.
- Step 4: Attach a clean microfibre pad. Ensure the pad is slightly pre-dampened to initiate capillary action immediately.
- Step 5: Run the wet cycle. Monitor the surface dampness; floors should dry within two to three minutes.
- Step 6: Post-clean hygiene. Empty the dustbin, wash the microfibre pad, and allow the water tank to air dry to prevent bacterial build-up.