

Maintaining a water filtration vacuum cleaner requires immediate post-use sanitisation to prevent bacterial proliferation and severe odour development caused by organic matter suspended in stagnant water.
The Science of Water Filtration and Microbial Growth
Water filtration vacuums leverage the physical density of water to trap airborne particles. When dust, pollen, pet dander, and microscopic debris are pulled into the machine, they are forced through a water bath. The high surface tension of water captures these solid particles, preventing them from exhausting back into the room. However, this process creates an ideal environment for biological activity. Once organic matter mixes with water, bacteria, mold spores, and dust mites begin to multiply exponentially. If left for even twelve hours, anaerobic decomposition begins, producing volatile organic compounds that emit strong, musty odours. Immediate cleaning is not merely a matter of neatness, but a chemical necessity to preserve indoor air quality and prevent the formation of stubborn biofilms on the interior plastic surfaces.
Step-by-Step Disassembly and Warm Water Flush
Before initiating any maintenance, disconnect the appliance from its electrical source to eliminate any risk of electrical contact with water. Carefully extract the water basin, taking care not to tilt it and spill the slurry. Pour the dirty water directly down the toilet rather than the sink to prevent plumbing blocks from heavy sediment and hair buildup.
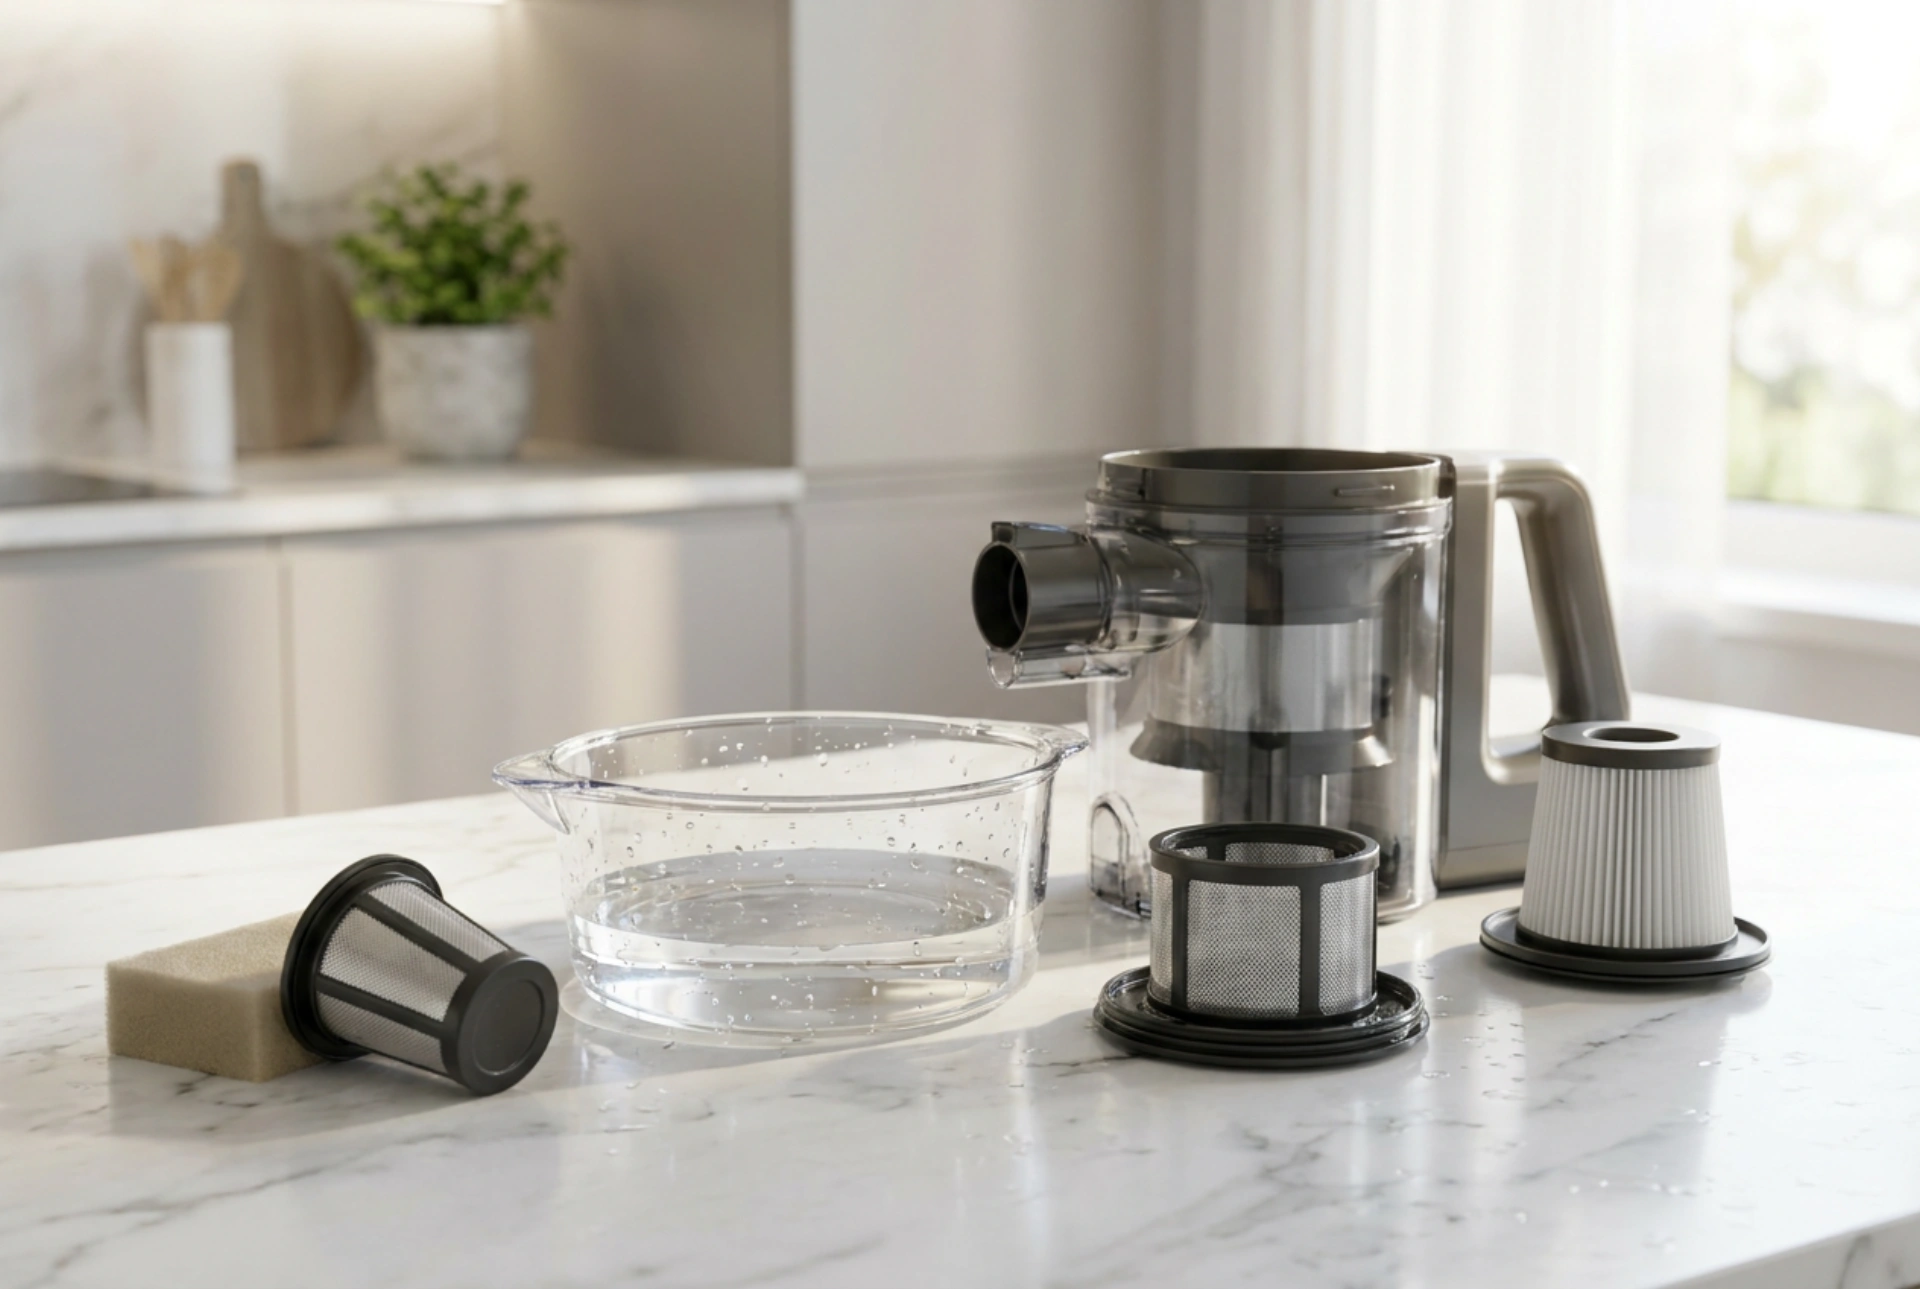
Rinse the basin immediately using lukewarm water (approximately thirty to thirty-five degrees Celsius). Avoid boiling or highly heated water, as thermal stress can warp the specialised thermoplastic polymers used in vacuum canisters, compromising the airtight seals. Swirl the water vigorously to dislodge heavy sediments clinging to the bottom corners. Repeat this rinsing cycle until the water runs completely clear, paying close attention to the baffles and separators where turbulence forces dust into tight crevices.
Chemical Sanitisation: Removing Biofilms Safely
Rinsing with pure water is rarely sufficient to eliminate the microscopic biofilm that adheres to plastic walls. To sanitise the canister safely without damaging the material, utilise a mild solution of oxygen bleach dissolved in warm water, or a few drops of neutral liquid surfactant. Oxygen bleach releases hydrogen peroxide when dissolved, which oxidises organic matter and sanitises surfaces without leaving harsh chemical residues or corroding the plastic.
- Avoid Chlorine Detergents: Chlorine-based cleaners can degrade elastomeric gaskets and cause the plastic housing to become brittle over time.
- Gasket Care: Gently wipe down rubber seals with a soft microfiber cloth dipped in the mild sanitising solution. Never scrub them with abrasive materials, as micro-scratches will prevent a perfect vacuum seal from forming.
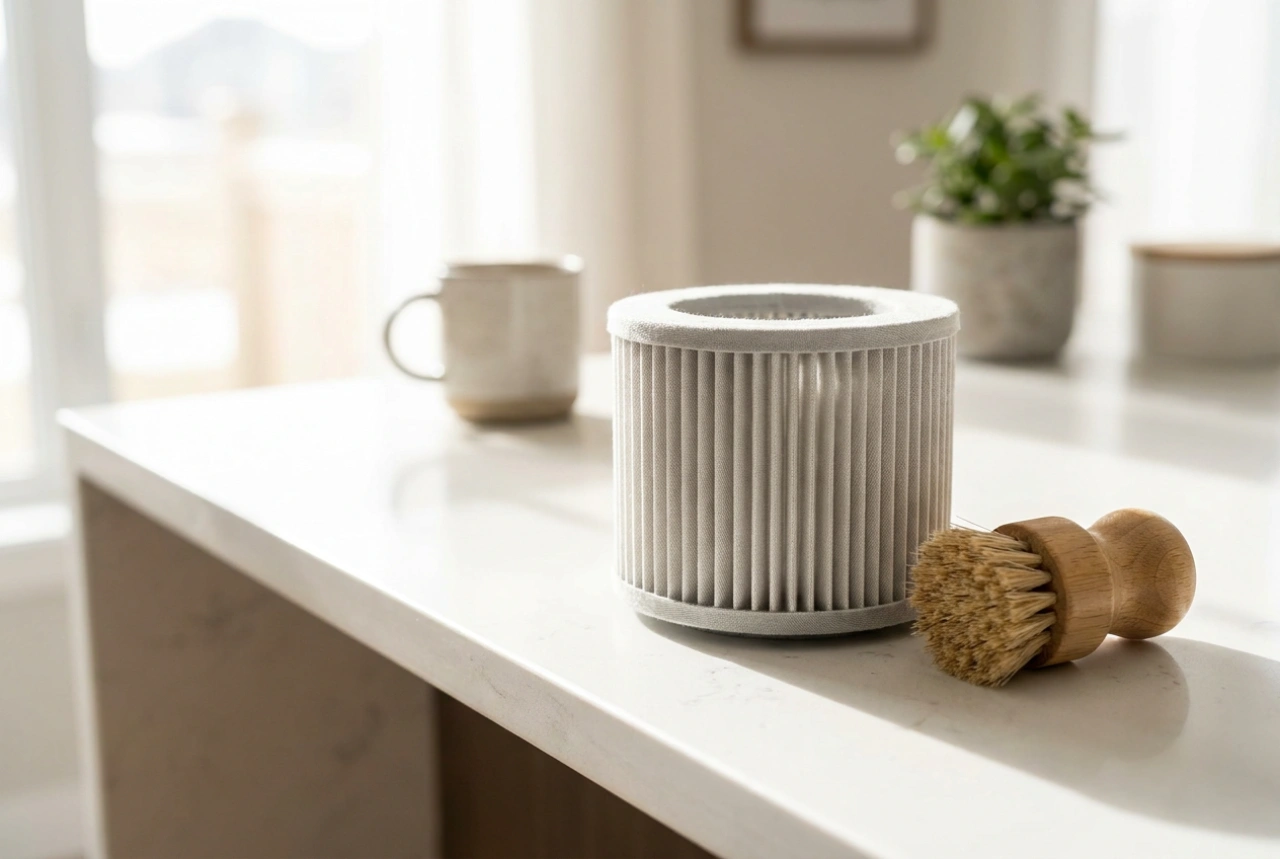
- Separator Cleaning: The vortex separator, which spins the air-water mixture, must be detached and cleaned with a soft-bristled brush to remove wound hair and fine dust cake.
The Evaporation Phase: Preventing Anaerobic Re-contamination
The final and most critical phase of cleaning is drying. Reassembling a damp water filtration vacuum seals moisture inside an airtight chamber, creating a perfect incubator for mold. After thoroughly rinsing all components, wipe them down with a dry, lint-free microfiber towel to remove the bulk of the moisture.
Lay out all parts—the basin, separator, deflector, and any pre-motor sponge filters—in a well-ventilated area with active air circulation. Position them in a way that maximises gravity-assisted drainage. Allow all components to air-dry completely for at least twenty-four hours before reassembling the unit or storing it. Keeping the water container slightly unlatched during storage ensures continuous airflow, preventing any residual moisture from turning stagnant.