

Removing dust mites from a mattress requires more than a quick surface sweep; it demands a systematic approach that combines mechanical agitation, high-efficiency filtration, and moisture control. By understanding how these microscopic pests cling to textile fibres, you can optimise your vacuuming technique to sanitise your sleeping environment effectively.
The Science of Dust Mite Adhesion
Dust mites (primarily Dermatophagoides pteronyssinus) do not simply sit loosely on top of your mattress. They thrive deep within the weave of the fabric and the upper layers of foam or batting, feeding on microscopic flakes of shed human skin. To prevent being dislodged, dust mites utilise tiny, claw-like appendages called pulvilli, which allow them to grip textile fibres with remarkable strength. Furthermore, their microscopic droppings, which contain the highly allergenic protein Der p 1, are chemically bound to fabric fibres by sticky secretions. Consequently, standard low-powered suction is insufficient to break these physical and chemical bonds. Effective removal requires a combination of physical agitation to dislodge the mites and high-velocity airflow to lift them out of the matrix.
Selecting and Optimising Your Equipment
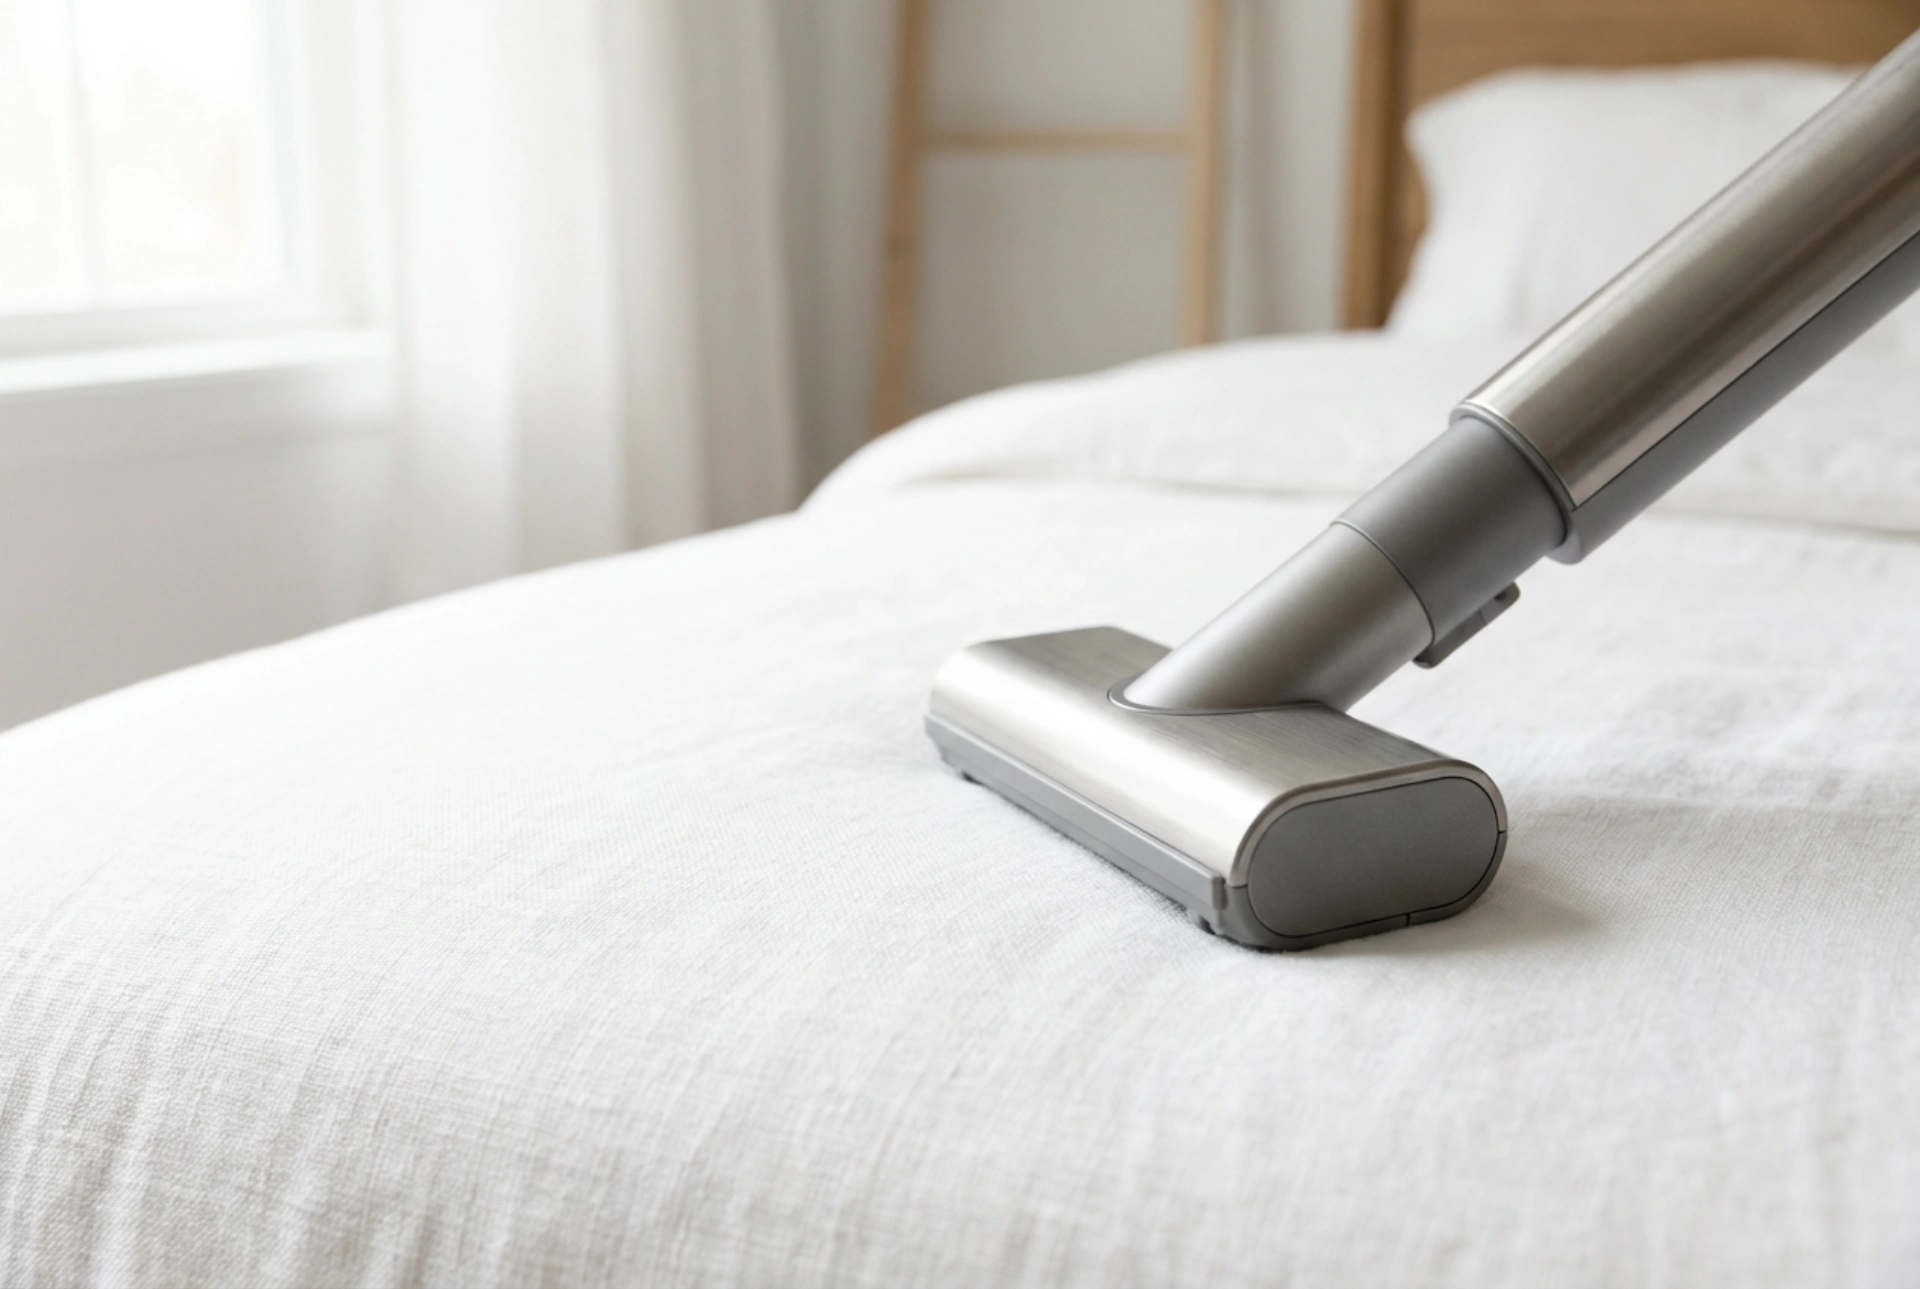
Not all vacuum cleaners are capable of removing microscopic allergens. Using a machine without the correct specification can actually worsen indoor air quality by aerosolising fine particles. To safely extract dust mites and their waste, your vacuum cleaner must feature a sealed HEPA (High-Efficiency Particulate Air) filtration system. A HEPA filter is certified to trap 99.97% of particles down to 0.3 microns, ensuring that microscopic allergens are contained rather than blown back into your bedroom air. Additionally, a motorised upholstery tool with a rotating brush bar is crucial. The rapid mechanical striking action of the brush bar vibrates the mattress fabric, breaking the grip of the mites' claws and lifting deeply embedded particles to the surface where the vacuum’s airflow can capture them.
The Dehumidification and Desiccation Pre-treatment
Dust mites are highly sensitive to humidity; they consist of roughly 75% water and cannot drink, instead absorbing moisture directly from the air. Before you begin vacuuming, you can weaken their grip and neutralise allergens through desiccation. Applying a fine, even layer of dry sodium bicarbonate (baking soda) across the entire mattress surface is an effective, non-chemical method. Sodium bicarbonate acts as a mild desiccant, absorbing moisture from the fabric and the mites themselves, which compromises their structural integrity. Furthermore, the alkaline nature of sodium bicarbonate helps neutralise the acidic proteins present in mite droppings, making them less allergenic. Leave the powder on the mattress for at least 30 to 60 minutes. This period allows the powder to bind with moisture and oils on the fabric, facilitating a much easier extraction during the vacuuming phase.
The Grid-Pattern Vacuuming Protocol
To achieve maximum extraction, you must employ a slow, deliberate technique. Rushing across the mattress surface prevents the suction from penetrating the dense foam or spring pockets. Begin by dividing the mattress into a mental grid. Place the motorised upholstery nozzle flat against the mattress surface to maintain a tight seal, which maximises static air pressure. Move the nozzle at a rate of no more than ten centimetres per second. Work in overlapping vertical columns from the head to the foot of the bed, then repeat the entire process in horizontal rows. Pay special attention to seams, tufts, and crevices, as these high-friction areas accumulate the highest concentrations of organic debris and moisture. Vacuuming both sides of the mattress is essential, as mites migrate away from light and vibration deep into the core.
Hygiene Maintenance and Dust Containment
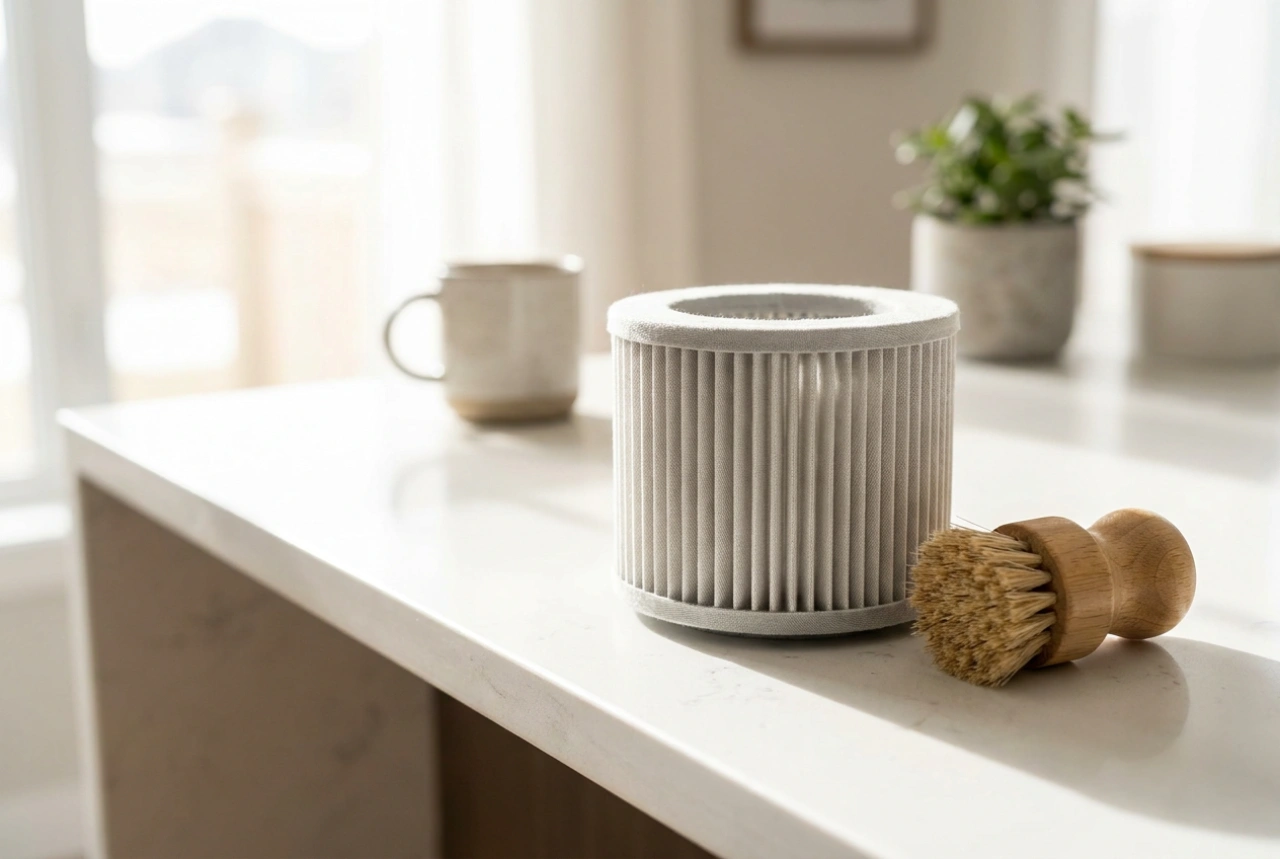
The extraction process is only successful if the captured allergens are safely disposed of. Always empty the vacuum canister or discard the vacuum bag immediately after cleaning, preferably outdoors to prevent microscopic particles from escaping back into the home. If using a bagless model, wash the dust canister with warm water and a mild surfactant to remove any clinging dust residues. Regularly inspect and wash the pre-motor filter, and replace the HEPA filter according to the manufacturer’s recommended timeline. Keeping the physical extraction tools clean ensures that your vacuum maintains peak airflow and static pressure, which are vital for drawing deep-seated allergens out of dense textile matrices.