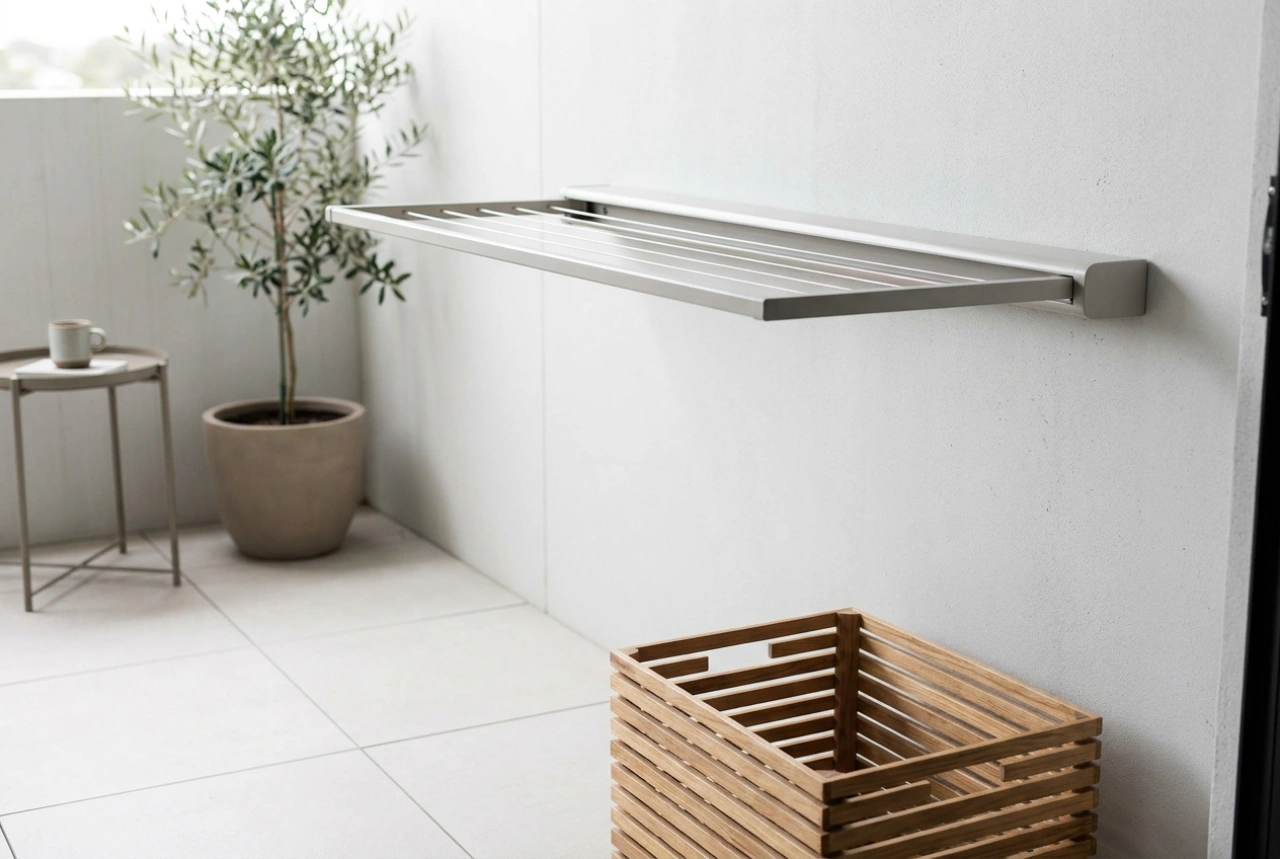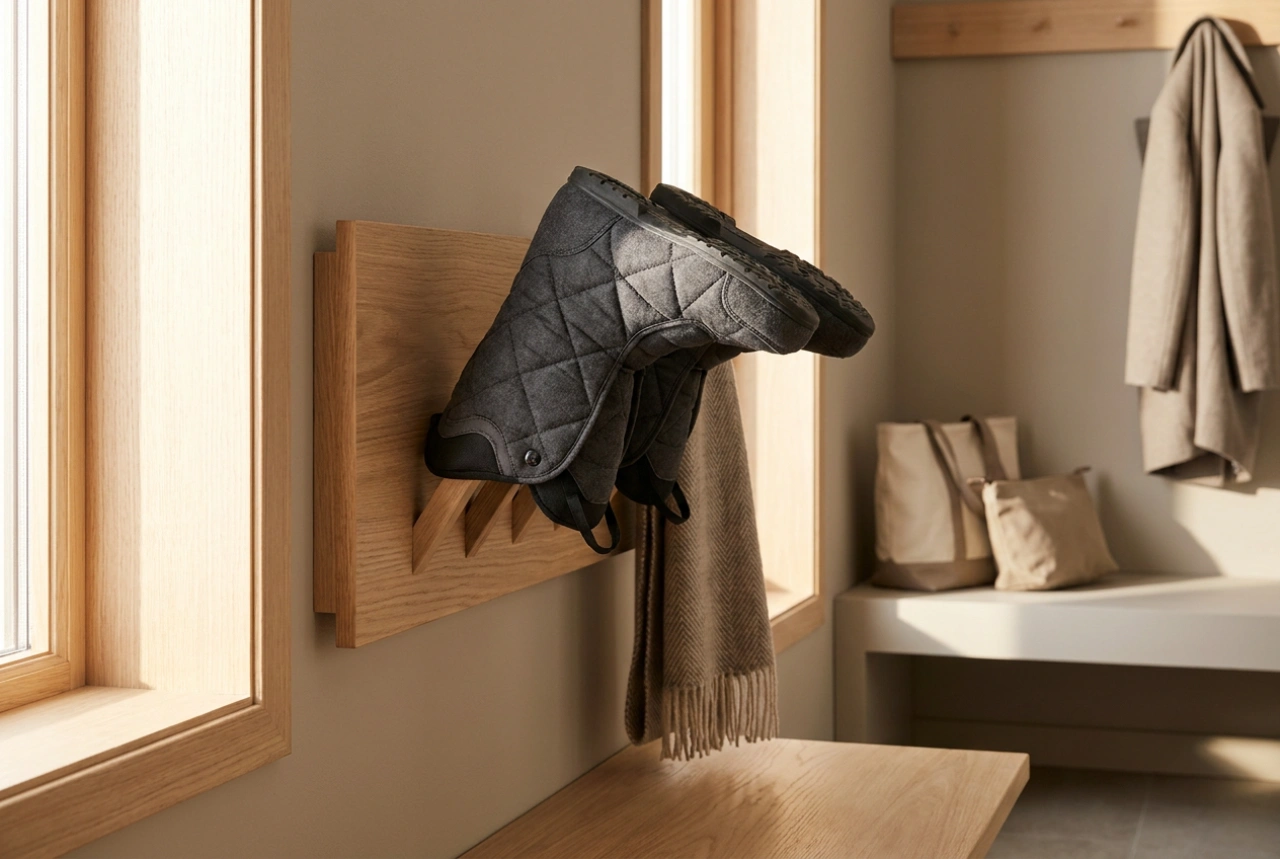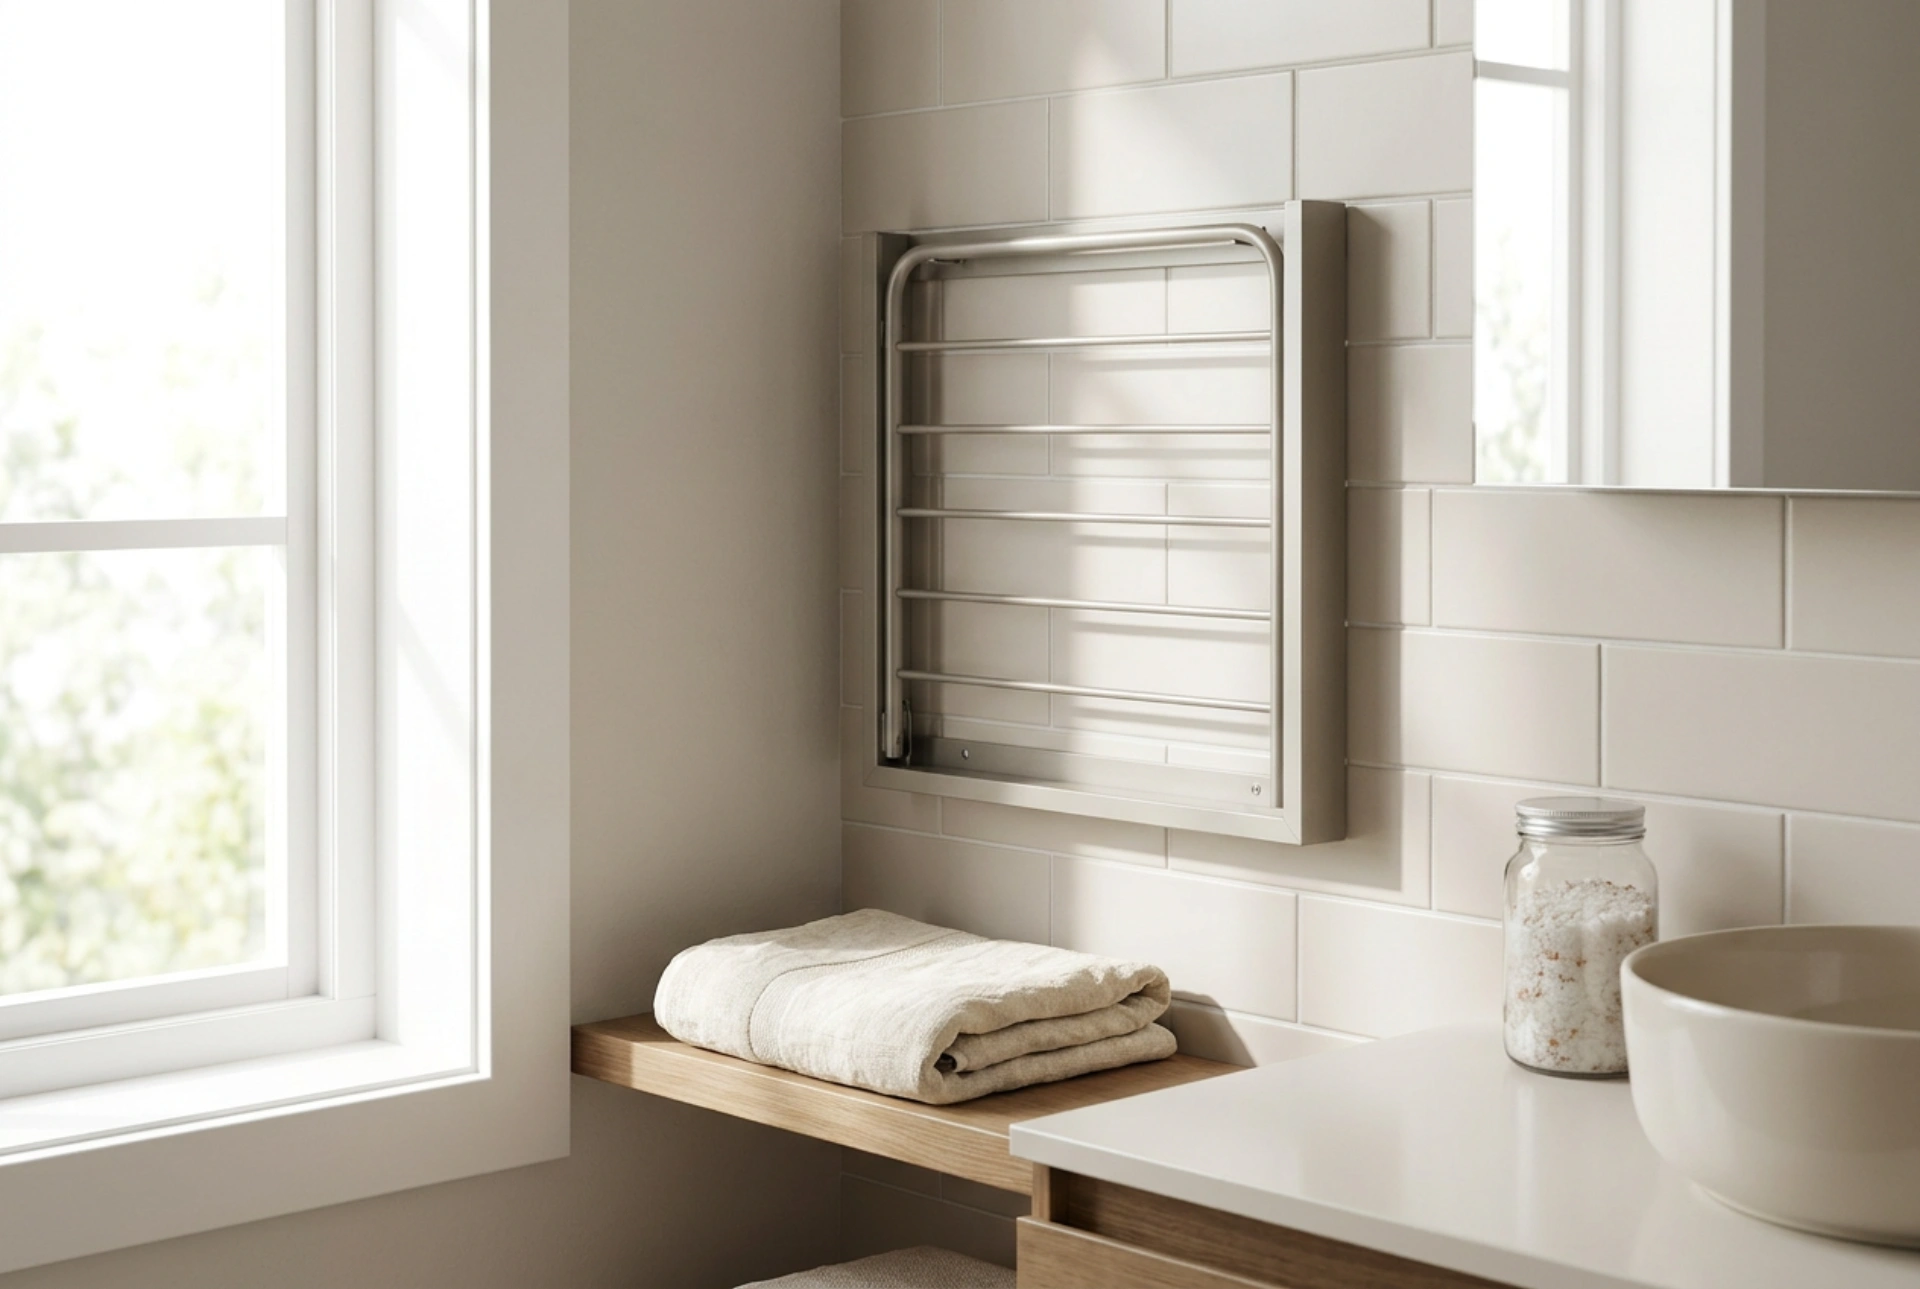


Installing a wall-mounted drying rack in a bathroom requires a careful balance of physics, material science, and spatial planning to ensure efficient drying and structural stability. This guide explains how to calculate weight loads, optimize airflow, and secure the fixture safely without compromising your walls.
The Physics of Drying: Airflow and Thermodynamic Placement
Drying laundry is fundamentally a process of phase transition, where liquid water in textile fibres evaporates into the surrounding air. For this transition to occur efficiently, the boundary layer of saturated air directly surrounding the wet fabric must be continuously replaced with drier air. Without adequate movement, local relative humidity reaches 100%, halting evaporation and leading to musty odours or mold growth.
When planning your rack location, prioritize areas with active air circulation. Position the rack near the bathroom extraction fan or opposite a door or window to benefit from natural cross-ventilation. Avoid placing the rack in stagnant corners or directly above cold, uninsulated external walls, as the warm, moisture-laden air rising from the clothes will condense on these cold surfaces, risking moisture damage.
Additionally, utilize vertical convection. Since warm air rises, placing the drying rack above a radiator or near a heat source accelerates the molecular movement of water, speeding up evaporation. However, maintain a safety clearance of at least 30 centimetres from any heat source to prevent fabric damage or restricted heat distribution.
Structural Engineering: Substrates, Forces, and Anchor Selection
A major failure point for wall-mounted racks is underestimating the load-bearing requirements. Wet textiles can weigh up to three times their dry weight. A standard wash load of 5 kilograms of dry clothes can easily exert a static force of 15 kilograms when wet, which translates to a continuous pulling force on your wall fixings.
Before drilling, identify your wall substrate. Different materials require specific anchoring mechanisms to handle shear (downward) and tension (pull-out) forces:
- Solid Brick or Concrete: Use nylon expansion plugs or sleeve anchors. These grip the solid substrate through friction along the entire cylinder length, providing maximum resistance to pull-out forces.
- Hollow Brick or Breeze Blocks: Opt for universal plugs or injection mortar systems. These expand or form a physical block within the internal cavities of the brick.
- Drywall (Plasterboard): Drywall has low shear strength. If possible, locate the wooden or metal studs behind the plasterboard using a stud finder and secure the rack directly into them using wood screws. If stud alignment is impossible, use heavy-duty metal toggle bolts or self-drilling metal plasterboard anchors. Avoid plastic expansion plugs in drywall, as they will degrade the plasterboard under cyclic loading.
Ergonomics and Spatial Mechanics
A well-planned rack must integrate seamlessly with daily bathroom movements. Consider the clearance required for the rack in both its folded (stored) and extended (operational) states. The mounting height should allow the tallest household members to walk past without collision, yet remain low enough to hang clothes comfortably without shoulder strain—typically between 160 and 180 centimetres from the floor.
Ensure the rack does not obstruct transit paths, shower doors, or cabinet openings. Furthermore, avoid placing the rack directly inside wet zones (such as directly over a bathtub or adjacent to a shower enclosure) unless the material of the rack is completely impervious to direct water contact, such as marine-grade stainless steel or powder-coated aluminium. Constant direct splashing will eventually degrade even treated metals and can re-soak drying garments.
Optimising Loading Techniques for Air Circulation
Even the best-positioned rack will perform poorly if overloaded. When hanging wet items, maintain an air gap of at least 3 to 5 centimetres between garments. This gap allows convective air currents to pass between the layers of fabric. Hang heavier, thicker fabrics like denim and heavy cotton on the outer bars of the rack where air velocity is highest, and lighter synthetics on the inside. This distribution ensures even drying times across the entire load.