

Maximising the efficiency of a robotic vacuum and mop requires more than just pressing a button; it demands a strategic understanding of floor geometry, surface materials, and chronological sequencing. By aligning your device's automated pathing with household dynamics and physical science, you can achieve pristine floors with minimal human intervention.
The Sequencing Principle: Why Vacuuming Must Precede Mopping
Applying moisture to dry dust and loose debris creates a slurry of fine mud that robot pads simply smear across the floor. To prevent this, the scheduling order must be strictly managed. If your device does not support a sequential vacuum-then-mop program in a single run, you must separate these tasks into distinct schedules.
Allow at least a thirty-minute buffer between the completion of the dry vacuuming cycle and the initiation of the mopping cycle. This delay ensures that any airborne dust disturbed by the vacuum's exhaust fan has fully settled back onto the floor, allowing the damp microfibre pad to capture it during the wet run. Additionally, this interval gives the device's battery sufficient time to cool down before transitioning to the higher-power demands of water pumping and pad agitation.
Zone-Based Scheduling and Navigation Science
A successful automation schedule relies heavily on room zoning. Kitchens and entryways experience high-frequency foot traffic and gather heavy, abrasive particulates like sand and food crumbs. Bedrooms, conversely, accumulate lighter, fibrous debris such as skin flakes, hair, and clothing lint. Grouping these zones by soil level prevents cross-contamination.
- High-Traffic Zones: Schedule these areas for daily vacuuming, ideally shortly after peak activity times, such as after breakfast or dinner preparation.
- Low-Traffic Zones: Bedrooms and home offices only require vacuuming twice a week. Run these cycles during hours when the rooms are unoccupied to minimise disruption.
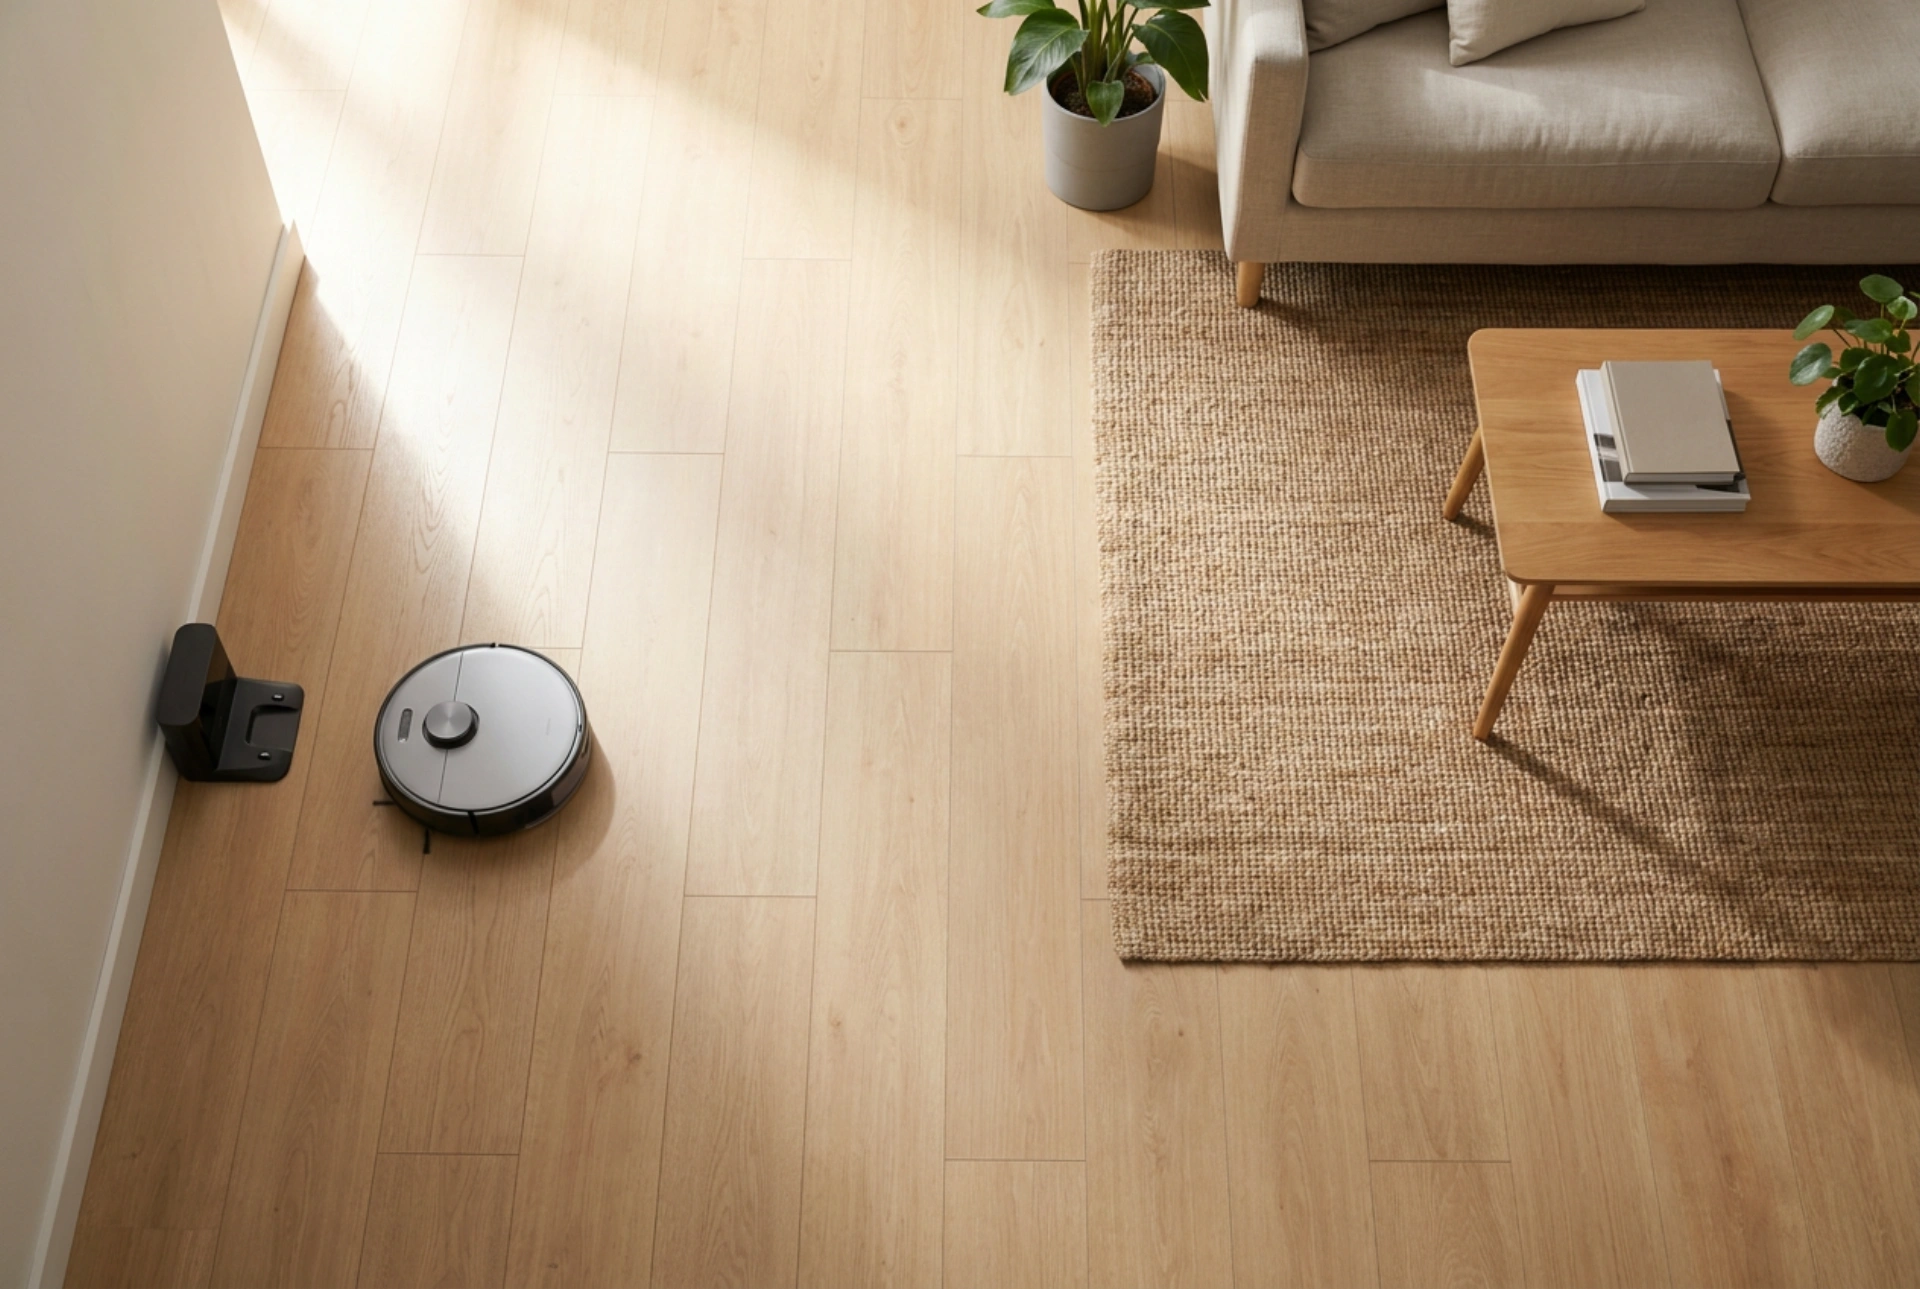
- Sequential Pathing: Program the robot to clean from the furthest point of the home back toward the charging dock. This prevents the wheels from driving over freshly cleaned, damp surfaces, eliminating track marks and tyre slippage.
The Chemistry of Robot Mopping: Water Quality and Surfactants
Robotic mopping mechanisms rely on delicate internal plumbing, capillary action in microfibre pads, and gentle friction. Standard tap water contains dissolved calcium and magnesium ions. Over time, heat and evaporation cause these minerals to precipitate, forming limescale blockages inside the microfluidic pumps and spray nozzles.
Using distilled or demineralised water completely eliminates this scaling risk. When selecting cleaning solutions, avoid oily floor polishes or high-foaming detergents. Excess foam reduces suction efficiency and leaves a sticky surfactant residue that actually attracts fresh dust. Instead, use highly diluted, non-foaming neutral pH cleaners specifically designed for low-moisture delivery systems. The microfibre pads rely on capillary force to lift emulsified dirt off the floor; if the pad becomes oversaturated with soapy residue, its structural fibres flatten, drastically reducing its cleaning efficacy.
Mechanical Prep and Post-Cycle Care
A robotic cleaner is only as efficient as its physical maintenance routine. Before any scheduled run, clear the floor of flexible obstacles like charging cables, tasselled rugs, and lightweight pet bowls. These objects alter the robot's bumper sensors and infrared mapping, forcing it to recalibrate its path, which drains battery life and leaves uncleaned gaps.
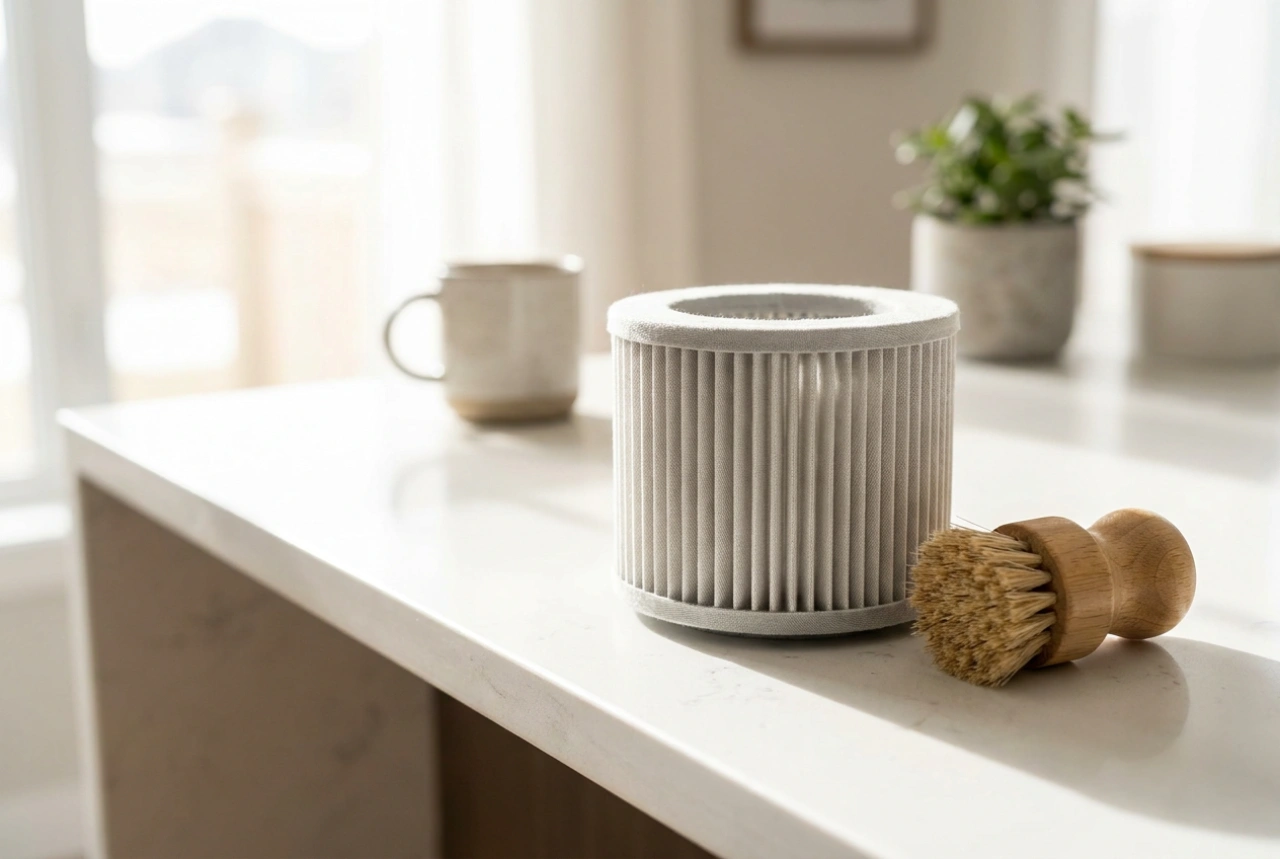
Post-cleaning maintenance is vital to prevent bacterial growth. Leaving a damp microfibre pad attached to the robot after a cycle creates a dark, humid environment perfect for mildew and anaerobic bacteria, resulting in sour odours. Ensure your schedule aligns with a time when you are home to immediately remove and wash the pad in warm water, allowing it to air dry thoroughly. Empty the dustbin regularly to maintain optimal airflow and prevent backpressure on the vacuum motor.