

Wet-and-dry vacuum cleaners streamline floor maintenance by combining suction and active washing, but achieving a streak-free, hygienic finish requires understanding the physics of moisture extraction and surfactant chemistry.
The Mechanics of Combined Vacuuming and Washing
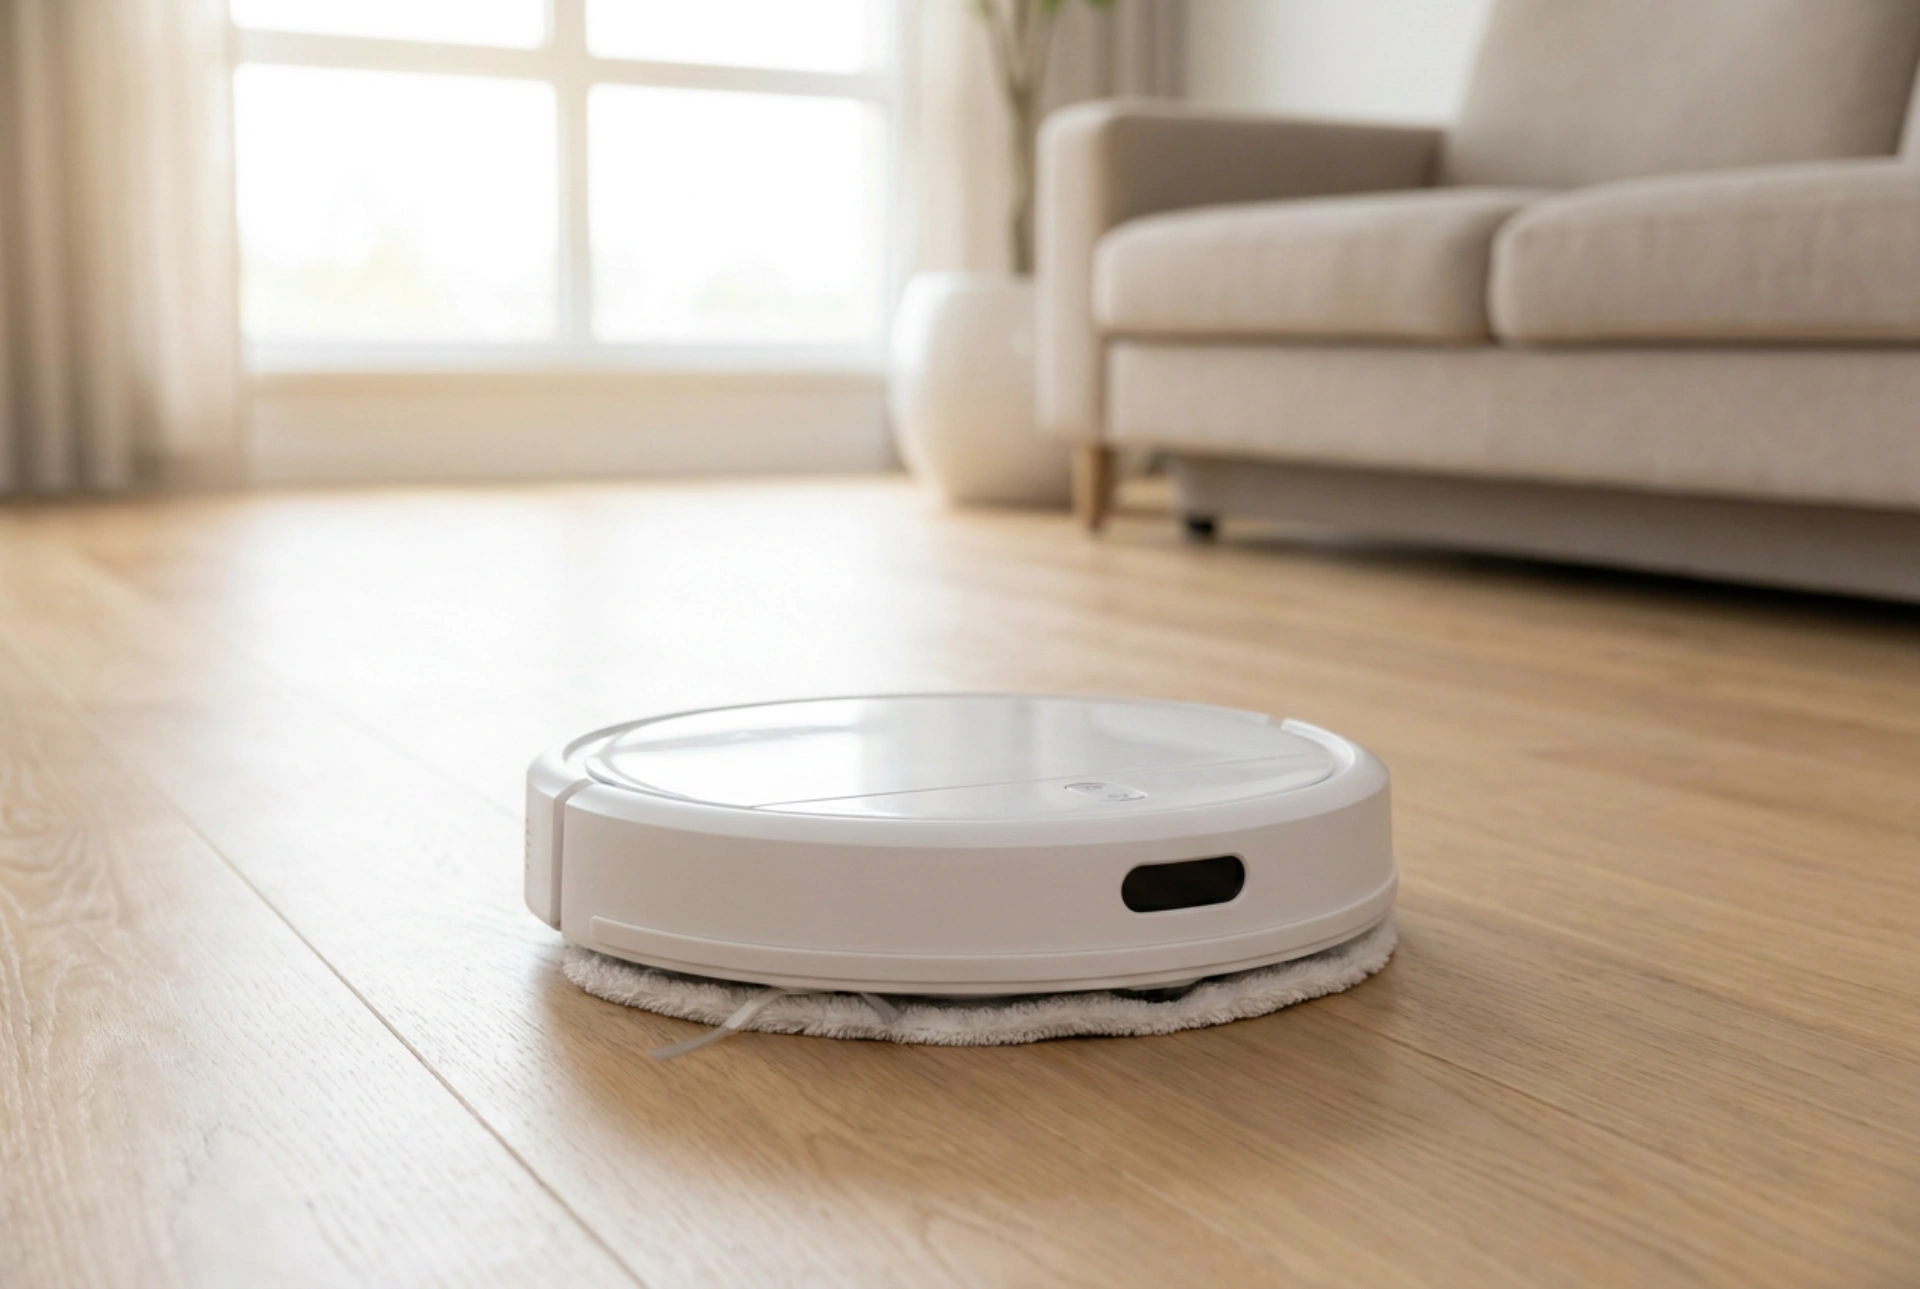
Traditional mopping relies on a single bucket where dirty water is repeatedly reintroduced to the floor surface, leading to the redistribution of fine particulate matter. In contrast, a wet-and-dry vacuum washer utilises a dual-tank system that physically isolates the clean washing solution from the recovered dirty water. The active cleaning process relies on three synchronized phases: liquid deposition, mechanical agitation, and high-velocity extraction.
As the machine moves forward, it deposits a controlled film of water mixed with low-foaming surfactant. Immediately behind this fluid application, a rotating microfibre or composite brush roll spins at high revolutions per minute (RPM). This rotation provides mechanical agitation, breaking the surface tension of oils and lifting adhered dust particles from the microscopic crevices of the floor. Finally, the squeegee nozzle at the base of the machine, powered by negative pressure from the motor, immediately extracts the emulsified dirt-and-water mixture into the waste tank before it can evaporate and leave mineral rings.
Selecting and Dosing the Right Cleaning Agent
Using the correct chemical formulation is critical to prevent machine malfunction and floor damage. Standard household detergents or dish soaps should never be used in a wet-and-dry vacuum. These substances contain high-foaming anionic surfactants designed to create stable suds. In a high-suction vacuum environment, this foam rapidly expands inside the waste recovery tank, bypasses the physical float-valve safety mechanism, and can enter the motor housing, causing electrical failure.
- Low-Foaming Non-Ionic Surfactants: These are engineered to break surface tension and lift grease without producing excess foam. They ensure the vacuum suction path remains clear and dry.
- pH Balancing: For natural stone and sealed hardwood, use neutral pH (around 7.0) formulas. Alkaline solutions (pH > 8.0) are excellent for emulsifying lipids on ceramic tiles but can strip the protective polyurethane coatings from wooden surfaces over time.
- Water Hardness and Dosage: Over-dosing detergent does not improve cleaning; instead, it leaves a microscopic sticky residue of unrinsed surfactant. This residue acts as a magnet for new dust and dirt, causing the floor to soil much faster. Always use soft or distilled water if your domestic tap water has a high calcium carbonate concentration to prevent scale build-up inside the internal heating or distribution nozzles.
Optimising Motion and Technique
To achieve streak-free results, your physical cleaning technique must align with the mechanical design of the appliance. Haphazard scrubbing motions undermine the extraction capabilities of the squeegee nozzle.
Begin by mapping the room in parallel, overlapping lanes. When pushing the device forward, engage the liquid trigger to release the cleaning solution and allow the rotating brush to scrub the surface. Move at a slow, steady pace—approximately one metre every three seconds—to give the chemical surfactants time to emulsify the grime. On the backward stroke, release the liquid trigger. This ensures that the squeegee is pulled over the wet surface with maximum suction power, lifting the dirty water completely from the floor. For highly porous surfaces or deep grout lines, perform a final "dry pass" over the entire area without releasing any water to accelerate evaporation and eliminate any remaining moisture trails.
Material-Specific Care Protocols
Different flooring materials react uniquely to moisture and mechanical friction. Tailoring your approach prevents long-term structural degradation.
Sealed Hardwood and Laminate
Wood fibers are highly hygroscopic; they readily absorb liquid, which causes swelling, warping, and joint separation. When cleaning sealed wood, minimize water delivery by pulsing the trigger rather than holding it down continuously. Ensure the machine is moving constantly to prevent water pooling. Verify that your brush roll consists of soft microfibres without abrasive nylon bristles that could scratch the protective lacquer.
Ceramic and Porcelain Tiles
Tiles can tolerate higher moisture levels and stronger mechanical agitation. Use a brush roll with stiffer nylon inserts to penetrate the recessed grout lines. Because grout is highly porous and prone to collecting organic matter, slow down your extraction stroke to pull contaminated water out from these lower-lying channels.
Essential Post-Clean Maintenance
A wet-and-dry vacuum is an enclosed ecosystem. Failing to clean the machine itself immediately after use leads to rapid bacterial colonisation, resulting in foul odors and the redistribution of allergens during the next cleaning cycle.
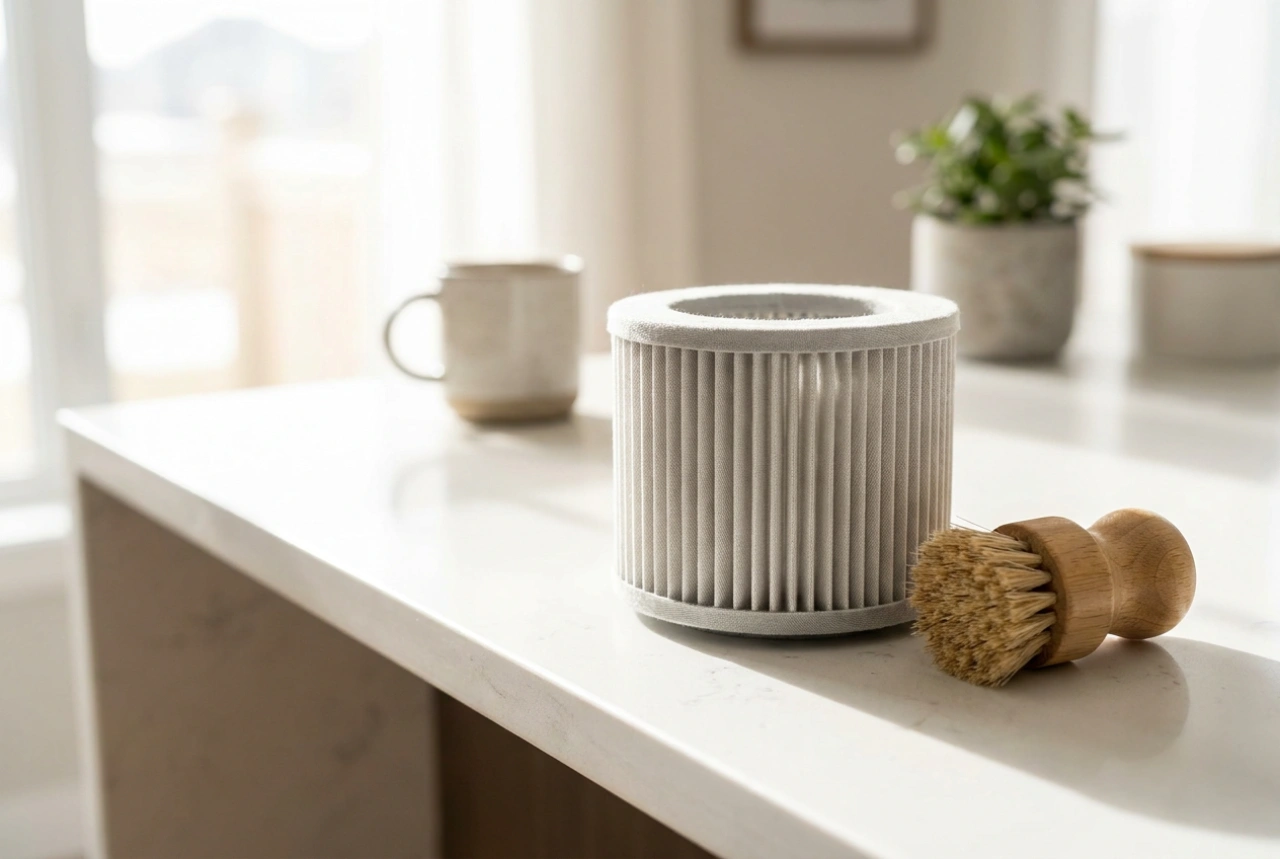
Empty the waste recovery tank immediately after every use. Rinse it thoroughly with warm water to remove the silty sediment that settles at the bottom. Detach the rotating brush roll and clear any wrapped hair or debris from the axle, as this friction increases motor strain. Place the brush roll and the machine's filter in a well-ventilated area to dry completely for at least 24 hours. Storing a damp brush roll inside the dark, unventilated nozzle head guarantees mold growth and material rot.