

Transitioning to automated floor maintenance requires more than just pressing a start button; it demands strategic preparation of the surface to optimize the robot's navigation sensors and mechanical cleaning systems. Properly preparing your floors prevents mechanical stall, avoids the smearing of localized spills, and ensures even liquid distribution during the mopping cycle.
Managing Cable Physics and Low-Profile Obstacles
Automated vacuuming and mopping robots rely on a combination of LiDAR (Light Detection and Ranging), optical cameras, and physical bumper sensors to map and navigate spaces. However, low-profile obstacles—specifically loose power cables, charging cords, and deep rug fringes—frequently fall below the detection threshold of optical sensors. When a rotating side brush encounters a loose cable, the rotational torque draws the wire into the brush assembly, causing a mechanical stall.
Practical preparation steps:
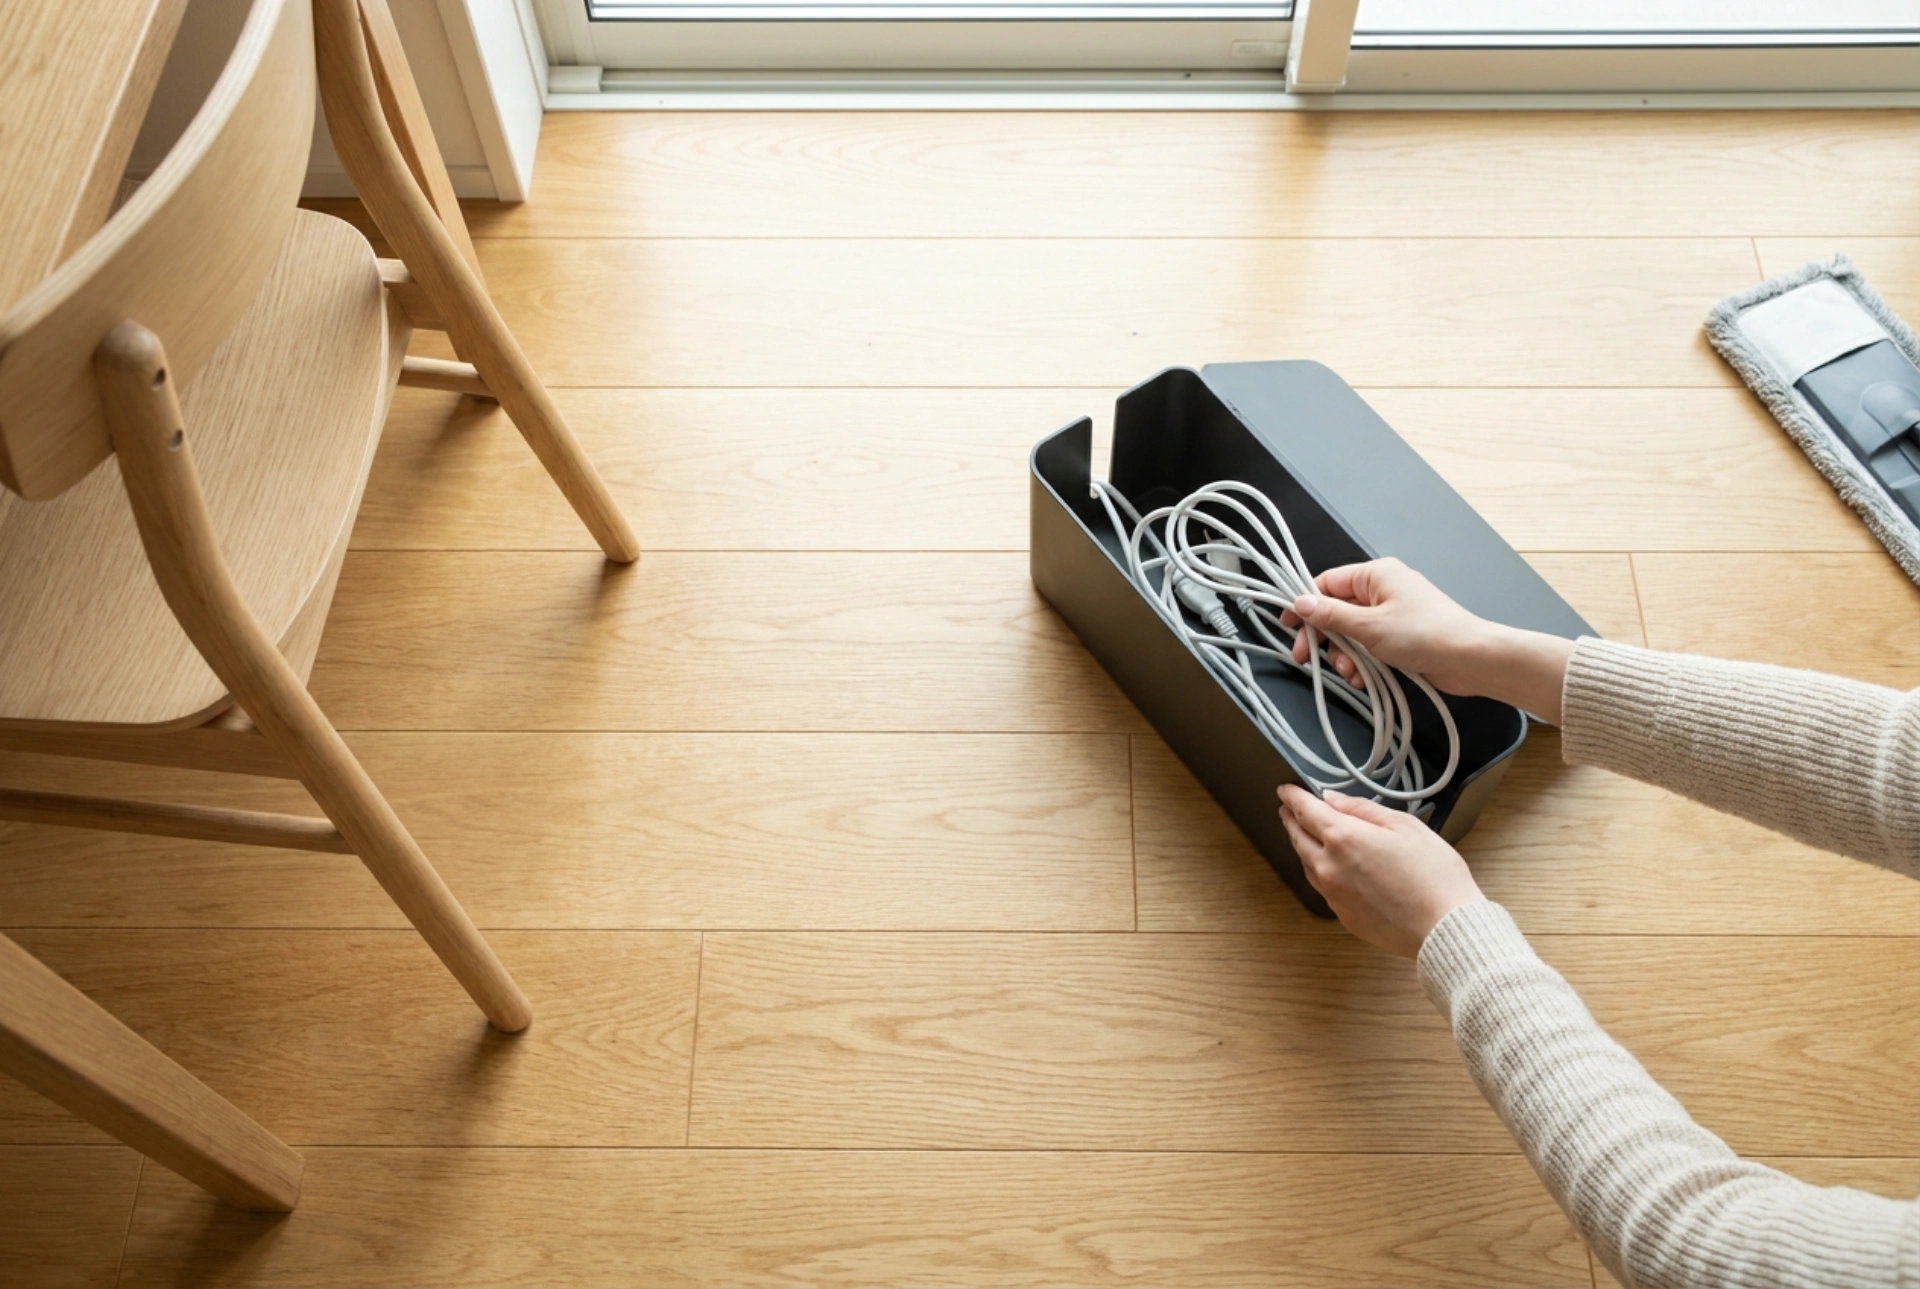
- Elevate all loose cords at least 10 centimeters off the floor surface using dedicated cable organizer boxes or adhesive clips.
- Tuck rug fringes beneath the rug body or temporarily roll up thin, lightweight mats that lack rubberized, high-friction backings, as the robot's drive wheels can easily fold these fabrics and become high-centered.
- Clear small, lightweight items such as pet bowls or toys, which do not exert enough resistance to trigger bumper sensors and will simply be dragged across the floor, potentially scratching delicate surfaces like oiled hardwood.
Surface Chemistry and Wet Spill Mitigation
A common error is deploying a hybrid robot onto a floor with active wet spills or sticky, semi-solid residues. When a dry vacuum intake passes over a wet spill, capillary action draws liquid into the dustbin filter, ruining the paper-based HEPA medium and reducing suction pressure. Furthermore, a mopping pad dragged over sticky spills will instantly saturate with the substance, spreading a thin layer of contaminant across the remaining clean areas of the room.
How to pre-treat the surface:
- Address any localized wet spills manually with an absorbent microfiber cloth prior to the cleaning cycle.
- Inspect the floor for dried, sugary spills; spot-treat these areas with a warm, damp cloth to dissolve the crystalline structure, preventing the robot from simply spreading the sticky residue.
- Ensure the floor is free of abrasive particulate matter, such as gravel or broken glass, which can get trapped under the mopping pad and act as an abrasive paper, scratching polyurethane floor coatings.
Microfiber Saturation and Water Temperature Science
The mechanical efficiency of the mopping module depends heavily on the surface tension of the water and the capillary action of the microfiber pad. A dry microfiber pad has high initial surface tension, meaning it will repel water and skip across the floor instead of absorbing dirt until it is thoroughly saturated. For optimal results, use lukewarm water in the reservoir. Warm water decreases surface tension, allowing the liquid to penetrate the fibers of the mop pad and the microscopic pores of the flooring material more rapidly.
Optimizing the mopping cycle:
- Always pre-wet the microfiber pad under running lukewarm water and wring it out so it is uniformly damp before attaching it to the robot. This ensures immediate cleaning efficiency from the first centimeter of travel.
- Avoid using tap water with extremely high calcium carbonate content (hard water) in the reservoir, as mineral scaling can clog the internal drip nozzles or ultrasonic water pumps over time. Use distilled or softened water instead.
- Do not add thick, waxy, or high-foaming cleaning agents to the tank, as they coat the internal sensors and create a slippery film on the floor, reducing the traction of the rubber drive wheels.
Navigation and Threshold Clearing
Physical transitions between different flooring materials, such as moving from ceramic tiles to hardwood, often feature transition strips or thresholds. Most modern cleaning robots can negotiate vertical transitions up to 1.5 to 2 centimeters. However, if the transition is abrupt or angled steeply, the bumper sensor may register it as a wall, causing the robot to turn back prematurely.
Ensuring seamless navigation:
- Analyze room thresholds and clear any temporary floor-level obstructions that narrow the pathway to less than the width of the robot plus a 10-centimeter clearance margin on either side.
- Ensure adequate ambient lighting if your robot utilizes optical VSLAM (Visual Simultaneous Localization and Mapping) technology, as low-light conditions impair the camera’s ability to recognize ceiling and wall landmarks, leading to repetitive or missed cleaning paths.