

Deep cleaning car upholstery with an extraction vacuum requires understanding fiber mechanics and chemical reactions to lift stubborn dirt without damaging the material. This guide details the step-by-step process of pre-treating, agitating, and extracting moisture to restore vehicle fabrics.
The Science of Fabric Extraction: Surfactants and Water Temperature
Wet extraction cleaning relies on the chemical synergy between surfactants, water temperature, and mechanical lift. Car upholstery is typically made of densely woven synthetic fibers like polyester or nylon, which trap grease, sweat, and atmospheric dust. Standard water cannot dissolve these oily binders because of high surface tension. Surfactants solve this by possessing dual-affinity molecules: a hydrophilic (water-attracting) head and a lipophilic (fat-attracting) tail. When applied, the tails bind to the grease while the heads pull toward the water, lifting the soil from the fiber surface.
Water temperature plays a crucial role in this molecular breakdown. Warm water (between 40°C and 50°C) increases the kinetic energy of the cleaning solution, accelerating the emulsification of lipids and waxes. However, exceeding 60°C must be avoided; excessive heat can weaken the latex backing of car seats, liquefy adhesives, or cause synthetic fibers to warp and lose their structural integrity.
The Foundation: Thorough Dry Vacuuming
The most common failure in wet extraction is skipping or rushing the dry vacuuming phase. Fabric seats act as a multi-layered filter, trapping fine dust, sand, and organic debris deep within the weave. If you apply moisture directly to dry dirt, it liquefies into a fine mud that penetrates deeper into the foam padding, leading to permanent staining and musty odours.
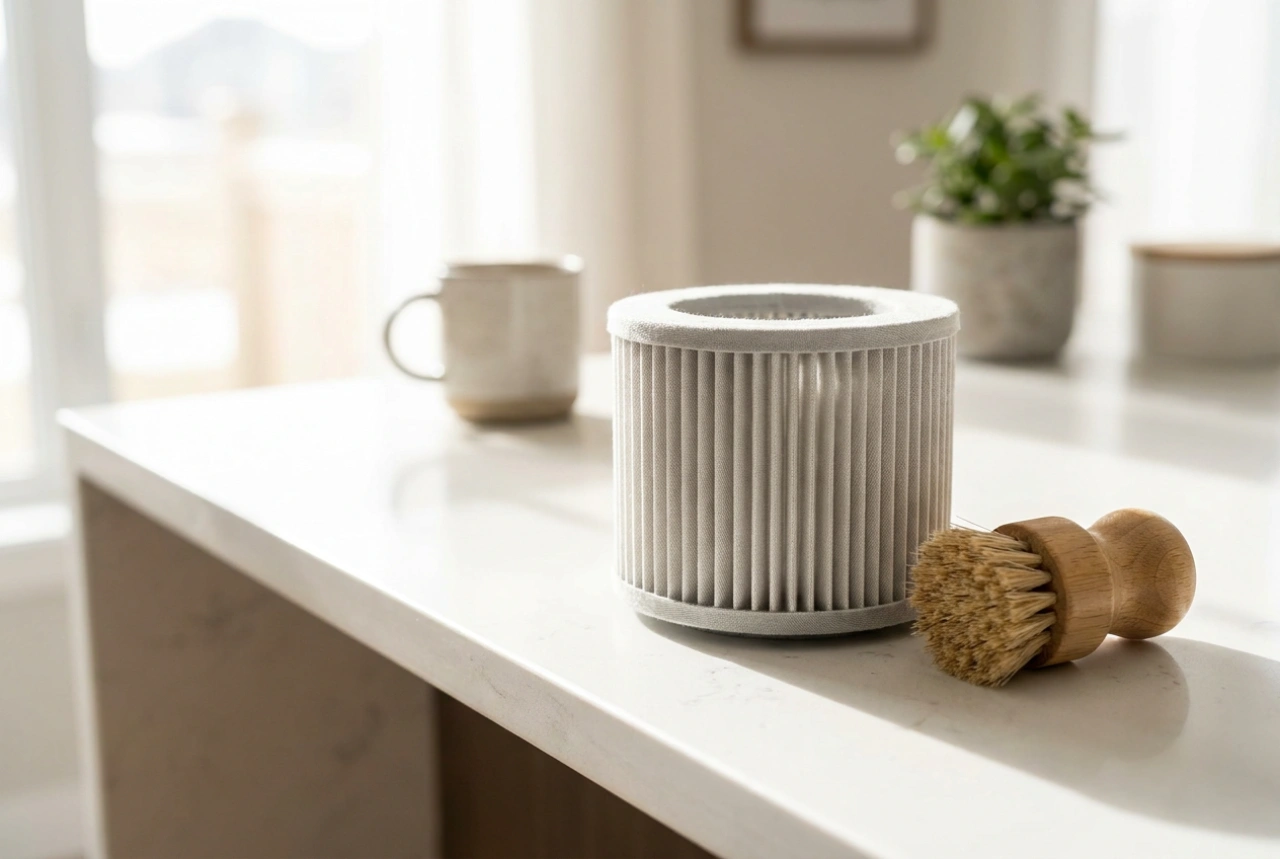
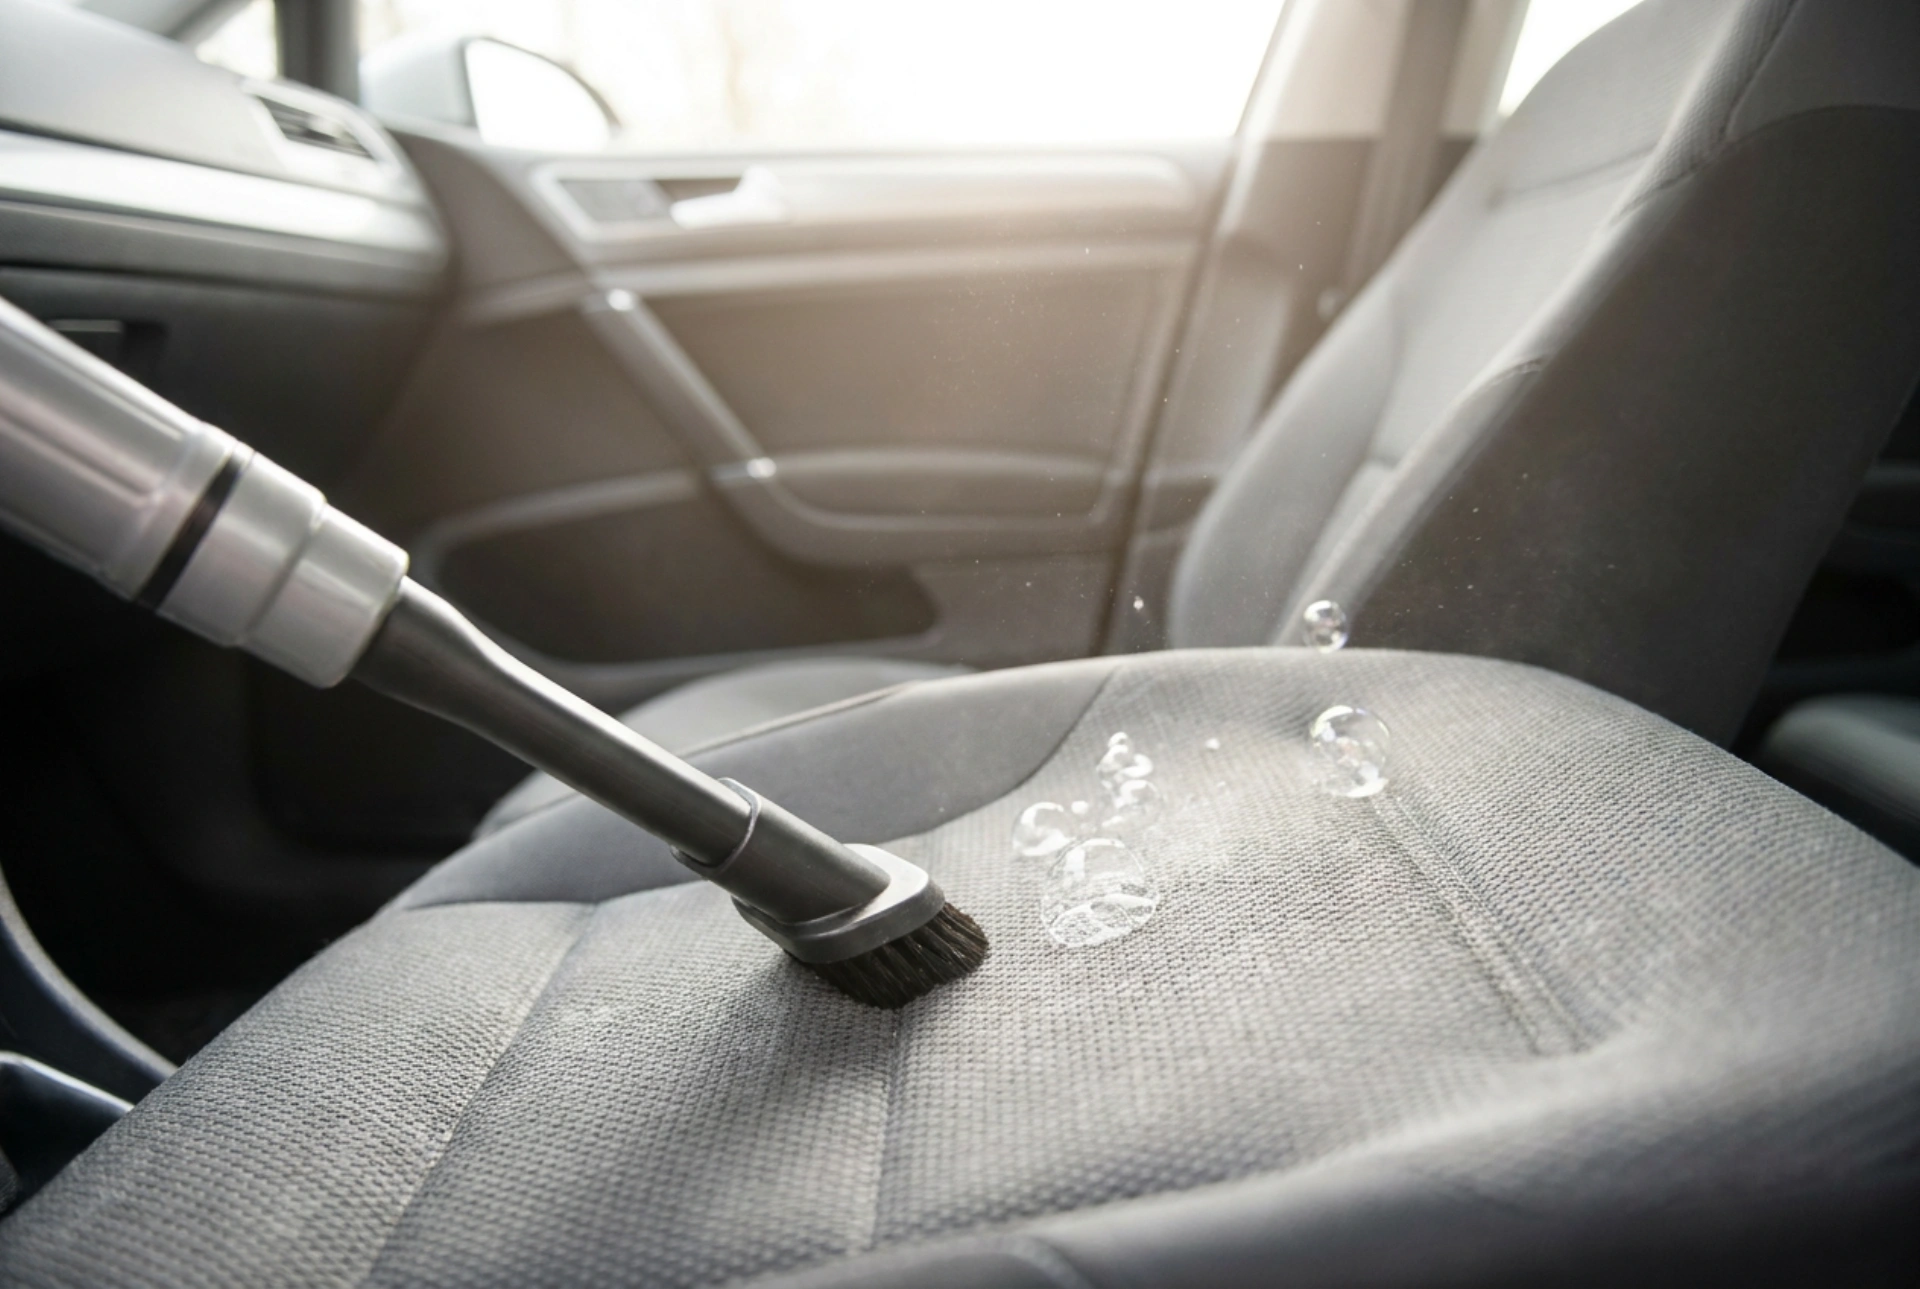
To prevent this, use a high-powered vacuum cleaner equipped with a crevice tool and a stiff-bristled upholstery brush. Work systematically in overlapping grid patterns. Use the brush to agitate the fabric, opening up the weave to release trapped particulates. Pay special attention to seams, crevices, and the transition areas between the seat back and cushion, where gravity forces debris to accumulate.
Pre-Treatment and Mechanical Agitation
Injecting cleaning solution directly through the extraction nozzle and immediately vacuuming it up is highly inefficient. The chemical requires dwell time to break the physical bonds of the dirt. Instead, apply a dedicated upholstery pre-spray evenly across the fabric surface using a pressure sprayer.
Allow the solution to dwell for five to ten minutes, ensuring it does not dry out. During this dwell time, perform mechanical agitation. Use a medium-soft upholstery brush, moving in circular, overlapping motions. This physical action separates the soil from the individual fiber shafts, suspending the dirt in the chemical foam. Agitation ensures that the wet vacuum only needs to rinse and extract the suspended particles, rather than scrub them loose under suction.
The Rinse and Extraction Process
The extraction phase removes both the suspended soil and the cleaning chemicals. Residual surfactants left in the fabric act as a magnet for future dirt, causing the seats to re-soil rapidly. To prevent this, fill the extraction machine's clean water tank with clean, warm water, optionally adding a mild acidic rinse agent to neutralise the alkaline pre-spray.
Position the extraction nozzle firmly against the fabric at a 45-degree angle to create an airtight seal. Pull the trigger to spray the rinse water while pulling the nozzle backward in a slow, steady stroke. Release the spray trigger about two inches before the end of your stroke to ensure no standing water is left behind. Follow every wet pass with two or three dry passes—strokes where you apply suction only, without spraying water. Watch the transparent nozzle head; continue making dry passes until you no longer see dirty water being drawn into the machine.
Moisture Management and Post-Cleaning Care
The final stage of deep cleaning is ensuring rapid and complete drying. Excess moisture trapped in the seat foam can lead to the growth of mould, mildew, and unpleasant musty smells within 24 to 48 hours. To accelerate evaporation, park the vehicle in a well-ventilated, dry environment.
Lower the car windows by a few centimetres to allow moisture-laden air to escape, or place an axial air mover inside the cabin to promote continuous air circulation. Avoid using high heat sources directly on the seats, as uneven drying can cause water spots to form on the fabric surface as residual moisture migrates to the dry areas.