

Transitioning between wet and dry cleaning modes with a dual-function utility vacuum requires strict adherence to physical and electrical safety protocols to prevent motor damage and hazardous short circuits.
The Dual-Chamber Mechanism and Airflow Physics
Unlike standard household vacuums, which channel exhaust air directly through the motor to cool it, a wet and dry vacuum utilises a bypass motor system. This design separates the cooling air for the motor from the vacuumed airflow carrying debris or liquids. In a bypass system, the dirty air enters the collection canister, drops its heavy particles or liquid due to a sudden decrease in air velocity, and the exhaust air is vented out through a dedicated path that bypasses the electrical components completely. Understanding this separation is crucial: if liquid enters the motor chamber due to overfilling or incorrect tilting, the electrical insulation will fail, resulting in a short circuit or motor burnout. Furthermore, never use a wet-dry vacuum to clean up flammable liquids, solvents, or volatile chemicals. The internal motor brushes still generate small electrical sparks during operation, which can instantly ignite volatile vapours drawn into the canister.
The Critical Filter Transition: Step-by-Step Operations
The most common operational failure in wet-dry vacuums is the incorrect configuration of filters. Using the wrong filter for the task destroys filtration efficiency and can permanently damage the appliance.
Switching from Dry to Wet Mode
- Disconnect Power: Always unplug the machine from the mains before opening the canister to prevent accidental activation.
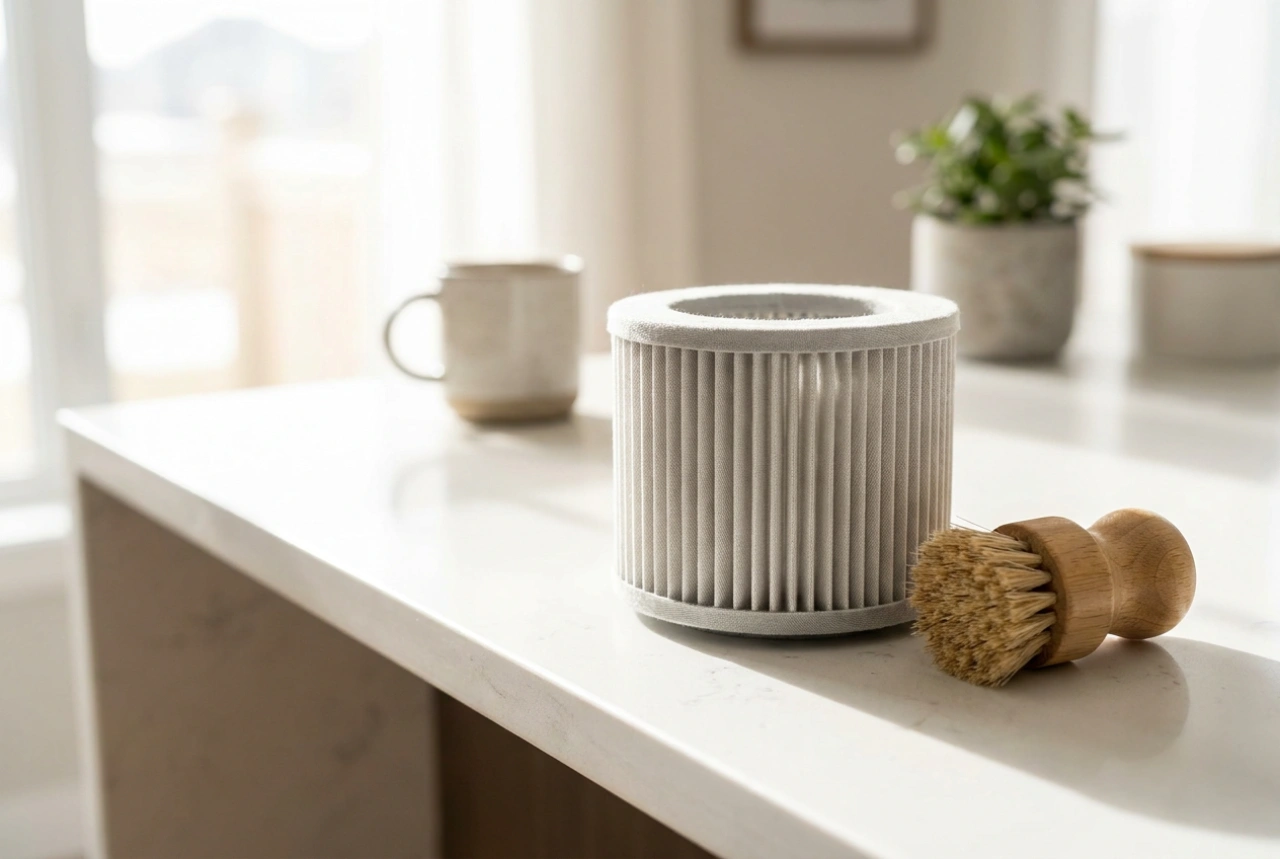
- Remove the Dry Filter: Paper cartridge filters or paper collection bags must be completely removed. If paper filters become wet, the water compromises the cellulose fibres, causing the filter to collapse and clog instantly, which starves the motor of cooling air.
- Install the Foam Sleeve: Fit a high-density polyurethane foam sleeve over the filter cage. This sleeve does not filter fine dust but acts as a physical barrier to prevent large debris suspended in the liquid from entering the impeller housing.
Switching from Wet to Dry Mode
- Empty and Clean the Canister: Pour out all liquid waste. Even a small amount of residual moisture will turn dry dust into a dense paste inside the canister, blocking all airflow.
- Dehumidify the System: Let the tank, hose, and foam sleeve dry completely in a well-ventilated area. Running dry dust through a damp hose causes immediate blockages that are exceptionally difficult to clear.
- Reinstall the Dry Filter: Place the dry cartridge filter or paper bag back onto the intake port. Fine dust requires high-efficiency particulate filters to prevent microscopic particles from escaping back into the room air.
Managing Fluids, Foam, and the Float Valve
The core safety feature during wet extraction is the float valve—a buoyant plastic ball or cup housed in a cage beneath the motor head. As liquid rises in the canister, the float rises. Once the maximum safe liquid capacity is reached, the float seals the air intake to the motor, stopping suction. You will hear a distinct pitch change in the motor as it spins faster due to the loss of air resistance. When this occurs, turn off the power immediately. Do not attempt to override this by tilting the vacuum; tilting can bypass the float valve and allow water to enter the fan housing.
Furthermore, when vacuuming soapy water or detergents, standard float valves cannot detect foam. Foam has low density and will not lift the float, allowing soapy bubbles to bypass the valve and enter the electrical motor casing. To prevent this, always add a small amount of a silicone-based defoaming agent directly to the collection canister before vacuuming any soapy solutions.
Post-Cleaning Maintenance and Hose Cleansing
Residual moisture and organic waste inside a dark, sealed vacuum canister create an ideal breeding ground for bacteria, mould, and mildew. After every wet vacuuming session, empty the canister completely and rinse it with clean water. To clean the internal surfaces of the suction hose, place the nozzle in a bucket of clean, lukewarm water and draw a small amount through the hose while the machine is running, followed by running the machine dry for two minutes to clear all droplets from the internal ribbed walls of the hose. Store the unit disassembled or with the motor head slightly offset to allow continuous airflow and complete drying.