

Vacuuming fine plaster dust requires specialized equipment and techniques to prevent immediate filter clogging and potential motor burnout. Utilizing a construction vacuum with an automatic filter-shaking mechanism is the only reliable way to manage this highly abrasive, ultra-fine mineral material during renovations.
The Physics of Plaster Dust: Why Standard Vacuums Fail
Plaster dust consists primarily of calcium sulphate hemihydrate, which fractures into microscopic particles often under five microns. When sucked into standard vacuums, these particles penetrate deep into standard filters through depth filtration, blocking microscopic air passages. Because vacuums rely on incoming airflow to cool their motors, this restriction causes rapid overheating and mechanical failure. Additionally, abrasive calcium sulphate can bypass poor seals, grinding down bearings and destroying the unit.
How the Automatic Filter-Shaking Mechanism Works
To overcome this, professional construction vacuums utilize an automatic filter-shaking or pulse-cleaning system. Pressure sensors monitor the differential between the dirty and clean sides of the filter. When restriction exceeds a preset threshold, the system triggers a pulse. In pneumatic systems, a valve briefly reverses the airflow, sending a blast of air backward through the filter. In mechanical systems, an electromagnetic hammer strikes the filter frame. This vibration dislodges the dust cake into the collection container, restoring airflow without work interruption.
Proper Vacuum Setup for Plaster Extraction
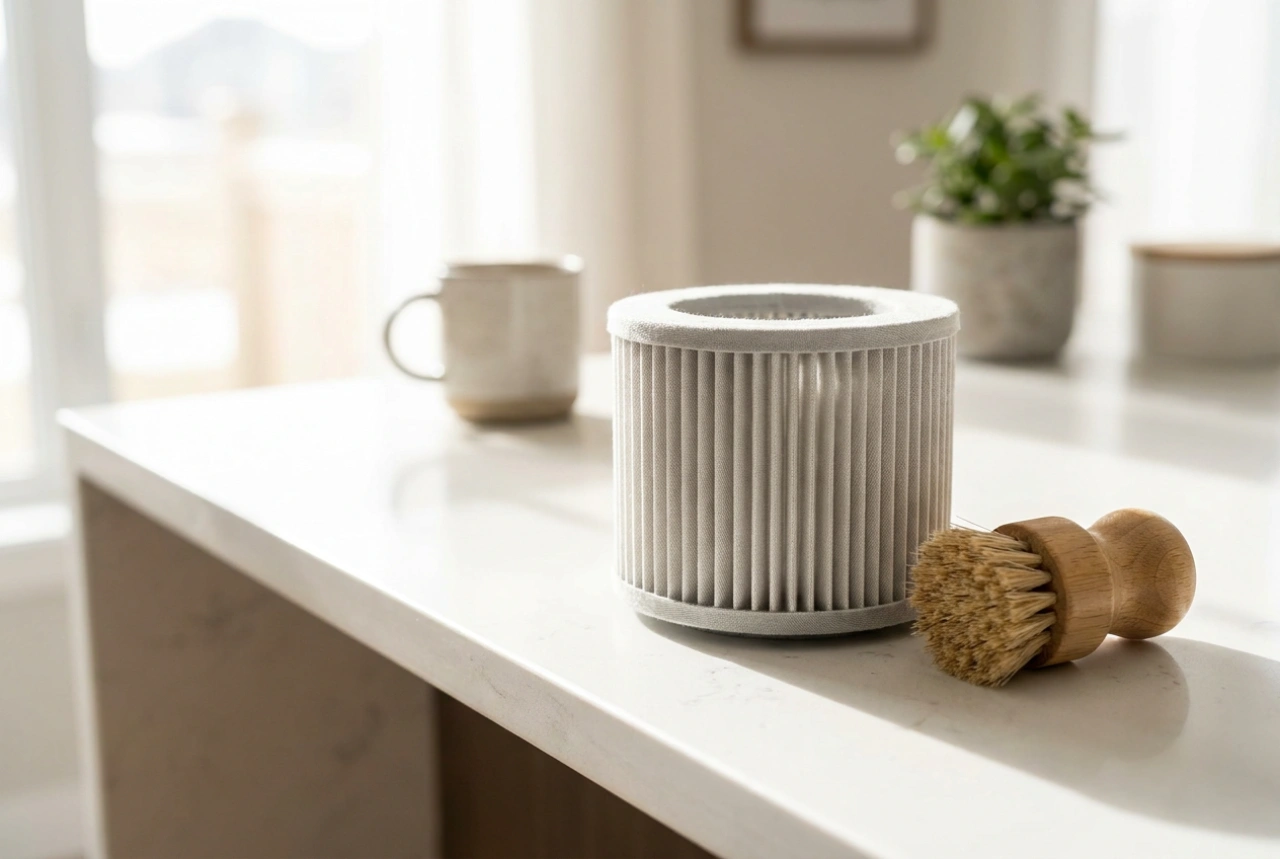
Ensure your machine has an M-class or H-class filter to capture at least 99.9% of dust under two microns. If operating bagless, verify the main filter is made of durable, washable polyester rather than paper, which tears under pneumatic pulses. For plaster, using a specialized fleece filter bag is highly recommended. It acts as an excellent pre-filter, capturing the bulk of the material while the automatic shaker keeps the main filter clear. Set the auto-cleaning frequency to the highest level.
Techniques and Order of Operations
Success when removing plaster dust depends on physical technique and sequence to minimize dispersion:
- Never sweep beforehand: Dry sweeping projects fine plaster into the air, where it remains suspended for hours. Vacuum directly from the start.
- Top-to-bottom order: Start from ceilings and window sills before moving to the floor to capture settling particles.
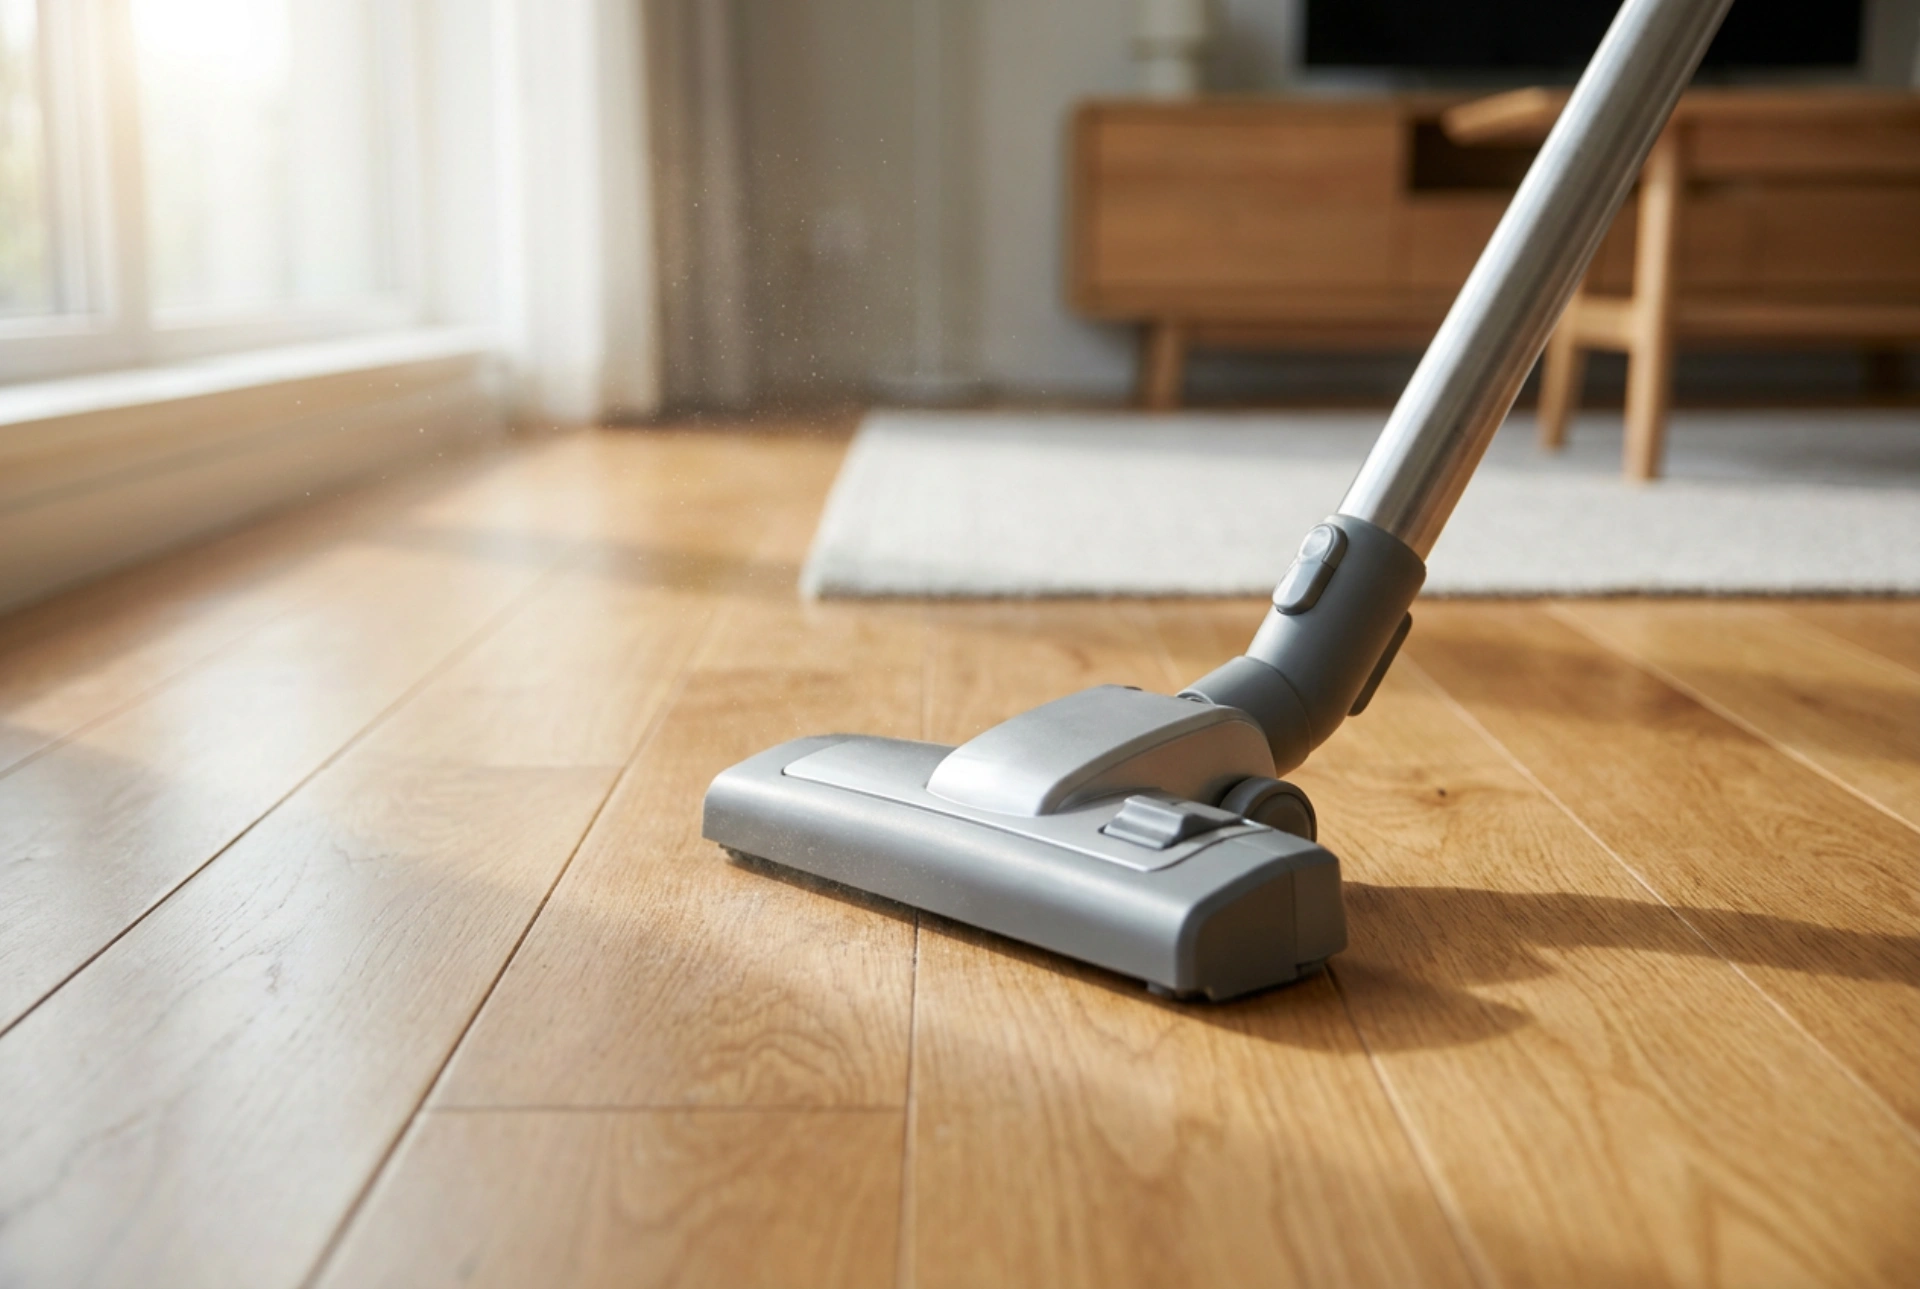
- Maintain nozzle airflow: Do not press the nozzle completely flat. Sealing it stops the airflow required to transport dust and cool the motor. Maintain a slight gap.
- Slow, deliberate passes: Move in steady, overlapping straight lines. Fast movements create turbulence that pushes dust away.
Post-Cleanup Maintenance and Filter Care
Turn off the machine and allow the automatic shaker to run one final cycle before unplugging. When emptying the container or fleece bag, do so slowly, preferably outdoors or inside a refuse bag to avoid secondary dust clouds. Rinse washable polyester filters under low-pressure cold water without detergent. Allow them to air-dry completely for twenty-four hours; damp plaster dust will instantly cure into an impermeable crust upon moisture contact, destroying the filter.