

Drying laundry in a small studio apartment requires a strategic approach to physics, airflow, and spatial organization to prevent mold and ensure fast drying times.
The Physics of Drying in Confined Spaces
Drying clothes is essentially a thermodynamic process of evaporation, where liquid water in the fabric absorbs heat and transforms into water vapor. In a confined space like a studio apartment, this process is limited by two main factors: air saturation and air movement. When the surrounding air reaches high relative humidity, evaporation slows down significantly, leaving clothes damp for too long and creating a breeding ground for musty odors. To combat this, you must actively manage humidity and maximize the surface area of your textiles.
Selecting and Positioning the Small Drying Rack
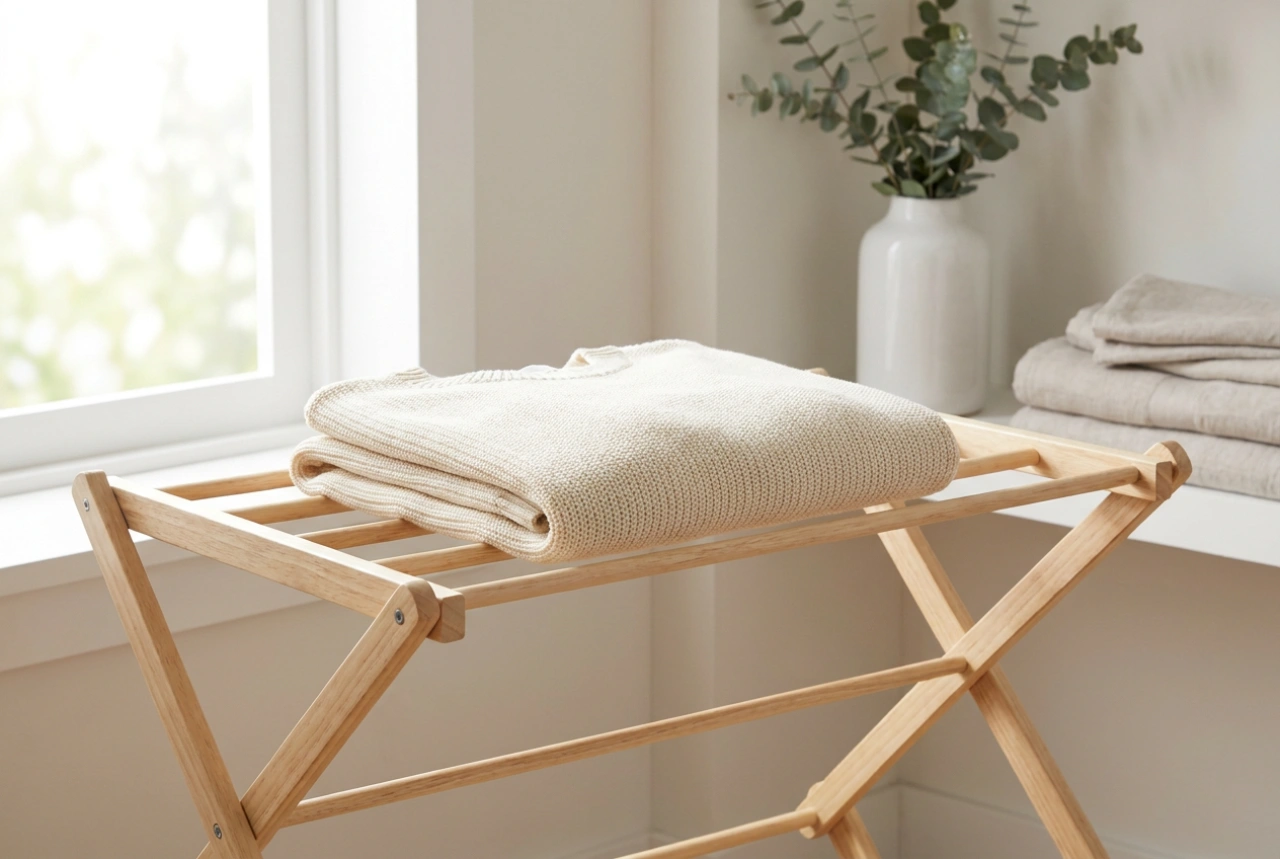
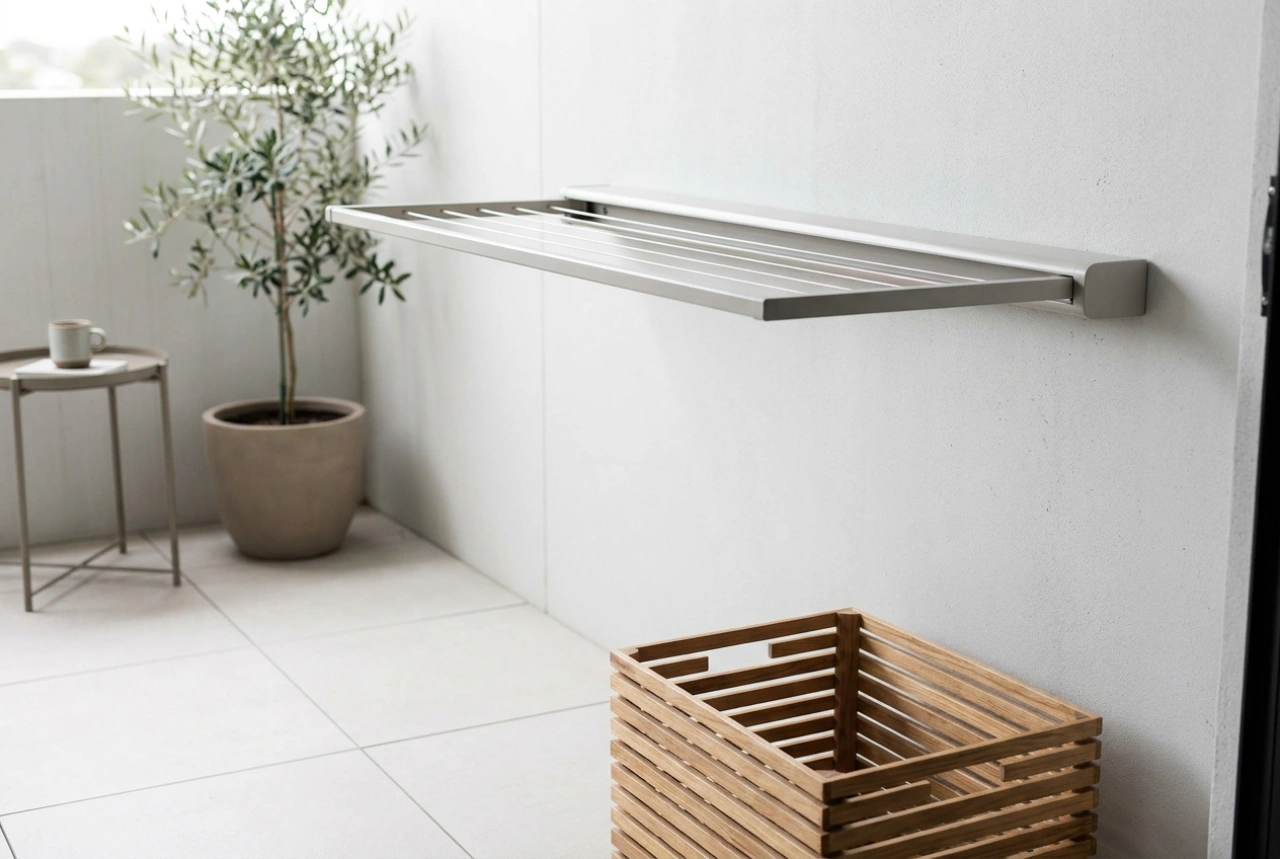
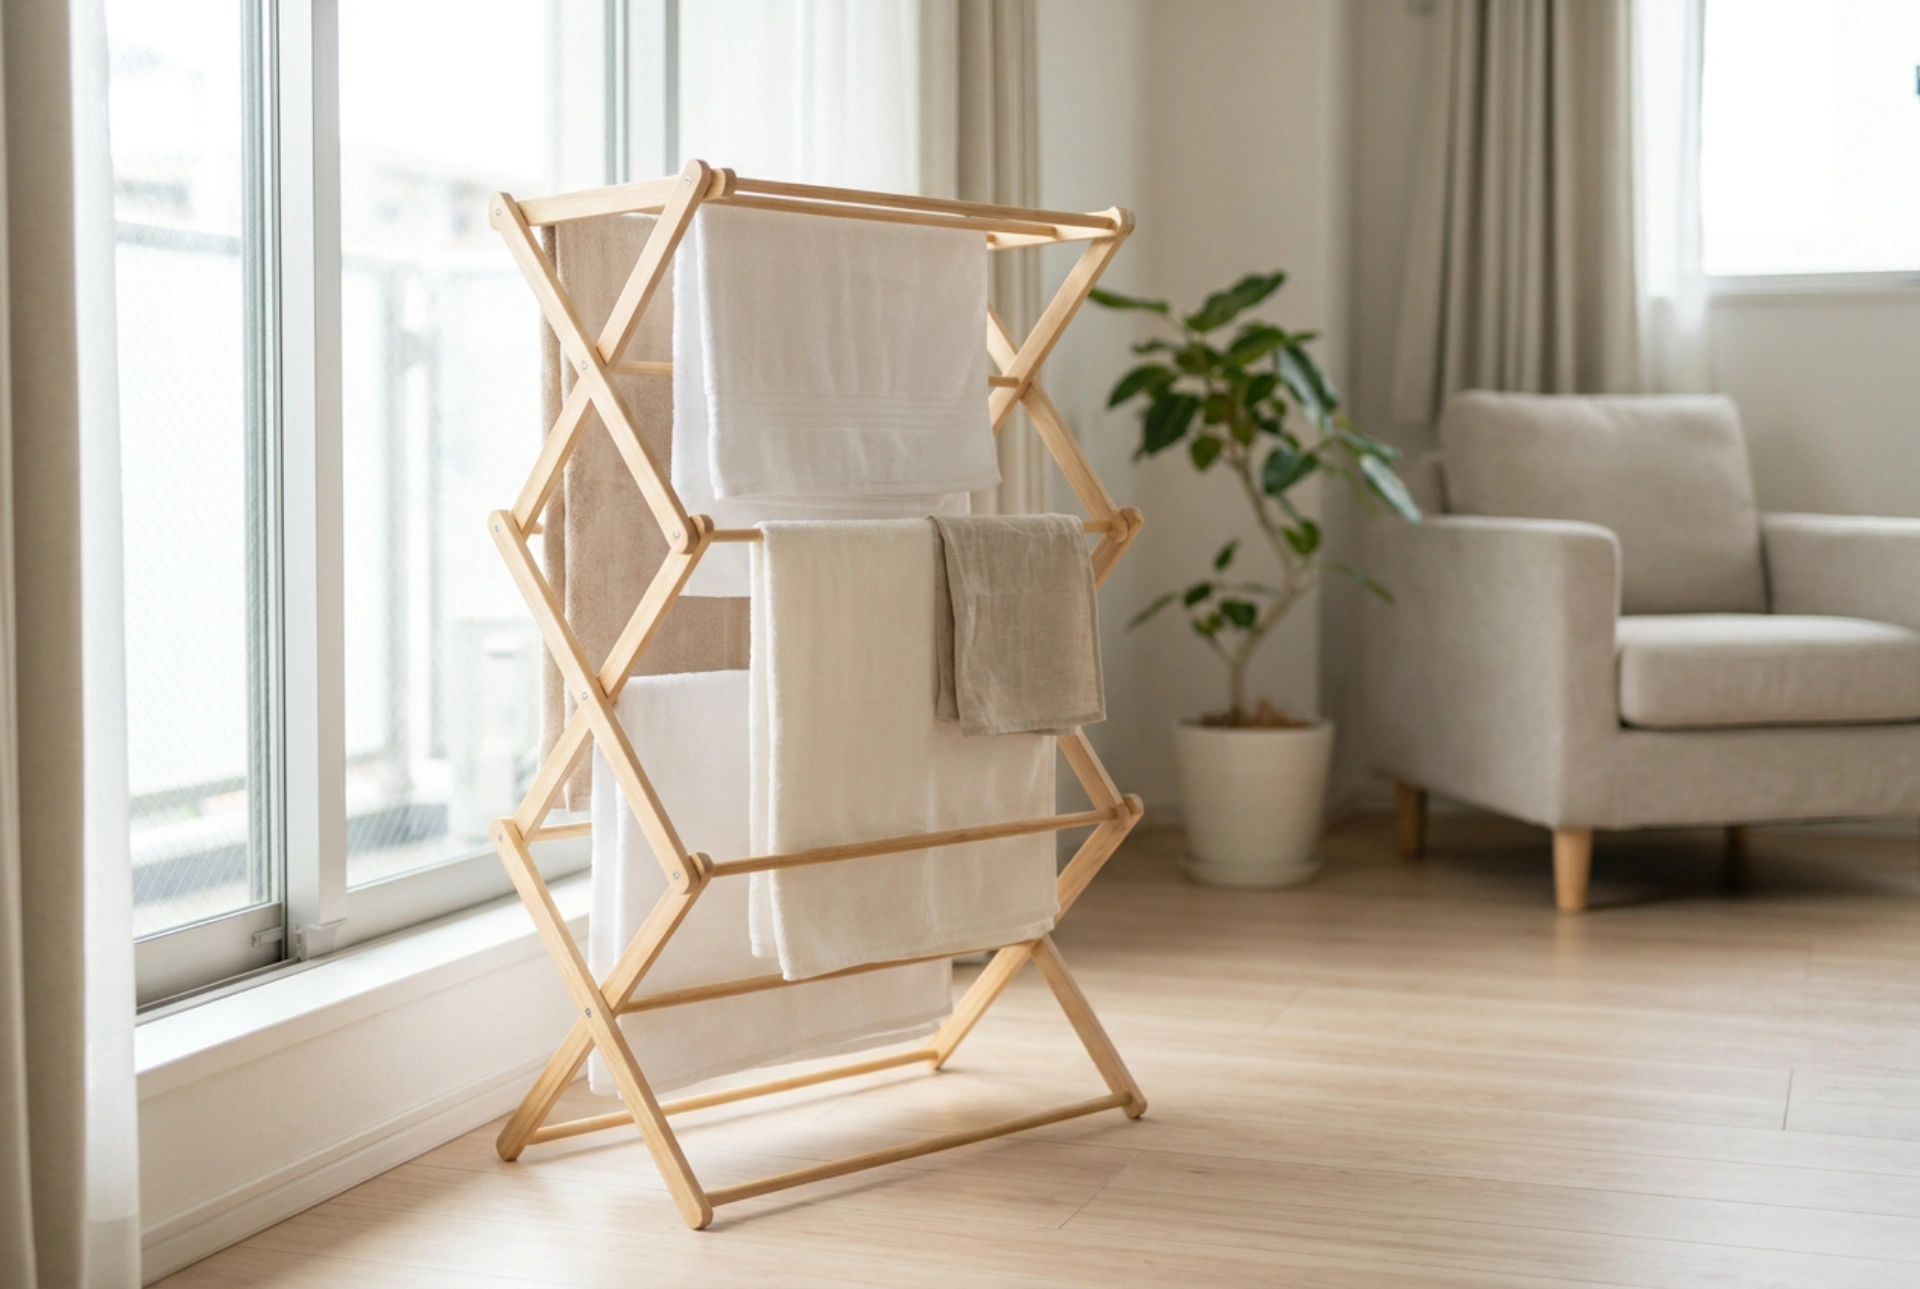
In a small apartment, a compact drying rack is essential. Look for vertical tower racks or wall-mounted extendable models that utilize vertical space rather than floor area. The positioning of this rack is critical for efficiency. Place the rack in a spot with active thermal currents, such as near a radiator or in a patch of direct sunlight from a window. However, never place wet garments directly on heating elements, as this creates a rapid burst of humidity that instantly condenses on cold walls, increasing the risk of mold. Instead, position the rack about half a meter away from the heat source to allow warm air to rise and circulate through the hanging clothes.
Optimizing Fabric Spacing and Hanging Techniques
How you hang your laundry directly affects the rate of evaporation. Air must flow freely between the garments to carry away moisture. Follow these systematic hanging rules to optimize airflow:
- The Alternating Height Method: Hang thicker, heavier fabrics like cotton sweaters and denim on the outer, higher bars of the rack where air movement is greatest. Hang lighter fabrics like synthetic activewear and thin t-shirts on the inner or lower bars.
- Double-Bar Draping: Instead of hanging heavy items over a single bar, drape them across two parallel bars. This increases the surface area exposed to the air and creates a chimney effect, allowing air to flow up through the middle of the garment.
- Buttoning and Zipping: Fasten buttons and zippers on jackets and shirts before hanging. This maintains the garment's structure, preventing fabric from folding over itself and trapping damp pockets of air.
- Using Hangers: Suspend shirts and blouses on plastic hangers hooked onto the outer frame of the rack. This keeps the garments open, maximizes vertical space, and ensures uniform drying.
Managing Indoor Airflow and Humidity
Without proper ventilation, drying laundry in a studio can raise indoor humidity to dangerous levels. To prevent damp air from pooling, employ passive and active ventilation techniques. Open two windows slightly on opposite sides of the apartment for fifteen minutes to create a cross-draft that flushes out moisture-laden air. If a cross-draft is not possible, position a small, energy-efficient desk fan at the base of your drying rack. Direct the fan upward to create a continuous, gentle breeze. This breaks the static boundary layer of saturated air surrounding the wet fibers, accelerating evaporation without consuming excessive energy.
The Order of Operations: Washing and Spinning
Efficient drying begins in the washing machine. Before unloading, ensure your laundry has undergone an optimal spin cycle. For cottons and synthetics that can handle high mechanical stress, select a spin speed of 1200 to 1400 RPM (revolutions per minute). This centrifugal force extracts the maximum amount of liquid water, leaving the fabrics damp rather than wet, which reduces drying time on the rack by several hours. Always shake out each garment vigorously before hanging to release any clumped fibers and smooth out deep creases, allowing air to penetrate the weave immediately.