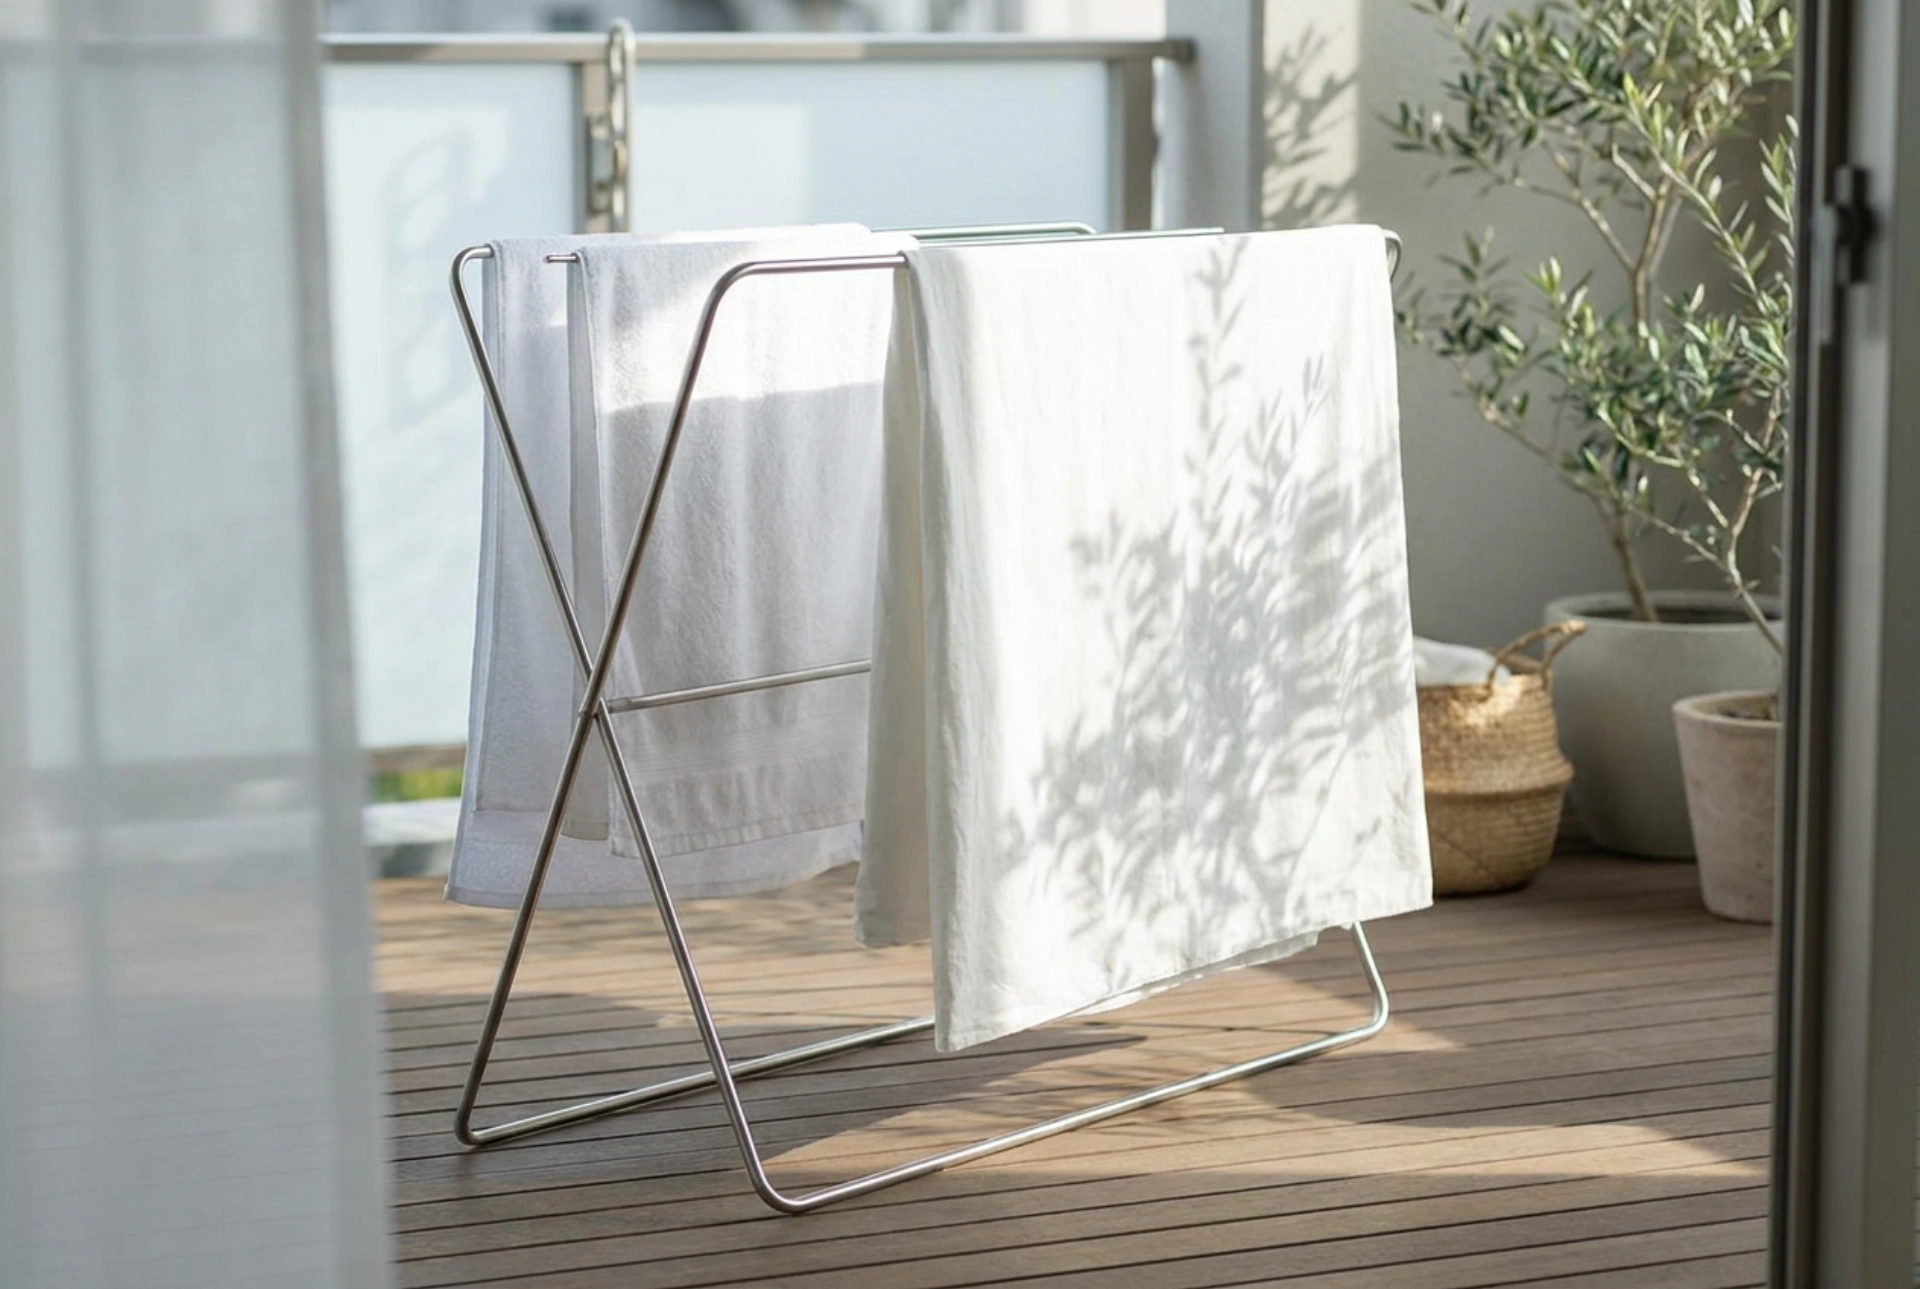


Drying clothes outdoors leverages natural air circulation and solar radiation to dry fabrics quickly, but poor hanging techniques often leave stubborn creases that require intensive ironing.
The physics of outdoor drying and crease formation
When wet fabric dries, the water molecules evaporating from the fibers allow the polymer chains within the material to form new hydrogen bonds. If the fabric is crumpled, bent, or distorted while drying, these bonds lock the fibers into those wrinkled positions. By understanding this molecular process, you can manipulate tension, gravity, and wind to ensure fibers dry in a straight, smooth alignment, reducing or entirely eliminating the need for ironing.
The wet-shake technique and strategic line tension
The preparation for crease-free drying begins the moment you remove items from the washing machine. Before hanging any garment, perform a vigorous snap-shake. This mechanical action unfurls the fabric, separates clinging layers, and pre-aligns the damp fibers. When placing items on the outdoor rack, stretch the seams gently with your hands to pull the fabric to its natural dimensions.
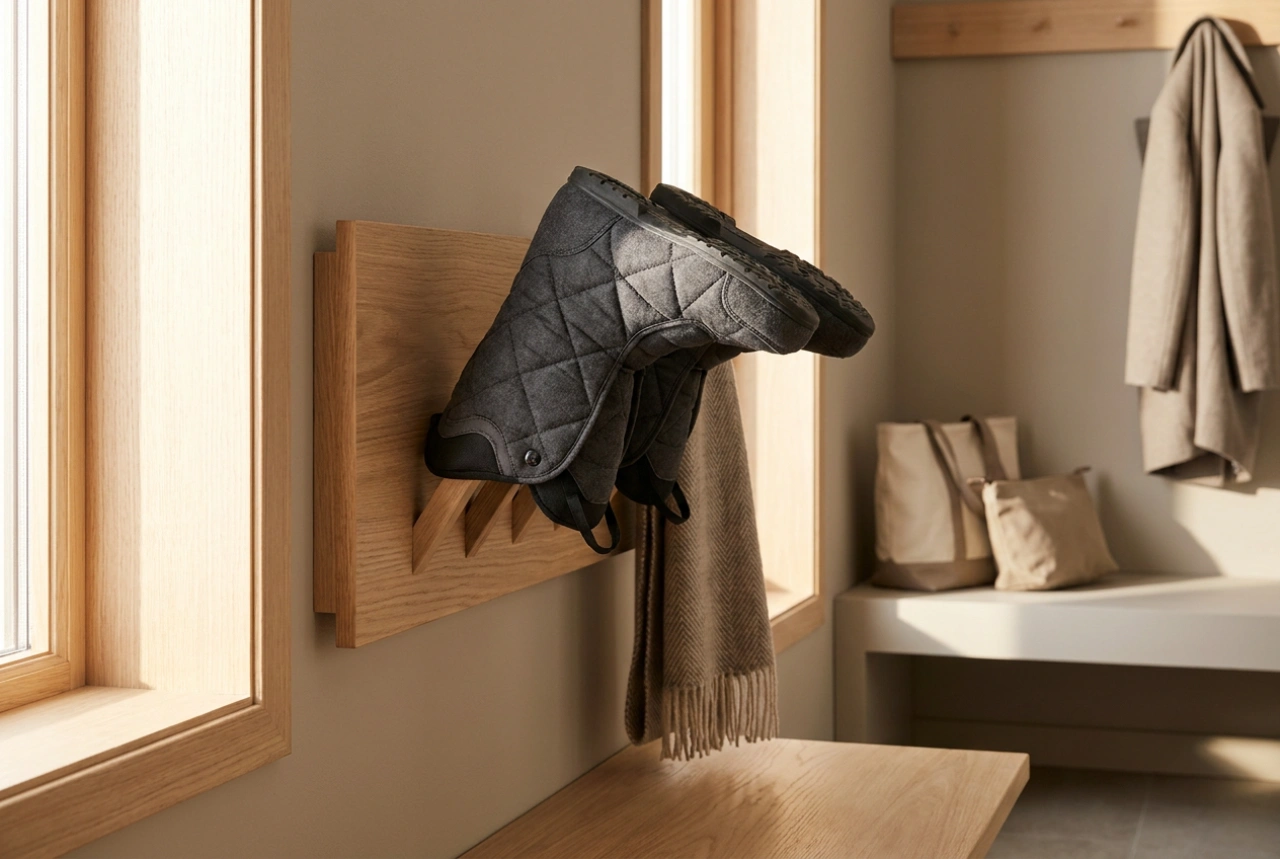
- Gravity alignment: Hang heavier garments, such as trousers, upside down by the cuffs. The weight of the waistband pulls the fabric downward, smoothing out wrinkles naturally as the water evaporates.
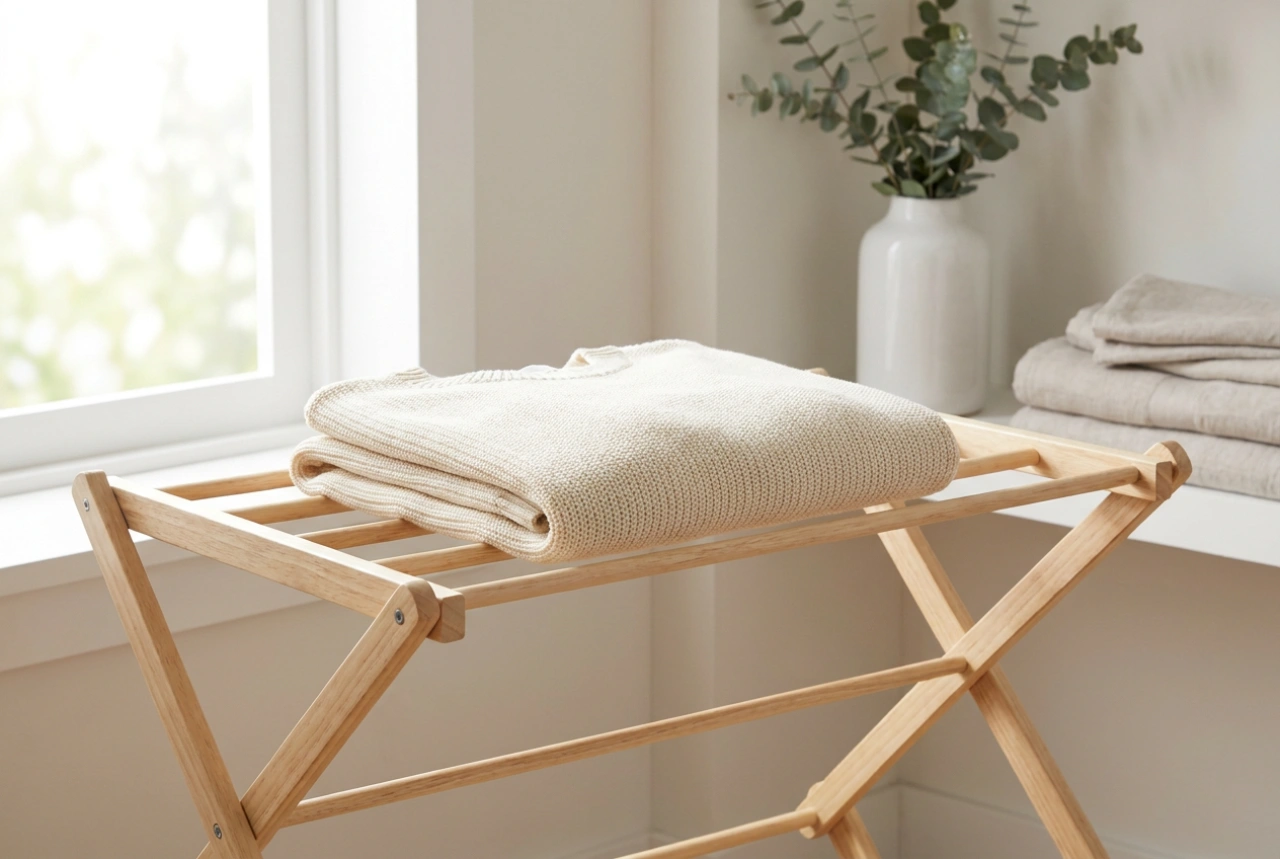
- Flat positioning: Lay heavy knits flat across the top of the rack rather than draping them. Draping causes water weight to pool at the bottom, stretching the garment unevenly and creating permanent distortional creases.
- Airflow gaps: Leave at least two inches of space between adjacent garments. Insufficient airflow causes localized humidity zones, slowing down the drying process and locking creases into damp sections.
Mastering peg placement and hanging geometry
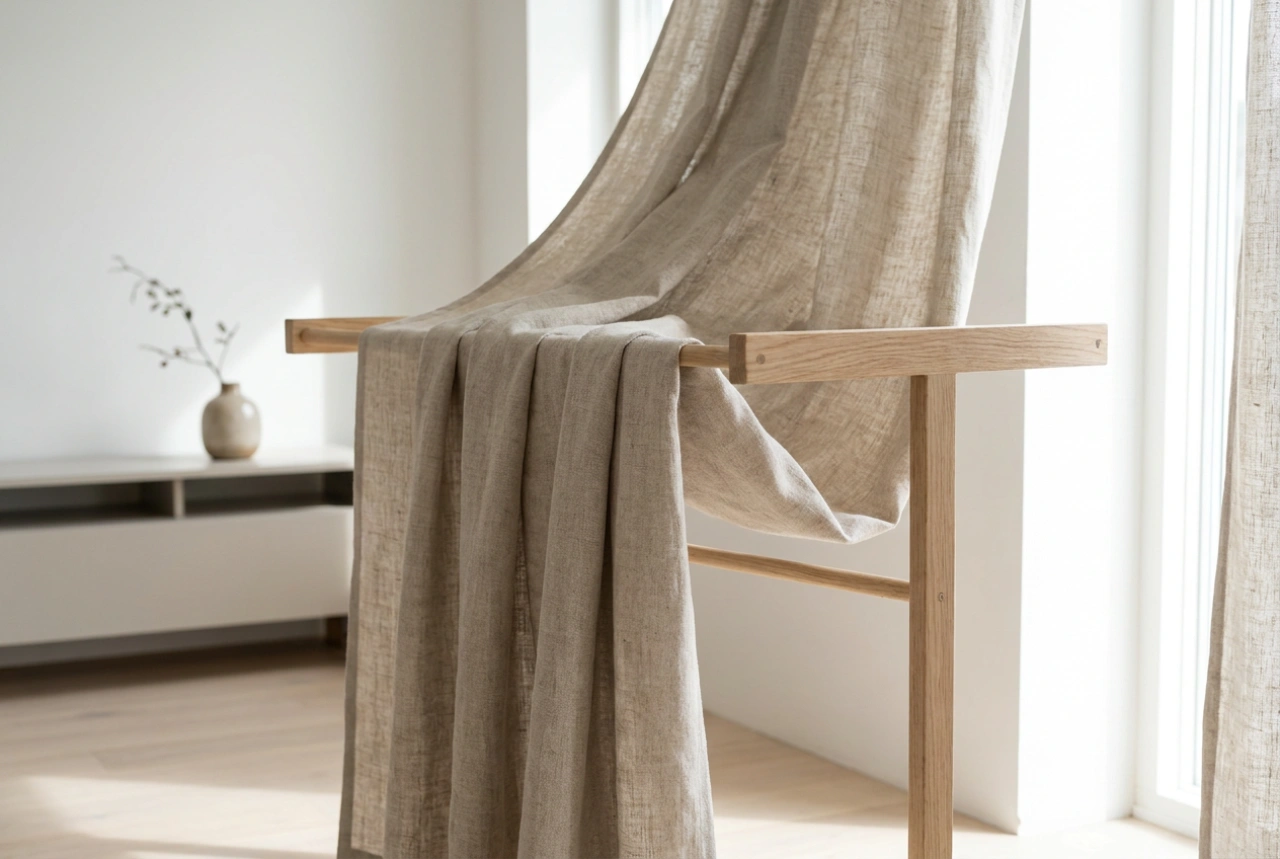
Using pegs incorrectly is a primary cause of stubborn fabric dimples and localized stretching. To prevent these marks, hang tops and shirts from the bottom hem rather than the shoulders. Position the pegs directly on the side seams where the fabric is naturally reinforced. For delicate garments, use soft-touch pegs cushioned with silicone inserts to distribute pressure evenly without compressing the fibers into sharp ridges. When drying bed linens, drape them evenly over multiple parallel bars of the drying rack rather than a single line. This distributes the weight, reduces the hanging angle, and prevents the severe central crease typical of single-line hanging.
Managing wind, sun exposure, and fabric moisture
While wind accelerates drying, excessive wind can flap garments violently, rubbing fibers together and creating chaotic friction creases. Position your drying rack in an area with a gentle breeze rather than high-velocity gusts. Sunlight acts as a natural disinfectant, but direct, intense ultraviolet rays can over-dry fabrics, making the fibers stiff and brittle. To maintain softness, remove garments from the outdoor rack while they still retain a microscopic fraction of moisture—approximately two to five percent. This residual moisture keeps the fibers flexible and allows them to settle smoothly when folded or hung in the wardrobe.