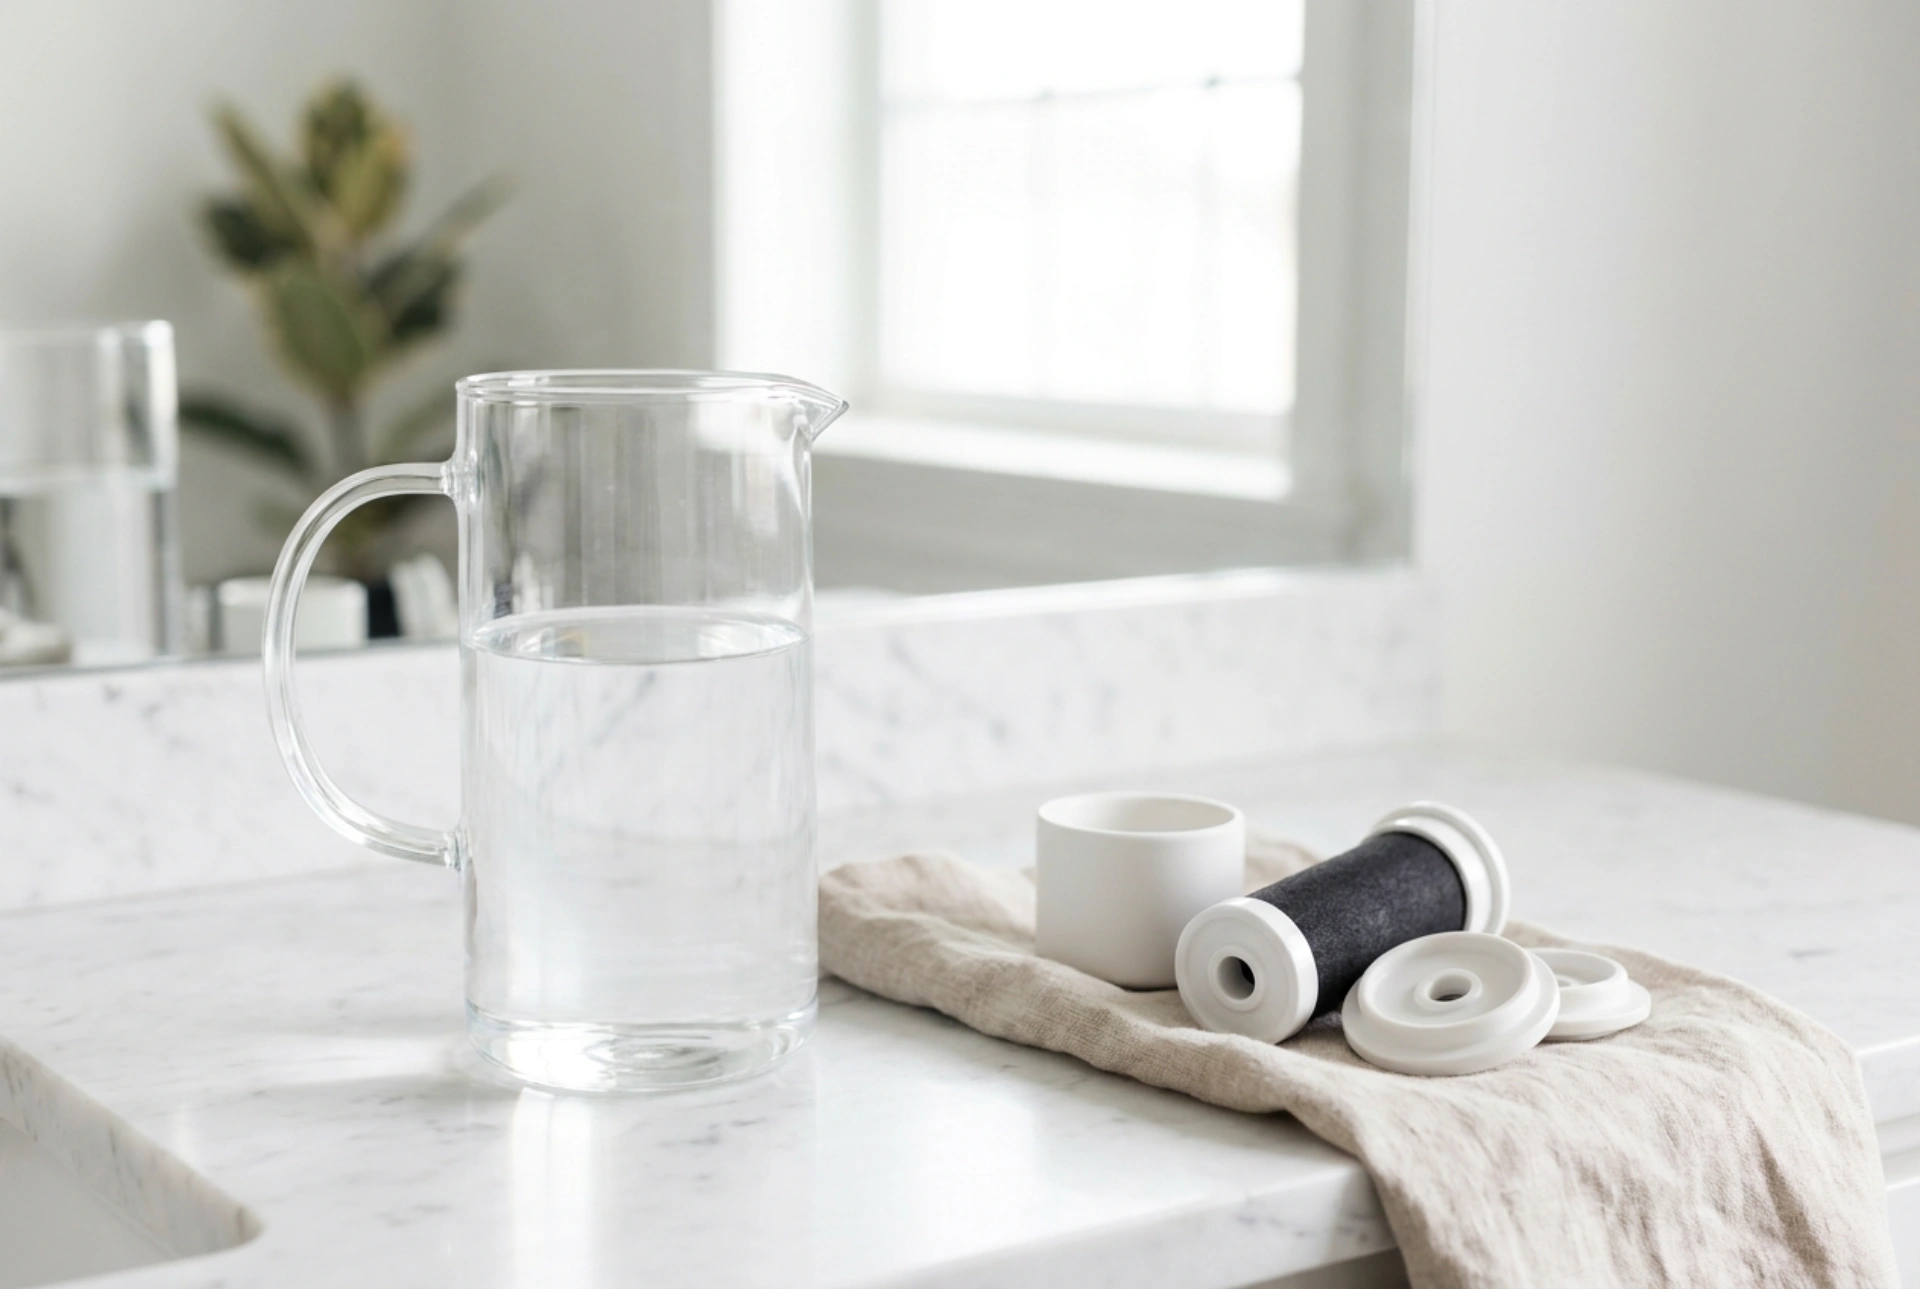


To maintain optimal water quality and prevent bacterial growth, replacing and maintaining your gravity-fed water filter cartridge at the correct intervals is essential.
The Science Behind Water Filter Cartridges
Most household water filter cartridges utilize a dual-stage filtration system consisting of activated carbon and ion-exchange resin. Activated carbon works through a process called adsorption, where organic compounds, chlorine, and impurities chemically bond to the vast surface area of the carbon pores. The ion-exchange resin targets water hardness by swapping calcium and magnesium ions with hydrogen or sodium ions, reducing limescale buildup in household appliances.
Over time, these materials reach their physical saturation point. Once the adsorption sites on the activated carbon are fully occupied, the filter can no longer trap contaminants. Furthermore, an overloaded filter can become a breeding ground for bacteria, as the organic matter trapped inside serves as a nutrient source in a moist environment.
How to Determine When to Replace the Filter
Relying solely on the calendar or manual dial on the pitcher lid can be misleading, as water usage and local water hardness vary significantly. Here is how to monitor your cartridge life accurately:
- Volume-Based Tracking: Most standard cartridges are rated for approximately 150 liters of water. For an average household, this translates to a replacement every four weeks. If your household consumes more water, you must scale the replacement frequency accordingly.
- Flow Rate Changes: As the filter pores clog with particulate matter, the filtration speed decreases. If gravity-fed water takes significantly longer to pass through the cartridge, the physical barriers are saturated.
- Taste and Odor Return: The re-emergence of a distinct chlorine smell or a metallic taste indicates that the activated carbon has reached its chemical saturation limit.
- Limescale Reappearance: If you notice a white film forming on the surface of boiled water or inside your kettle, the ion-exchange resin is exhausted and can no longer bind magnesium and calcium ions.
Step-by-Step Cartridge Replacement and System Sanitization
Replacing the filter cartridge is not just about swapping the old unit for a new one; the entire pitcher system must be sanitized to prevent microbiological contamination during the transition.
Step 1: Disassembly and Cleaning
Remove the old cartridge and discard it. Wash the pitcher, reservoir, and lid with warm water and a mild, fragrance-free dish detergent. Avoid abrasive sponges that can scratch the plastic, as microscopic scratches provide ideal hiding spots for bacteria. Rinse all parts thoroughly with clean water to remove any soap residue.
Step 2: Activating the New Filter
To prepare the new cartridge, submerge it completely in a bowl of cold tap water. Shake it gently underwater for about thirty seconds to release trapped air bubbles. Air pockets inside the cartridge can channel the water through limited pathways, reducing the contact time between the water and the filtration media.
Step 3: Flushing the System
Insert the activated cartridge firmly into the reservoir, ensuring a tight seal around the edges so water cannot bypass the filter. Fill the reservoir and allow the water to filter through completely. Discard this water, or use it to water your plants. Repeat this process one more time. These initial flushes wash away loose, harmless activated carbon dust that may have loosened during transit.
Preventative Maintenance for Your Filter Pitcher
Where you store your pitcher affects the longevity and safety of the filtered water. Always store the pitcher in the refrigerator or in a cool place out of direct sunlight. Sunlight and warmth accelerate the growth of algae and bacteria in filtered water, which lacks the protective chlorine residual found in tap water. Additionally, aim to use the filtered water within 24 hours of filtration to ensure maximum freshness and safety.







