


Hanging clothes correctly on a ceiling-mounted or wall drying rack utilises gravity and airflow to eliminate wrinkles naturally, drastically reducing or even eliminating the need for ironing. By understanding the physics of fabric tension and evaporation, you can ensure your garments dry smooth, keeping their shape and textile integrity intact.
The Physics of Wet Fabrics and Hydrogen Bonding
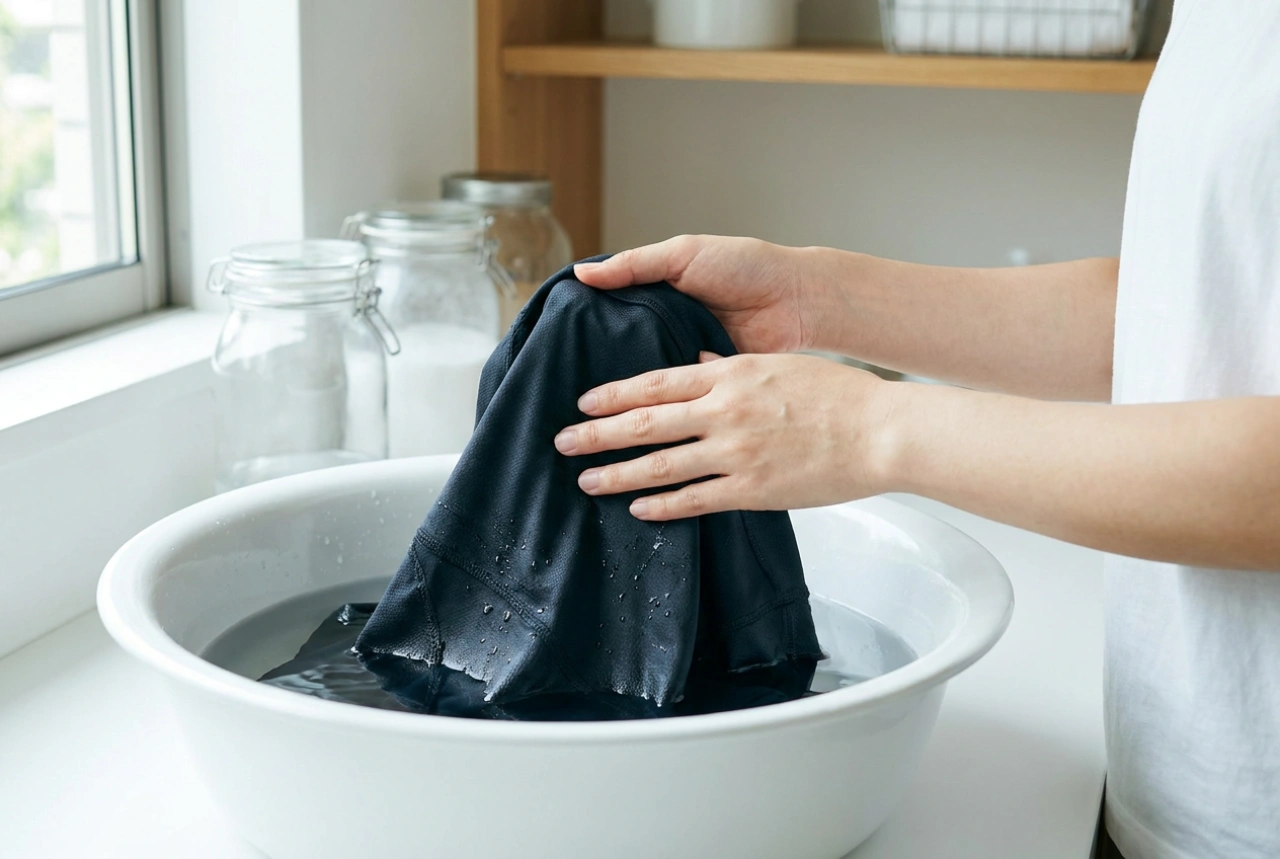
To prevent creases, it helps to understand why they form in the first place. When natural fibres like cotton, linen, and wool get wet, the water molecules break the temporary hydrogen bonds that hold the polymer chains in place. As the fabric dries, new hydrogen bonds reform to lock the fibres into whatever shape they are currently in. If a garment dries while crumpled, those creases become semi-permanent until the next wash or steam treatment.
By hanging garments while they are damp, you harness the power of gravity. The weight of the water remaining in the fabric gently pulls the fibres downward, acting as a natural tensioning agent. If the garment is aligned correctly on the rack, this gravity-assisted tension pulls out the micro-folds, allowing the hydrogen bonds to reform in a flat, smooth state.
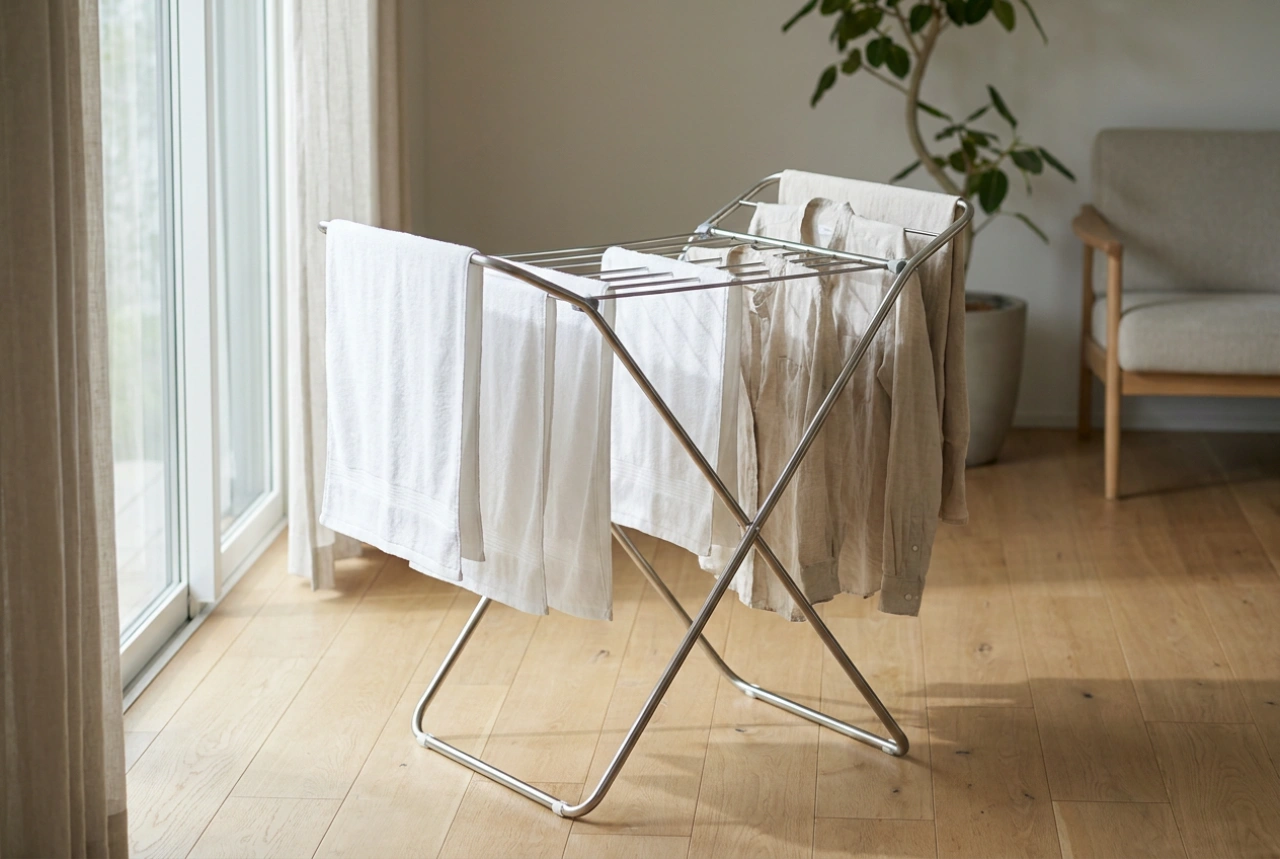
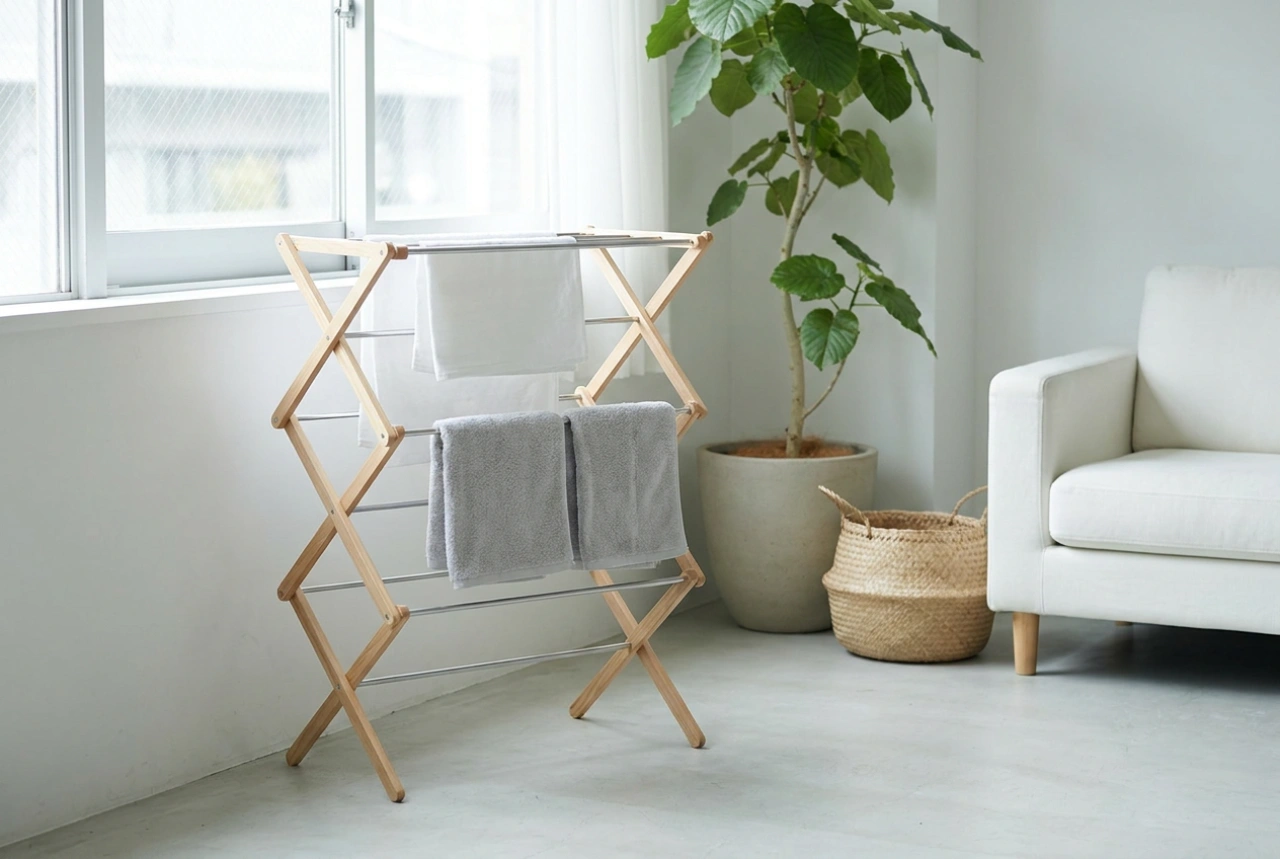
Strategic Airflow and Spacing on Hanging Racks
Evaporation requires heat, airflow, and surface area. When clothes are packed too tightly on a hanging drying rack, humid microclimates form between the garments, slowing down the drying process and encouraging musty odours. To prevent this, implement these structural spacing rules:
- The Two-Finger Rule: Always leave at least five to eight centimetres of space between each hanging item to allow air currents to pass freely between them.
- Alternating Weights: Position heavier items, such as thick cotton sweatshirts, on the outer edges of the rack where air circulation is typically higher, and lighter synthetics towards the middle.
- Staggered Lengths: Avoid hanging long items directly next to each other. Alternating a long pair of trousers with a short t-shirt creates physical channels for rising warm air to flow more efficiently.
Specific Hanging Techniques for Every Fabric Type
Different materials and garment construction require tailored positioning on a hanging rack to avoid localized stretching or peg marks.
Shirts, Blouses, and Tops
Never drape woven shirts directly over the thin bars of a drying rack, as this creates a stubborn horizontal crease across the midsection. Instead, slip them onto wide-shouldered, non-slip hangers and suspend the hangers from the rack's bars or designated hooks. Fasten the top two buttons to maintain the collar's structure, and gently pull the button placket taut. This ensures the shirt dries in its natural three-dimensional shape.
Trousers and Skirts
For trousers, the goal is to preserve the vertical line. Hang them upside down from the cuffs or hems using tension pegs. The heavier waistband will hang downward, pulling the fabric taut and smoothing out knee creases. If you must fold them over a bar, fold them precisely along their natural pressed creases to avoid creating new, unwanted fold lines.
Knitwear and Delicates
Heavy, wet knitwear should never be hung vertically from a single bar or on a hanger, as the water weight will permanently stretch the shoulder seams and distort the fit. Instead, distribute the weight by laying the garment flat across several parallel bars of the rack, or use a mesh drying shelf accessory. This allows airflow from underneath without subjecting the delicate fibres to excessive gravitational pull.
The Essential Prep: The Flick-and-Snap Method
The process of crease prevention begins before the garment even touches the drying rack. When clothes exit the washing machine spin cycle, they are compressed and adhered to one another. Taking a garment directly from the drum to the rack locks in these spin-cycle wrinkles.
Before hanging, grip each item firmly by its seams and give it a sharp, vigorous snap in the air. This mechanical action releases the compressed fibres, separates stuck fabric layers, and pre-aligns the seams. Once hung, gently run your hands down the seams and hems to flatten them completely. This small manual intervention guarantees a significantly smoother finish once dry.