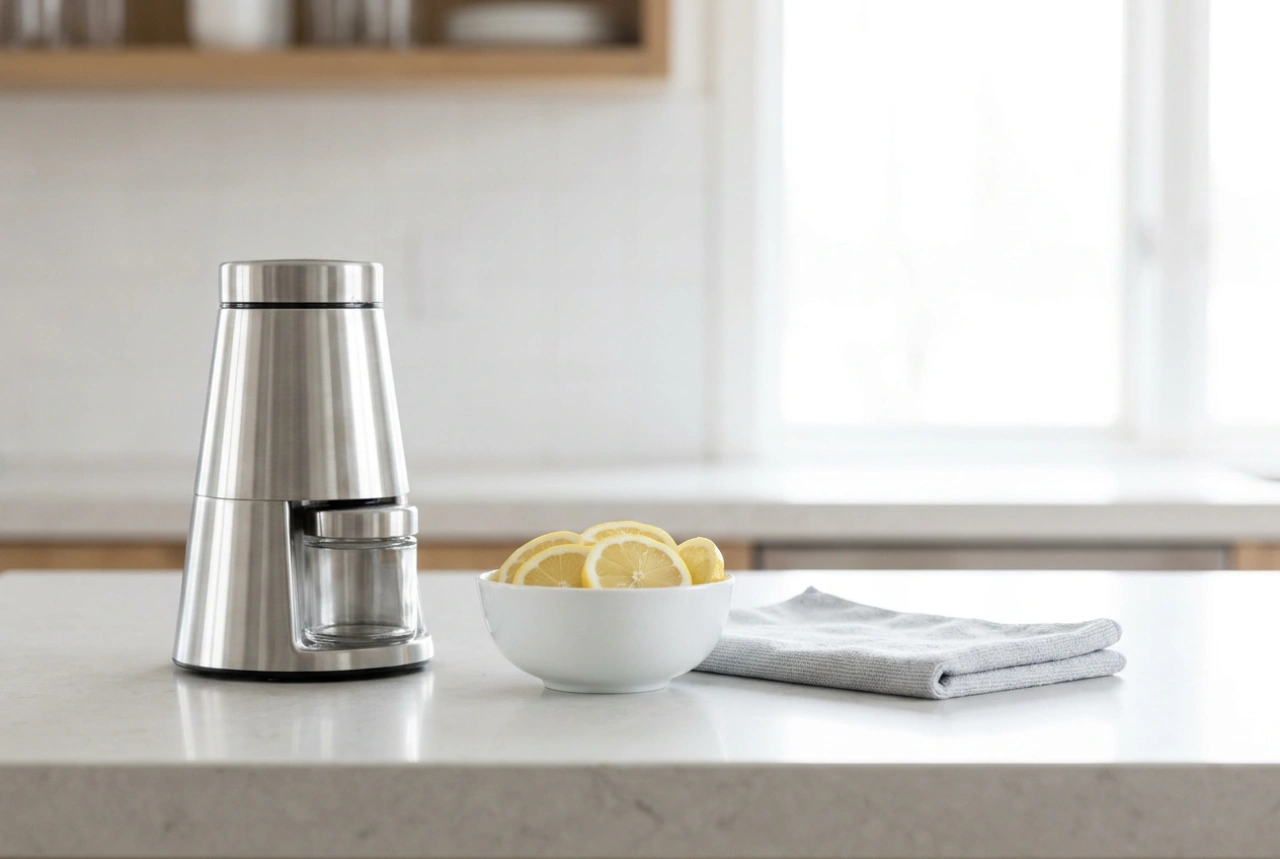


Residual breadcrumbs and fine flour dust left inside a grinding mill attract moisture, leading to mold growth and rancid lipid oxidation. Removing these dry particles requires understanding their adhesive properties, which are governed by electrostatic charges and starch hydration.
The Physics of Crumb Adhesion
When dry bread is ground, intense friction occurs between the steel burrs or blades and the dehydrated starches. This friction generates an electrostatic charge, causing ultra-fine flour dust to cling stubbornly to plastic and metal housings. Furthermore, even seemingly bone-dry bread contains trace lipids and hygroscopic starches. These starches readily absorb ambient moisture from the air, forming microscopic adhesive bonds (gluten-starch bridges) that paste the crumbs to the internal crevices of the appliance.
The Danger of Immediate Wet Cleaning
A common mistake is introducing water to the grinding chamber immediately. When water contacts highly dehydrated starch and gluten proteins, it initiates hydration, turning the loose crumbs into a sticky, gelatinous paste. This paste wedges itself into screw threads, bearing assemblies, and cutting interfaces, where it hardens as it dries, locking components in place. Therefore, a strict dry-cleaning first protocol must always be followed before any liquid solvent is introduced.
Step-by-Step Dry Extraction Protocol
To safely clear the mechanical components without triggering starch swelling, follow this sequence of physical extraction techniques:
- Isolate and Disassemble: Ensure the appliance is completely disconnected from the power source. Carefully disassemble the hopper, grinding chamber, and cutting blades according to the manufacturer's mechanical layout.
- Vibrational Dislodgement: Invert the dry components over a waste bin and gently tap the metal housing with a wooden spoon or rubber mallet. This mechanical vibration breaks the weak electrostatic bonds holding the larger particles to the surface.
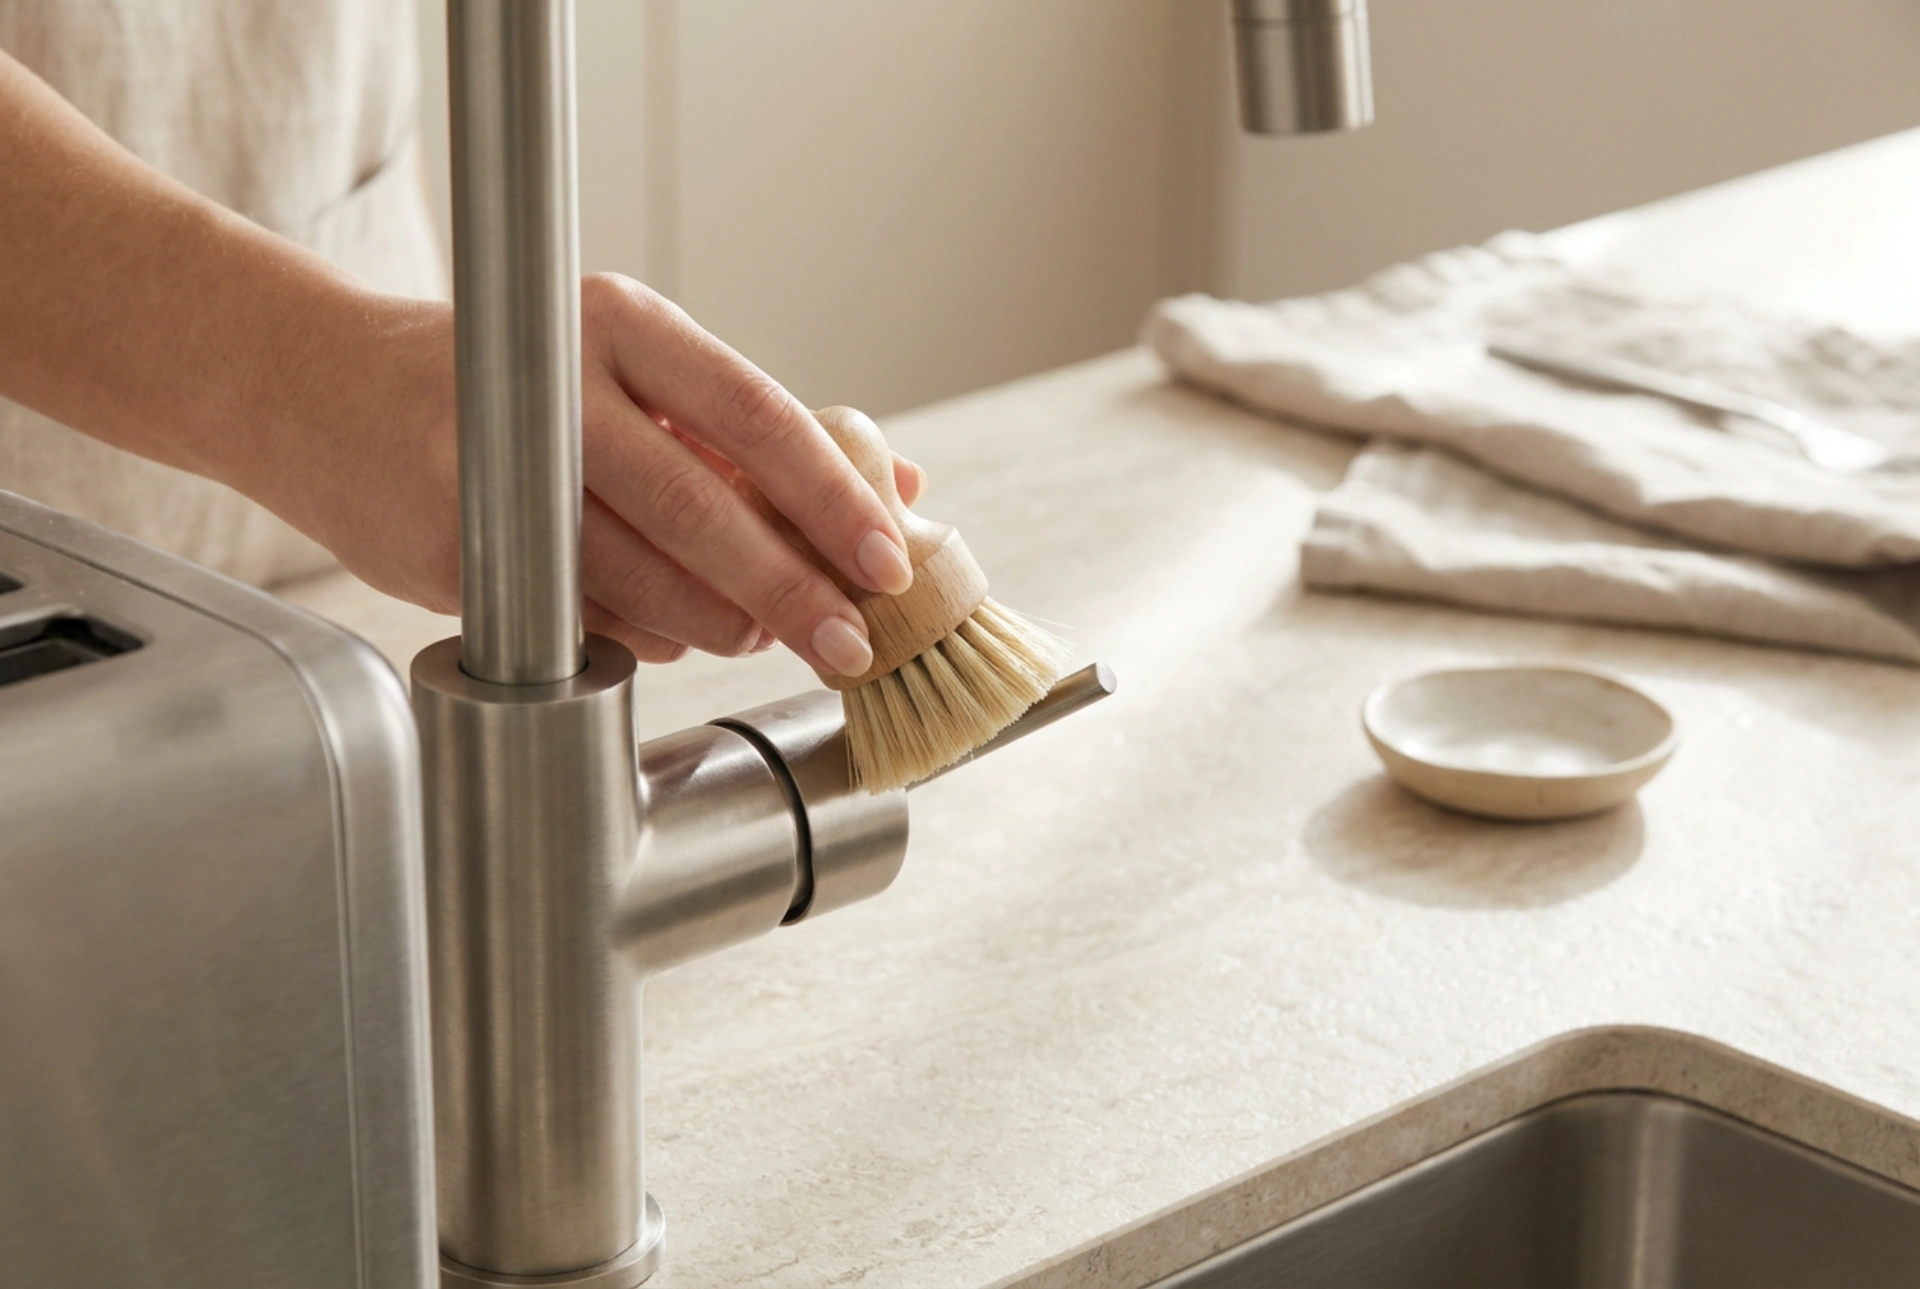
- Stiff-Bristled Brushing: Use a narrow, stiff-bristled nylon or natural fibre brush to sweep out the internal channels. Brush along the direction of the metal grain and screw threads to mechanically lift out trapped particles. Avoid metal wire brushes, which can scratch the stainless steel and create microscopic channels where future organic matter can lodge.
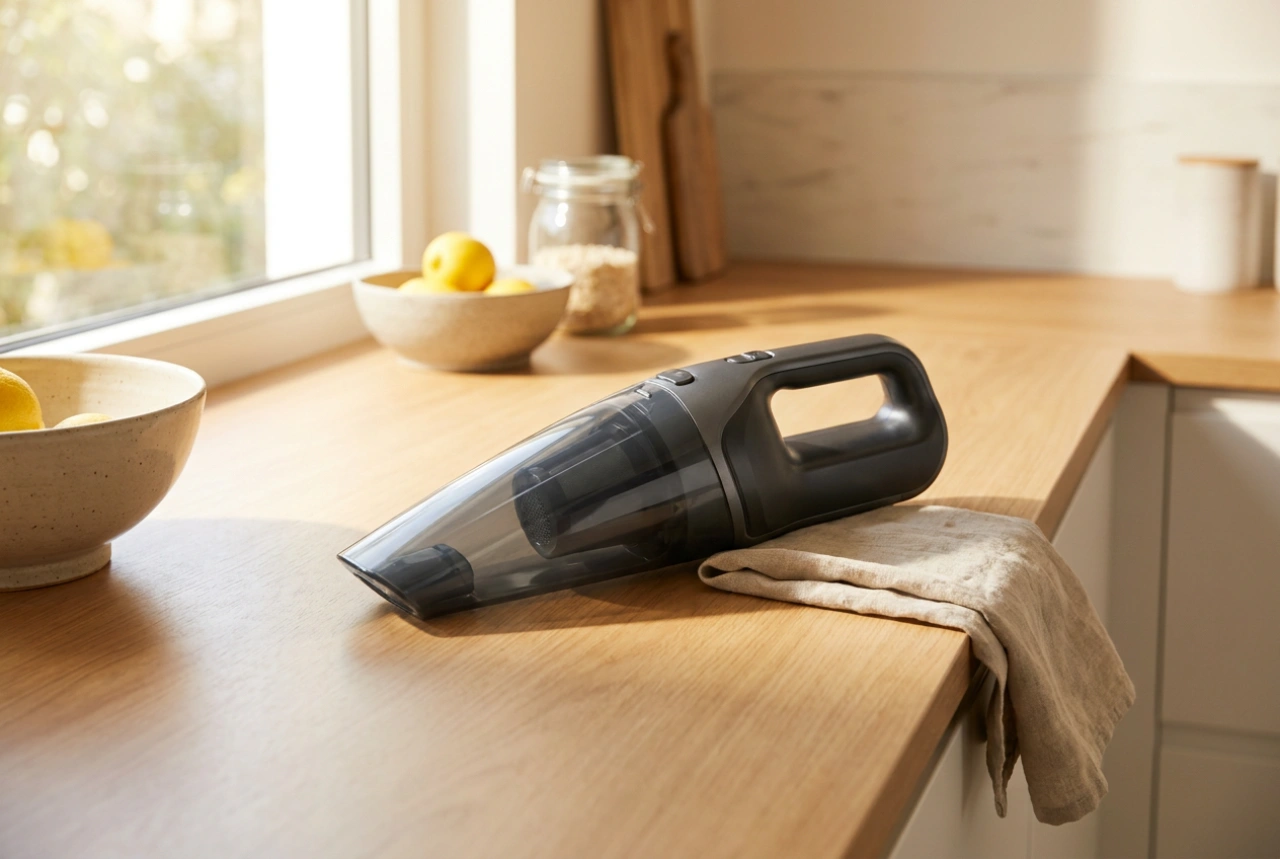
- Vacuum Extraction: Instead of blowing air (which pushes fine dust deeper into bearings and motor housings), use a vacuum cleaner with a narrow crevice tool to draw the loose particles out of the chamber.
Addressing Grease and Starch Glues
If the breadcrumbs contained fats or milk solids, a thin film of grease may remain, holding fine dust in place. To break this down, wash only the fully detached, non-electrical stainless steel parts.
Use hot water (around 50°C to melt lipids) combined with a mild, neutral surfactant. The surfactant molecules feature a hydrophilic head and a hydrophobic tail; they surround the grease molecules, lifting them off the steel surface and allowing them to be suspended in water. Rinse thoroughly with clean, hot water to remove all surfactant residues.
Critical Thermal Drying
Even high-grade stainless steel can undergo oxidation if moisture remains trapped in tight crevices. After washing, dry the components immediately with a clean lint-free cloth. To ensure absolute moisture elimination from deep recesses, place the detached metal parts in a warm environment (such as a cooling oven after baking, under 60°C) for 15 minutes. This thermal treatment accelerates the evaporation of residual micro-droplets, ensuring the grinder remains sterile and rust-free before reassembly.