

Vacuum sealing is an exceptional preservation method that extends food shelf life, yet improper technique frequently leads to excessive and expensive plastic film waste. Optimising your bag sizing, mastering heat-seal placement, and understanding the physical dynamics of air extraction can dramatically reduce your thermoplastic material consumption while maintaining airtight integrity.
The Physics of Vacuum Channels and Film Selection
To minimise waste, it is essential to understand the material science of vacuum bags. Standard domestic vacuum sealers require embossed or textured film. This texturing—usually a cross-hatched pattern on one side of the sleeve—creates microscopic channels. When the vacuum pump engages, these channels allow air to escape even when the two sheets of film are pressed tightly together. Smooth bags, often used in commercial chamber sealers, will collapse prematurely under external atmospheric pressure, trapping air pockets around the food.
Using the correct type of film prevents failed seals, which are a primary source of wasted plastic. When selecting rolls, matching the roll width to the item size is the first step in conservation. Keep both narrow and wide rolls on hand; sealing a small portion of herbs in a wide bag wastes up to fifty percent of the plastic surface area unnecessarily.
Precision Cutting and the Three-Inch Rule
The most common cause of film waste is generous, uncalculated cutting. To achieve an airtight weld without wasting material, apply the three-inch (approximately 7.5 centimetres) rule. Measure the length of the food item and add exactly 7.5 centimetres of clearance. This space is split: 2.5 centimetres at the bottom to secure the initial base weld, and 5 centimetres at the top to allow the bag opening to sit flat inside the vacuum chamber channel.
When cutting the film from a roll, a perfectly perpendicular cut is mandatory. Crooked edges prevent the bag from aligning flat against the sealing wire, causing wrinkles. Wrinkles create tiny capillary pathways where air can slowly leak back into the package over time, ruining the seal and forcing you to discard the bag and start over. Use a built-in sliding cutter or sharp shears guided by a straight edge to ensure precise, square cuts every time.
Managing Moisture to Protect Sealing Integrity
Liquid extraction is a major obstacle to efficient vacuum sealing. When the pump draws air out of the bag, it also pulls loose moisture toward the sealing bar. If water reaches the sealing area, it acts as a heat sink, absorbing the thermal energy from the heating element. This prevents the polyethylene layers from melting and fusing completely, resulting in a weak, partial seal that will inevitably fail.
To prevent this without wasting extra bag length as a moisture buffer, employ the pre-freezing technique. Place moist proteins, stews, or delicate sauces on a baking tray and freeze them solid before vacuum packaging. Alternatively, place a folded strip of clean, dry paper towel just inside the top of the bag, well below the sealing line. The paper towel acts as a physical sponge, absorbing rising liquids during the vacuum cycle while allowing air to pass through, securing a clean, dry weld on the first attempt.
The Chemistry of Thermoplastic Welding and Reusability
Domestic vacuum bags are typically constructed from multi-layer food-grade polyethylene (PE) paired with an outer nylon layer for strength and gas barrier properties. Polyethylene is a thermoplastic, meaning it melts at a specific thermal threshold and solidifies upon cooling. When the sealing bar heats up, it temporarily liquefies the inner PE layers, fusing them into a single, solid sheet.
Because of this molecular structure, these bags do not have to be single-use items. You can easily wash and reuse vacuum bags that have held non-hazardous dry goods, bread, or hard cheeses. When preparing a bag for reuse, cut the film directly beneath the existing weld line. Wash the interior with warm water and generic oxygen-based dish soap, sanitise, and allow it to dry completely inside-out. Because you only lose about 2 centimetres of length per cycle, a well-planned bag can be reused several times before it becomes too short.
A Practical Conservation Checklist
Before pressing the start button on your vacuum sealer, run through this quick sequence to ensure a perfect seal without wasting a millimetre of film:
- Wipe the sealing zone: Ensure the inner lip of the bag is completely free of grease, dust, or moisture before placing it on the heating element.
- Stretch the film flat: Hold the bag corners tautly as you close the lid to eliminate any wrinkles along the heat strip.
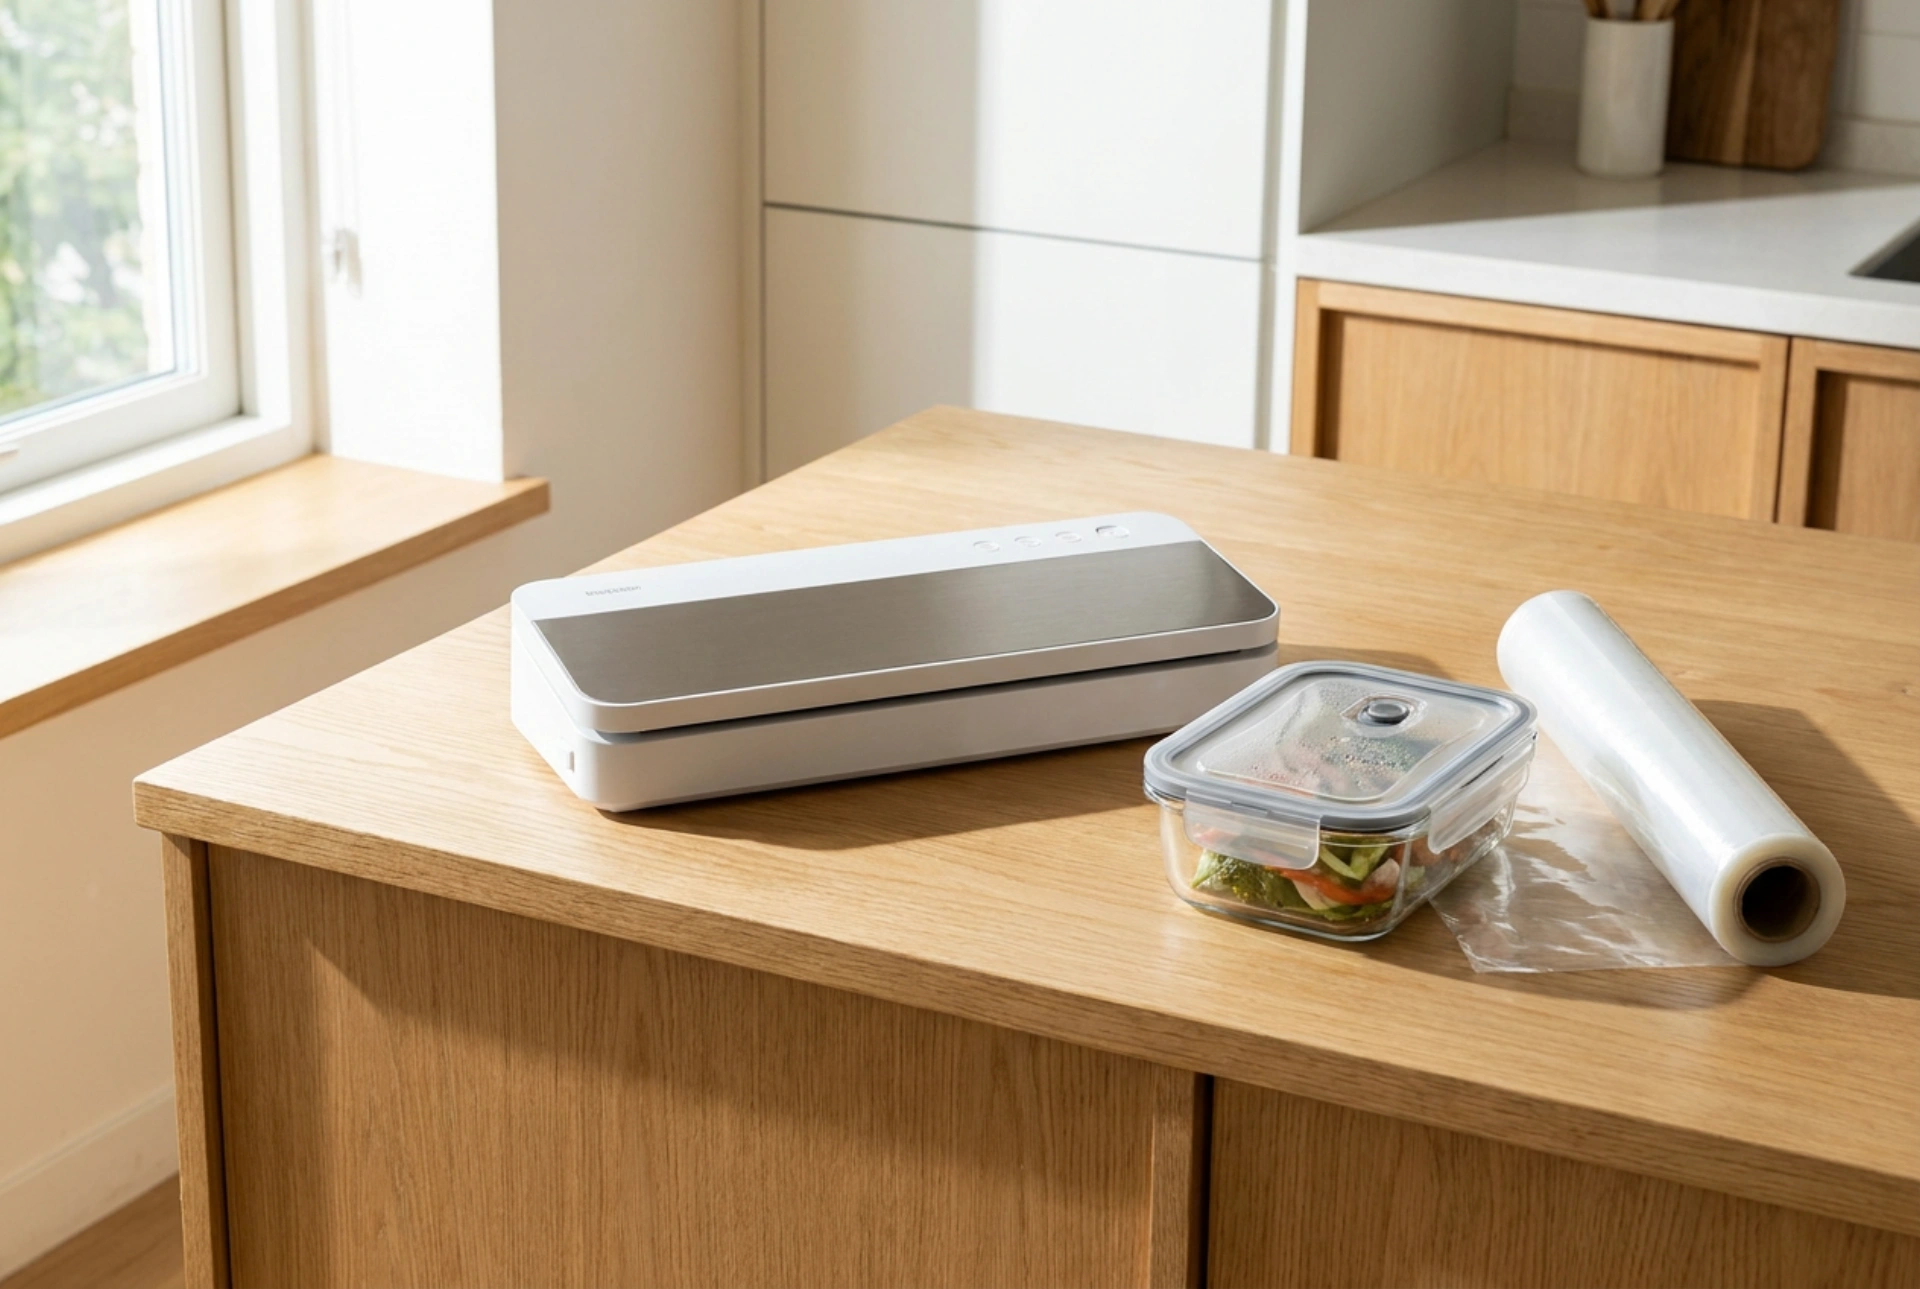
- Utilise accessory canisters: For items accessed daily, bypass film entirely by using reusable glass or food-grade canisters connected to the sealer's external port.
- Observe the cool-down phase: Allow the sealer to remain closed for three seconds post-weld to let the molten plastic crystallise and set securely.