

Heat pump tumble dryers revolutionised home laundry by recycling thermal energy through a closed-loop thermodynamic system. To maintain this high-efficiency operation and prevent component strain, understanding the physics of heat exchange and executing precise filter maintenance is essential.
The Thermodynamics of a Heat Pump Dryer
Unlike traditional condenser or vented dryers that heat air using energy-intensive electrical elements and expel it, a heat pump dryer operates as a closed-loop thermodynamic system. The appliance utilises a refrigerant cycle, identical in physics to a refrigerator or air conditioner but running in reverse. This cycle consists of four main phases: evaporation, compression, condensation, and expansion.
During operation, dry, warm air is blown into the drum, where it absorbs moisture from the wet fabrics through evaporation. The warm, humid air is then drawn out of the drum and directed over an evaporator. Inside the evaporator, a cold refrigerant absorbs the heat from the air, causing the water vapour to condense into liquid droplets, which drain into a reservoir. The now-cooled and dry air is then passed over the condenser, where the compressor-heated refrigerant releases its thermal energy back into the air stream. This dry, reheated air is recirculated back into the drum to repeat the cycle, saving up to 50% more energy than conventional models.
The Critical Role of Lint Filters in Airflow Dynamics
Because the heat pump system relies on a continuous, closed loop of circulating air, any disruption in airflow directly degrades thermal efficiency. As clothes tumble, friction and mechanical agitation detach microfibres (lint) from the yarns. If these fibres enter the internal heat exchanger, they coat the delicate aluminium fins of the evaporator and condenser, forming an insulating barrier that prevents efficient heat transfer.
To prevent this, manufacturers install multi-stage filtration systems, typically consisting of a primary lint filter inside the drum door and a secondary fine-mesh filter. However, as lint accumulates on the mesh, it creates airflow resistance. This restriction increases the static pressure within the ductwork, forcing the fan motor to work harder, raising the internal temperature of the compressor, and significantly extending the drying cycle. In thermodynamics, reducing the flow rate of the heat carrier (air) directly reduces the rate of heat exchange, resulting in higher energy consumption and premature wear on mechanical components.
Step-by-Step Protocol for Cleaning the Primary Lint Filters
Proper maintenance of the primary filters requires more than just a quick wipe; it involves removing both macro-particles and microscopic chemical barriers. Follow this precise sequence after every drying cycle:
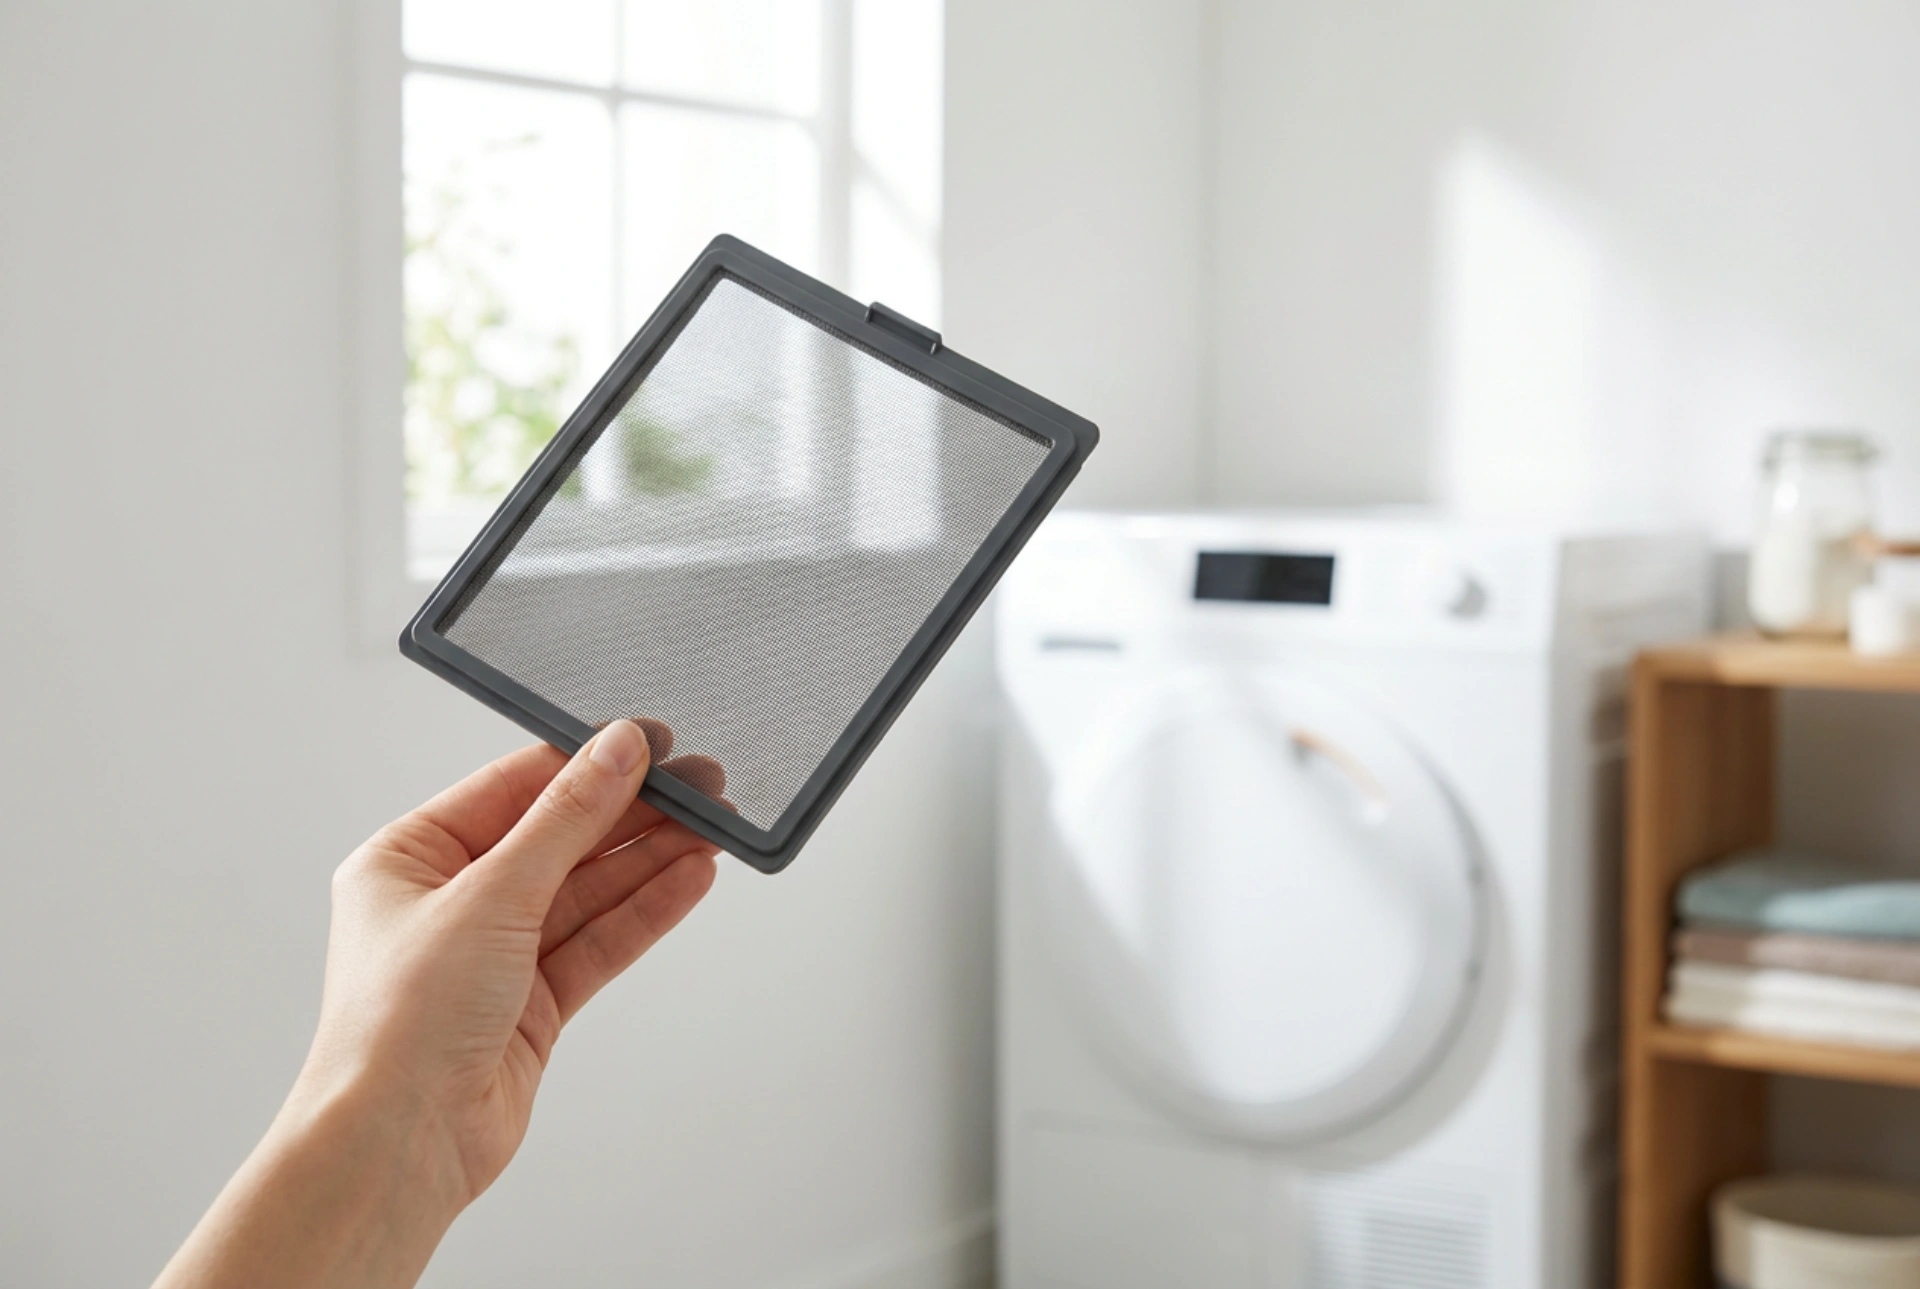
- Mechanical extraction: Carefully pull the filter unit out of its housing. Open the hinged filter and use your fingers to peel the layer of lint starting from one corner. Avoid using sharp objects that could puncture the fine synthetic mesh.
- Chemical residue removal: Over time, fabric softeners, laundry detergents, and minerals from hard water deposit an invisible, hydrophobic film over the mesh. To test for this, pour a small amount of water onto the filter; if the water pools instead of flowing through instantly, the mesh is clogged. Wash the filter under warm running water using a soft-bristled brush and a drop of mild, degreasing dish soap to dissolve these organic residues.
- Dehydration: Never return a wet or damp filter to the dryer. Moisture on the mesh increases initial airflow resistance dramatically due to surface tension blocking the microscopic pores. Shake off excess water and allow the filter to air dry completely before reinserting it.
Maintaining the Lower Heat Exchanger Filter
Most heat pump dryers feature a tertiary filter located in the bottom plinth, directly in front of the heat exchanger fins. This filter captures the microscopic dust particles that bypass the primary door filters. Clean this filter every 10 to 15 cycles.
Open the plinth cover, release the locking levers, and extract the foam or fine-mesh condenser filter. If it is a foam filter, rinse it thoroughly under a running tap, gently squeezing out the accumulated dirt. Do not wring or twist the foam, as this can tear the cellular structure. Allow it to dry completely. Before replacing the filter, inspect the aluminium fins behind it. If dust has bypassed the filter and settled on the fins, use a vacuum cleaner fitted with a soft brush attachment, moving strictly in the vertical direction of the fins to avoid bending the soft aluminium. Bending these fins restricts the micro-channels through which the air must pass, permanently lowering the machine's efficiency.