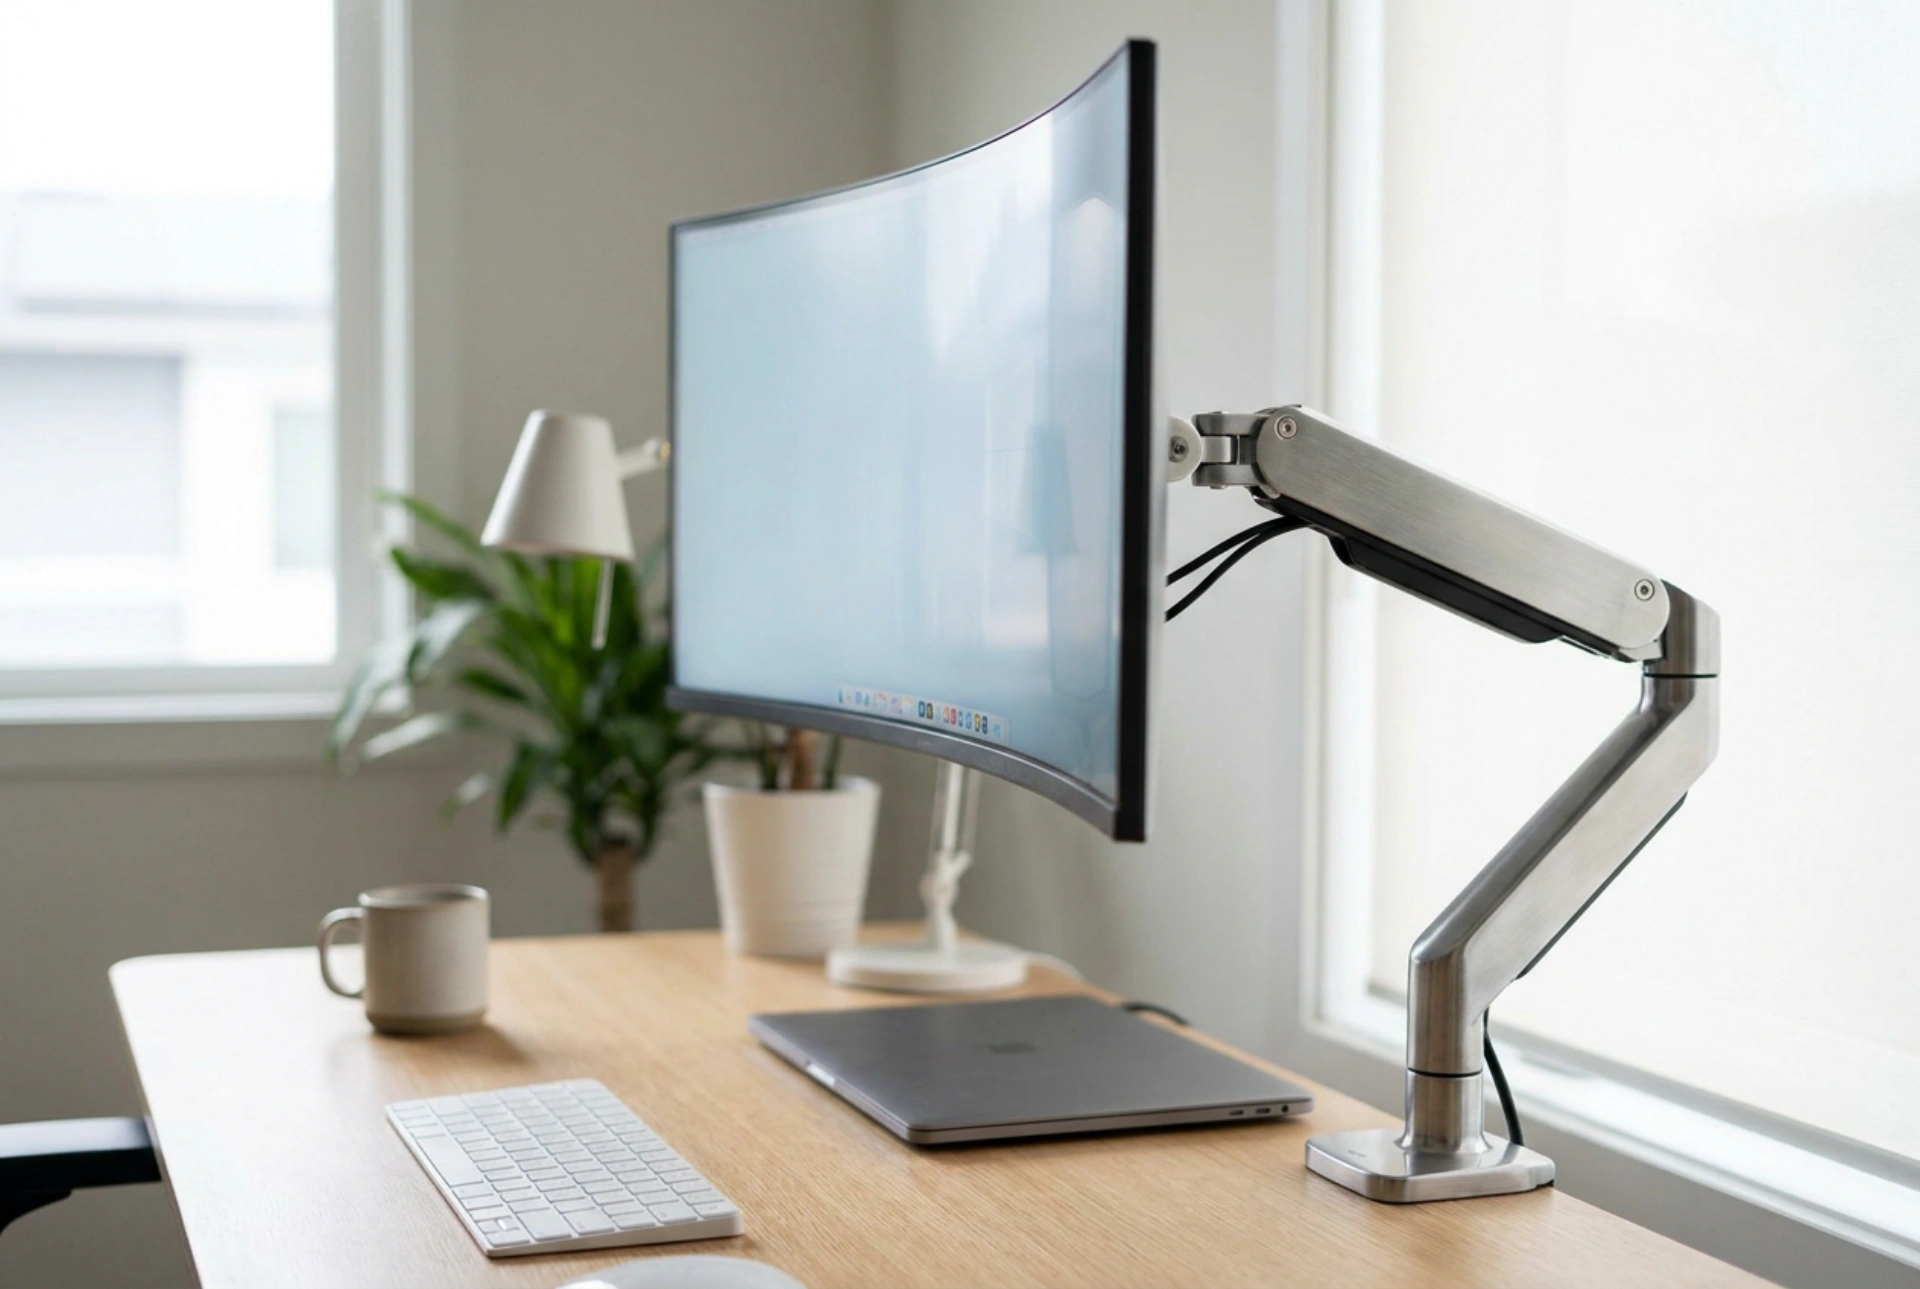


Achieving a perfectly counterbalanced gas spring monitor arm requires balancing the internal pressure of the gas cylinder with the exact gravitational force of your display. Correct adjustment ensures effortless height modifications and prevents sudden dropping or rising of your screen.
Understanding Gas Spring Equilibrium
A gas spring monitor arm relies on a sealed cylinder filled with pressurized nitrogen gas. When you mount a monitor, its weight exerts a downward gravitational force. The gas cylinder exerts an upward force to counteract this. To make the monitor "float" weightlessly, these two forces must be in perfect equilibrium. If the cylinder tension is too low, gravity wins, and the monitor sinks. If the tension is too high, the internal pressure overcomes the monitor's mass, causing the arm to rise abruptly.
Adjusting this balance does not change the weight of your screen; instead, it alters the mechanical leverage or the internal volume limit of the gas strut via a tension screw. Understanding this mechanical relationship is key to preventing damage to both the arm mechanism and your monitor ports during adjustment.
The Calibration Process: Step-by-Step
Before making any adjustments, ensure the monitor is securely mounted to the VESA plate and all cables have enough slack. Adjusting the arm without the monitor attached is ineffective and can be dangerous, as the unweighted arm will spring upward with high velocity.
Step 1: Position the Arm Horizontally
To access the adjustment joint and accurately judge the balance, press the upper arm down so it is parallel to your desk surface. Holding the arm in this horizontal position reduces mechanical resistance on the tension screw, making it easier to turn and preventing thread stripping.
Step 2: Locate the Tension Adjustment Bolt
The adjustment bolt is typically located at the main elbow joint of the upper arm. It is usually a hex socket (Allen screw). Look closely for directional indicators engraved into the plastic or metal casing: a plus sign (+) indicates increasing tension (compressing the gas or adjusting leverage for heavier screens), and a minus sign (-) indicates decreasing tension (releasing pressure for lighter screens).
Step 3: Execute Incremental Turns
Insert the appropriate hex key. If your monitor immediately sinks, you need to turn the bolt toward the plus (+) sign (usually counter-clockwise). If the monitor rises on its own, turn the bolt toward the minus (-) sign (usually clockwise). Do not use power tools; use manual, controlled turns. Rotate the screw by one or two full turns, then carefully release your grip on the monitor to test if it holds its position. Repeat this incremental process until the monitor remains stationary at any height.
Adjusting Tilt and Swivel Resistance
Once the vertical counter-balance is established, you must calibrate the secondary joints responsible for tilt (up and down screen angle) and swivel (left and right rotation). These joints do not use gas pressure; instead, they rely on mechanical friction plates tightened by standard bolts.
If your screen tilts downward under its own weight, tighten the bolt directly behind the VESA mounting plate. Unlike the gas spring, this adjustment is purely friction-based. Tighten it enough so that you can still tilt the monitor with two hands, but firm enough that the screen does not droop over time under the influence of gravity.
Managing External Forces and Cable Drag
A common mistake that disrupts monitor arm calibration is ignoring the tension created by input and power cables. Thick, rigid cables act as springs themselves, pulling or pushing against the arm's movement. Route your cables through the integrated cable management tracks with sufficient slack at each pivot point. If a cable is pulled too tight, it will mimic a heavier monitor, causing the arm to drift downward when positioned at certain heights or angles.
Diagnosing Drift and Rebound
If the monitor drifts only at the very top or bottom of its range, the issue lies in the non-linear force curve of the gas spring. High-quality gas struts maintain relatively consistent force, but minor friction in the joints can cause a "rebound" effect. To solve this, fine-tune the tension screw in half-turn increments. If the arm resists the initial downward movement but stays in place once set, the joint friction is slightly too high. Lubricating the pivot joints with a dry PTFE spray can eliminate stiction without altering the gas spring pressure.