

Maintaining an air fryer in optimal condition requires understanding the chemistry of polymerised grease and the vulnerability of non-stick coatings. Using correct temperatures, surfactant action, and gentle mechanical techniques ensures the heating element and basket remain pristine without compromising the appliance's lifespan.
The Physics of Air Fryer Soilage and Non-Stick Coatings
Air fryers circulate high-velocity hot air, which vaporises moisture and suspends oil droplets. These droplets settle on internal surfaces and undergo thermal polymerisation—a process where heat causes fat molecules to cross-link into a sticky, plastic-like varnish. This residue is highly resistant to simple water rinsing.
Most baskets are lined with PTFE or ceramic non-stick coatings. These materials have low surface energy to prevent food adhesion but are highly susceptible to mechanical abrasion. Using steel wool or harsh scrubbers micro-scratches these coatings, leading to peeling. Therefore, removing polymerised fat must rely on chemical emulsification rather than physical friction.
Step 1: Avoiding Thermal Shock and Preliminary Sweeping
Never rinse a hot air fryer basket in cold water. Rapid temperature drops induce thermal shock, causing the metal base to contract faster than the non-stick coating. This leads to warping and micro-cracking of the protective layer. Allow the appliance to cool for twenty minutes before handling.
Once cooled, use a dry silicone spatula or paper towel to remove loose crumbs and pooled oil. This initial physical sweep reduces the load on your cleaning solution and prevents food particles from redistributing during the wash.
Step 2: Surfactant Emulsification of Lipids
To break down the sticky lipid layer without damaging the coating, prepare a warm water bath (around 45°C) with concentrated dishwashing liquid. Surfactants have hydrophilic heads and lipophilic tails. The lipophilic tails attach to grease molecules, while the hydrophilic heads pull them into the water, forming easily rinseable micelles.
Submerge the basket and pan for fifteen minutes, allowing the surfactants to penetrate the polymerised fat. Use a non-abrasive microfiber cloth or a soft-bristled nylon brush. Work in gentle, circular motions to clean the perforated holes of the basket from multiple angles without scratching the material.
Step 3: Removing Carbonised Residues with Sodium Bicarbonate
For hardened carbon deposits, a mild chemical abrasive is necessary. Sodium bicarbonate (baking soda) is ideal because its crystalline structure is harder than organic residues but softer than ceramic or PTFE coatings. It is also mildly alkaline, converting insoluble fats into soluble salts via saponification.
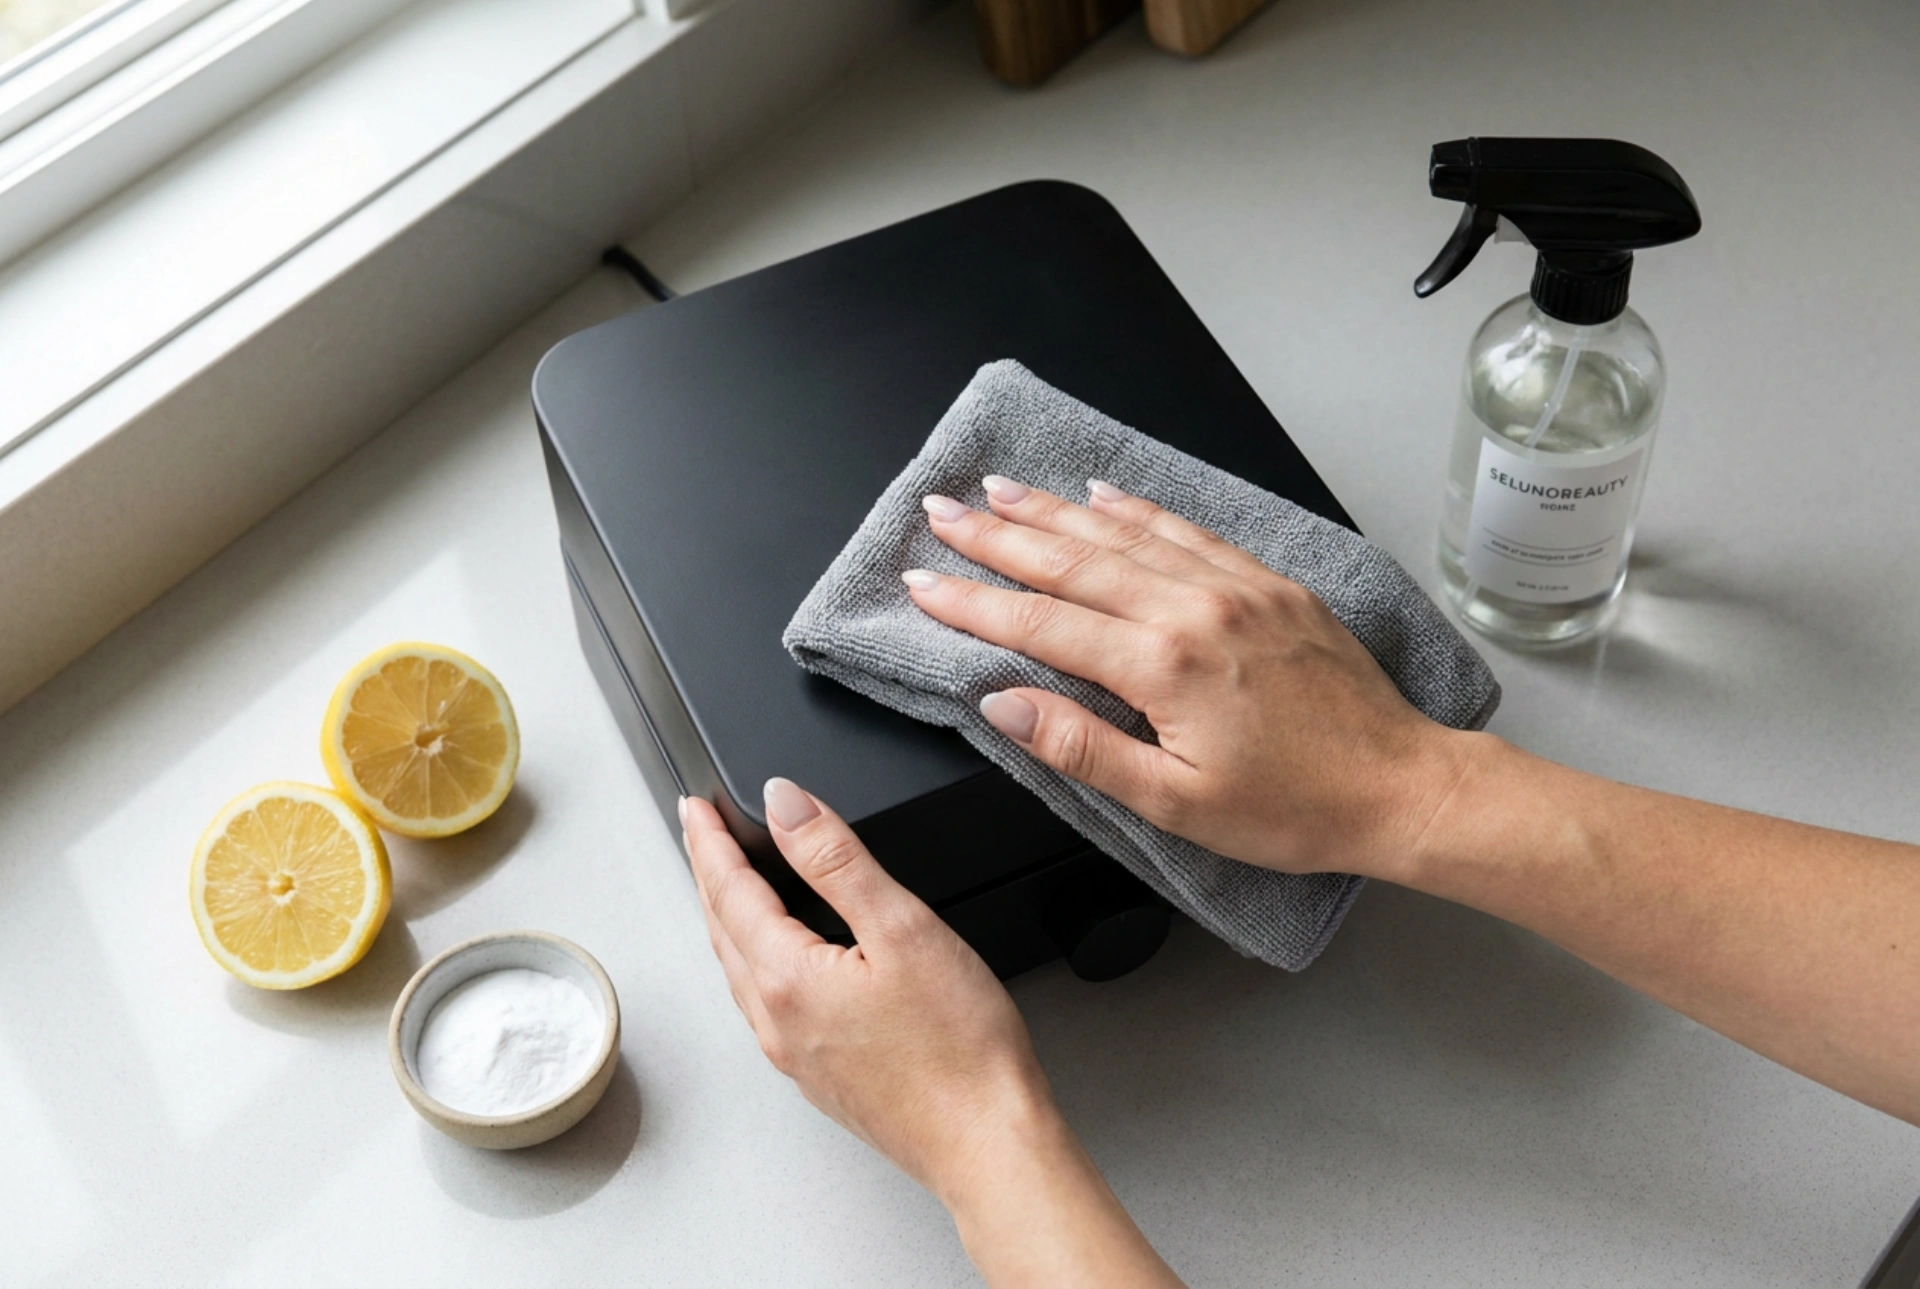
Mix three parts baking soda with one part water to form a thick paste. Apply this directly to the carbonised spots and let it sit for ten minutes. Gently work the paste in circular motions with a damp microfiber cloth, then rinse thoroughly with warm water.
Step 4: Cleaning the Heating Element
The heating element and upper ceiling collect airborne grease, which can burn and smoke during subsequent use. Unplug the appliance and turn it upside down to easily access this area.
Dampen a microfiber cloth in warm water with a minimal amount of mild degreaser, squeezing it until nearly dry to protect electrical components. Wipe the element gently. For stubborn crusts, use a soft nylon brush. Avoid water sprays or harsh chemical oven cleaners, which can corrode internal parts or leave toxic residues.
Step 5: Proper Drying and Moisture Prevention
Dry all components immediately with a clean, lint-free towel to prevent rust and mineral spot formation. Reassemble only when completely dry. To ensure no moisture remains in the heating housing, run the empty appliance at 180°C for three minutes before storing.
Quick Maintenance Checklist
- Cool down: Always wait 20 minutes to avoid thermal shock.
- Pre-wipe: Remove loose crumbs with a dry cloth or silicone spatula first.
- Soak: Use 45°C water with dishwashing liquid to emulsify grease.
- Agitate gently: Clean with microfiber cloths or soft nylon brushes.
- Neutralise: Apply a sodium bicarbonate paste to baked-on carbon.
- Dry thoroughly: Run the empty appliance for 3 minutes to clear moisture.