

Spilled soup and splattered grease inside a microwave quickly polymerise under high heat, forming tough, stubborn bonds with the interior walls. Steam cleaning utilises basic thermodynamics and household chemistry to loosen these bonds safely and quickly without the need for abrasive scrubbing.
The Science Behind Steam and Heat
When food splatters inside a microwave, the intense electromagnetic radiation dehydrates the residue, turning sugars, proteins, and fats into a hardened, highly adhered film. Scrubbing this layer mechanically can easily damage the delicate interior lining of the appliance, which often consists of enamel, stainless steel, or specialised non-stick acrylic coatings.
Steam cleaning solves this by exploiting the physical properties of water. Under thermal energy, liquid water transitions into steam, expanding significantly. As the hot water vapour fills the sealed microwave cavity, it condenses on the cooler interior walls. This condensation process transfers latent heat directly to the hardened food residues. The thermal energy softens polymerised fats, while the water molecules penetrate the microscopic pores of the grime, rehydrating the dried sugars and proteins. This effectively breaks the physical adhesion between the dirt and the non-porous walls.
The Chemical Boost: Adding Acids
While pure water steam is highly effective, adding a mild organic acid like citric acid (from fresh lemons) or acetic acid (from white vinegar) accelerates the cleaning process through chemical degradation. When heated, these volatile acids vaporise alongside the water molecules, dispersing evenly throughout the microwave cavity.
These acids perform two critical chemical functions. First, they lower the pH on the surface of the grease, breaking down the ester bonds in lipids (fats) through a process called hydrolysis. This turns insoluble fats into water-soluble fatty acids and glycerol, making them incredibly easy to wipe away. Second, citric acid acts as a natural chelating agent, binding to metal ions found in food splatters and hard water deposits, dissolving stubborn mineral rings and eliminating pungent organic odours at a molecular level.
The Step-by-Step Steam Cleaning Protocol
To execute this technique safely and effectively, follow this precise sequence of operations:
- Select the vessel: Use a deep, microwave-safe glass or ceramic bowl. Avoid plastic containers, as they can warp or leach chemicals under prolonged, concentrated heat.
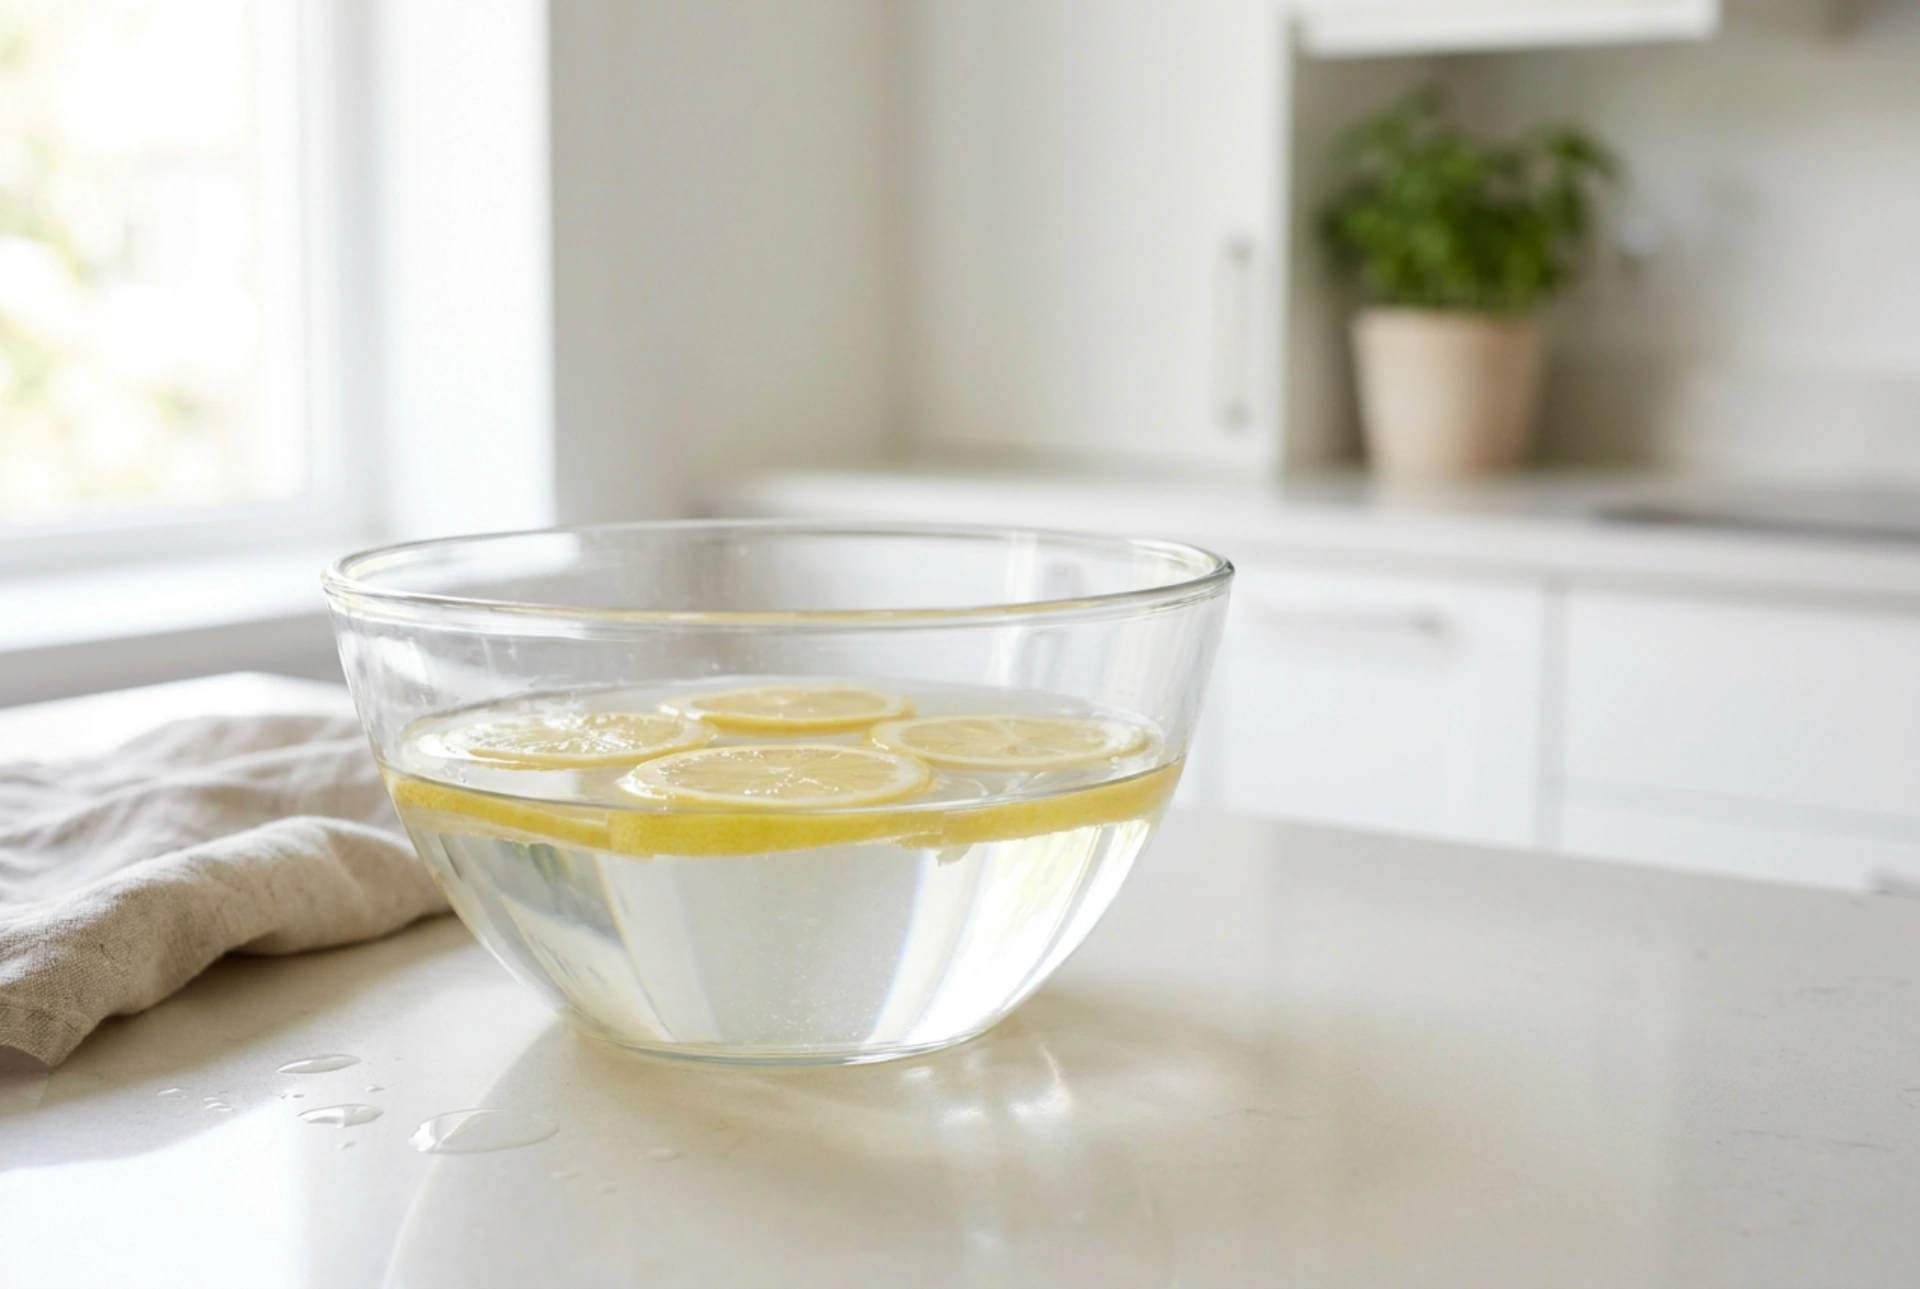
- Prepare the solution: Pour 250 to 300 ml of cold water into the bowl. Add either three thick slices of fresh lemon (squeezing the juice into the water first) or two tablespoons of white vinegar.
- Prevent superheating: Place a clean wooden toothpick or wooden chopstick into the bowl. This is a crucial safety measure. Highly polished glass containers can cause water to superheat past its boiling point without bubbling, which can lead to a sudden, dangerous eruption when the bowl is moved. The porous wood provides nucleation sites, allowing steam bubbles to form and release safely.
- The heating phase: Place the bowl inside, close the door, and run the microwave on high power (800W to 1000W) for 3 to 5 minutes, or until you observe the window completely fogging up with thick steam.
- The dwell time: Once the timer ends, do not open the door immediately. Keep the door closed for 10 to 15 minutes. This step is vital as it allows the temperature and humidity to remain elevated, giving the condensing acidic steam sufficient time to break down the greasy matrix.
Removing the Dissolved Residues
After the dwell time has elapsed, carefully open the door, standing back to avoid any residual escaping steam. Using heat-resistant oven gloves, remove the hot bowl. Take out the turntable glass plate and roller ring; these can be washed separately in warm, soapy water.
To clean the interior, use a clean microfibre cloth. Microfibre is highly recommended because its microscopic polyester and polyamide fibres carry a natural positive static charge, which acts like a magnet for negatively charged grease and dirt particles. Wipe the cavity systematically: start with the ceiling, move to the side walls, and finish with the bottom floor. For any persistent grease spots, dip your cloth into the warm lemon or vinegar solution remaining in the bowl and gently press it against the spot for a few seconds before wiping. Never use steel wool or abrasive scouring pads, as they create micro-scratches that will trap future grease and bacteria, making subsequent cleanings much harder.