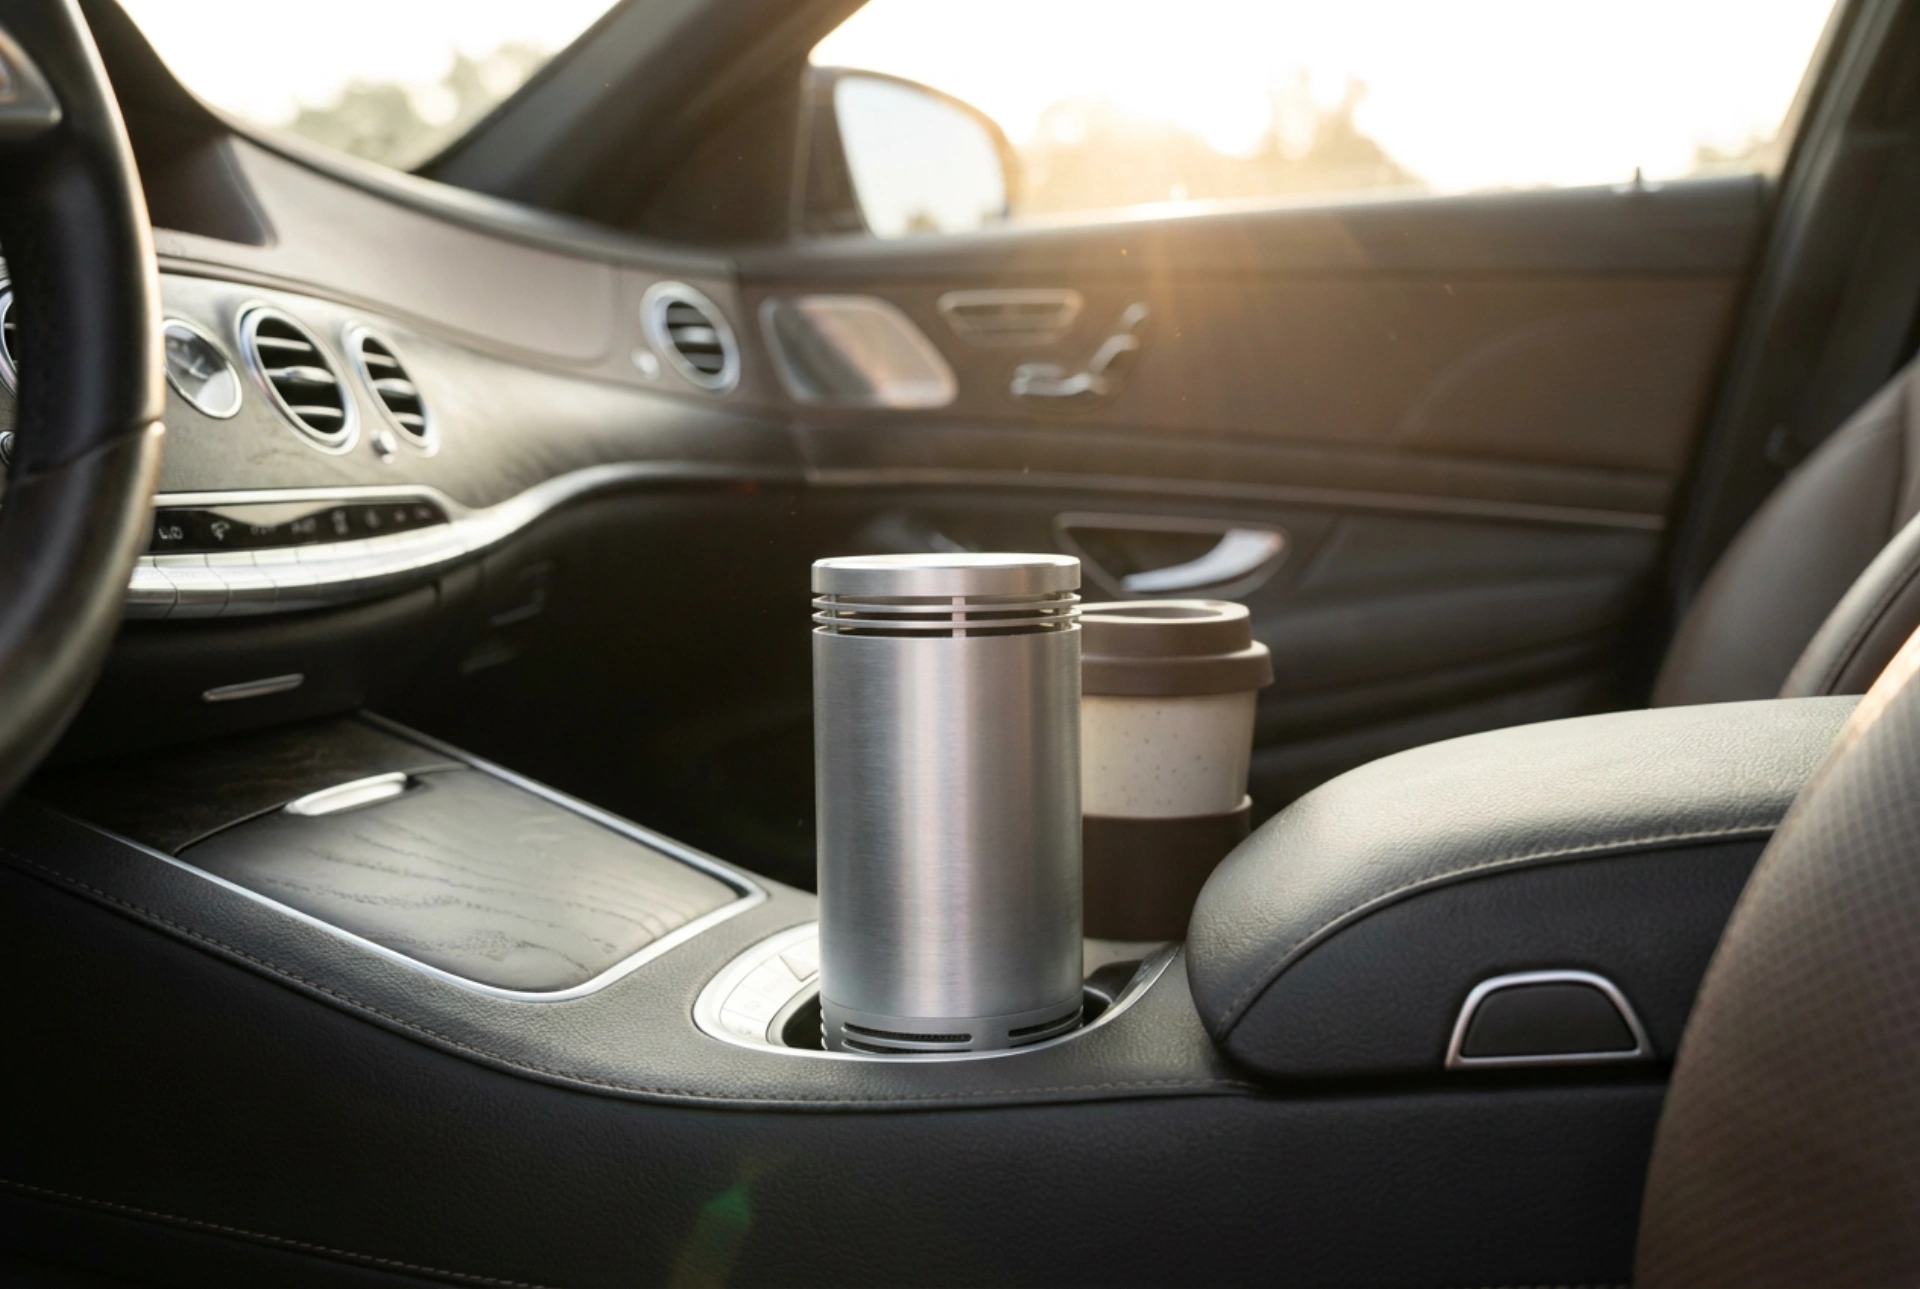


Improving cabin air quality inside a vehicle requires more than just masking odours; it demands an understanding of how airborne particulates behave in a confined space. Using a car air ioniser effectively involves managing electrostatic charges, surface deposition, and cabin ventilation to ensure you breathe clean air without unwanted chemical byproducts.
The Science of Ionisation: How Negative Ions Clean Cabin Air
Car ionisers operate by generating a high-voltage electrical field that releases negative ions (anions) into the vehicle’s cabin. Airborne pollutants such as fine dust, pollen, pet dander, and combustion particles carry a neutral or slight positive charge. When these suspended particulates encounter the flood of negative ions, an electrostatic transfer occurs.
The negatively charged ions bind to the microscopic pollutants, causing them to clump together in a process known as agglomeration. As these particle clusters grow in mass, they become too heavy to remain suspended in the air. Gravity and electrostatic attraction pull these heavy clusters down onto the nearest solid surfaces, such as the dashboard, seats, carpets, and door panels, removing them from your immediate breathing zone.
The Crucial Step: Managing Surface Deposition
A common misconception is that an ioniser destroys pollutants. In reality, it merely relocates them from the air to the physical surfaces of your car interior. If these surfaces are not cleaned regularly, physical movement and cabin airflow can break the weak electrostatic bonds, releasing the dust back into suspension.
- Frequent Microfibre Wiping: Use a damp microfibre cloth to wipe down the dashboard, steering column, and console weekly. Microfibre possesses its own natural static charge that traps the fallen particulate matter instead of scattering it.
- Regular Vacuuming: Vacuum carpets and upholstery using a machine equipped with a high-efficiency particulate air filter to permanently remove the trapped allergens from the cabin.
Navigating Ventilation and the Ozone Byproduct
Many compact car ionisers utilise corona discharge technology to generate ions. A natural byproduct of this high-voltage electrical discharge is the generation of trace amounts of ozone (trioxygen, O3). While ozone is highly effective at neutralising volatile organic compounds (VOCs) and eliminating stubborn odours, concentrated exposure in a small, sealed vehicle cabin can irritate the respiratory system.
To maintain a safe breathing environment, control your vehicle’s climate control settings and ioniser runtime:
1. Avoid Continuous Recirculation
Operating an ioniser while the car ventilation is set to permanent air recirculation creates a closed loop where ozone levels can slowly accumulate. Always set your climate control to draw in fresh outside air periodically, allowing natural air exchange to dilute any ozone buildup.
2. Implement Intermittent Operation
You do not need to run a car ioniser continuously during a multi-hour journey. Running the device for 15 to 30 minutes is usually sufficient to precipitate the majority of airborne particles. Utilise the device during the start of your commute, then turn it off and allow the vehicle’s standard cabin air filter to maintain air purity.
Optimal Placement and Device Maintenance
To maximise the distribution of negative ions, place the ioniser in an area with active airflow. Positioning the device near or directly inside a central air vent or secure cup holder ensures that the vehicle’s HVAC system actively carries the emitted ions throughout the front and rear passenger zones.
Keep the emission needles or plates clean. Over time, the electrostatic attraction can cause dust to accumulate directly on the ioniser’s electrodes, insulating them and drastically reducing ion output. Periodically switch off the device and gently clean the emitter tips with a dry cotton swab to restore optimal electrical conductivity.







