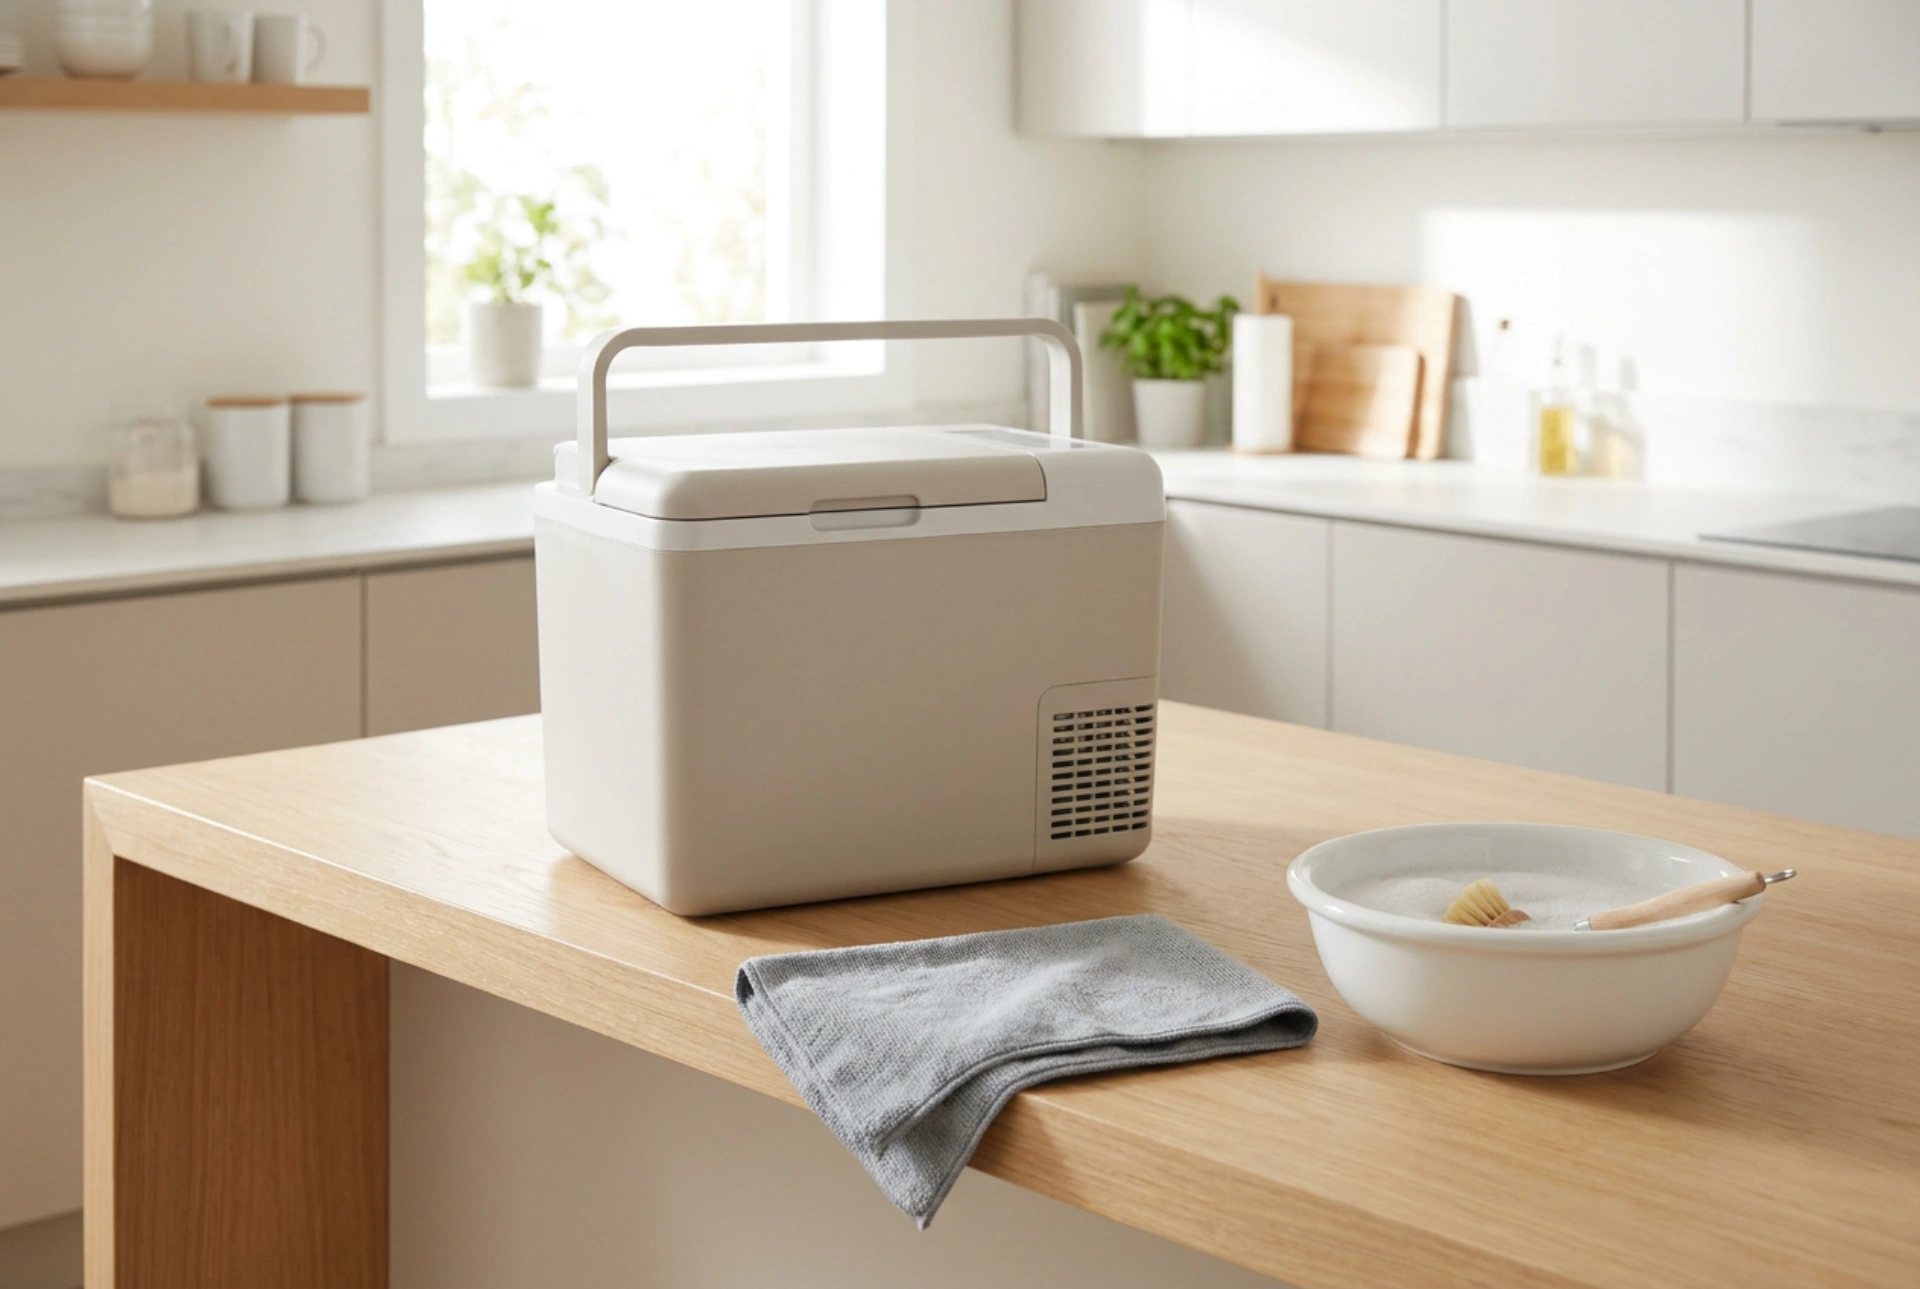


Preparing a compressor cool box for winter storage requires systematic cleaning to prevent structural damage, seal degradation, and the proliferation of mould. Failing to decommission this complex appliance properly can ruin internal plastics and lead to expensive repairs before your next trip.
The Material Science of Cool Box Contamination
Portable compressor coolers rely on high-density polyurethane insulation enclosed by durable thermoplastic outer shells, usually made of polypropylene or acrylonitrile butadiene styrene (ABS). While these plastics are highly impact-resistant, they possess microscopic pores that can absorb organic compounds, fats, and moisture over time. When the cooling system is powered down, the internal temperature rises, creating a warm, dark, and highly humid sealed environment.
This thermal shift causes remaining airborne moisture to condense on the interior walls. If microscopic food particles or liquid residues remain on these surfaces, they provide an ideal substrate for anaerobic bacteria and mould spores to colonise. Over several months of storage, these microorganisms penetrate the plastic matrix, creating stubborn stains and deep-seated, persistent odours that are incredibly difficult to eradicate.
Safe Decommissioning and Electrical Preparation
Before applying any liquid cleaning agents, safety and mechanical preservation must be prioritised. Begin by completely disconnecting the appliance from both AC and DC power supplies to eliminate any risk of electrical short-circuits. Never clean a cool box that is still plugged in, as moisture can migrate into the compressor compartment or the digital control interface.
Allowing Thermal Equilibrium
Allow the internal evaporator plates or cooling walls to reach ambient room temperature naturally. Attempting to accelerate this process using external heat sources, such as heat guns or hair dryers, is highly dangerous. Excessive heat can permanently warp the internal plastic liner, weaken the adhesive holding the cooling coils in place, or cause thermal shock to the refrigeration lines, leading to micro-fractures and refrigerant leaks.
Accessing Hidden Cavities
Remove all internal components, including wire baskets, partition dividers, and dairy compartments. These removable parts create joints and contact points where moisture and organic residues tend to gather due to capillary action. Cleaning these components separately ensures that no hidden damp spots remain to foster mould growth.
The Chemistry of Cleaning: Protecting Polymers and Seals
Selecting the correct cleaning agents is vital for preserving the chemical integrity of the cool box components. Strong household disinfectants, chlorine-based bleaches, and abrasive scouring powders should be strictly avoided. Chlorine strips plasticisers from synthetic rubber seals, causing them to dry out, crack, and lose their sealing efficacy. Abrasives create micro-scratches on the smooth plastic walls, multiplying the surface area available for future bacterial adhesion.
- Surfactant Cleansing: Use a mild, neutral surfactant, such as standard dishwashing liquid, diluted in warm water. Surfactants work at a molecular level to break the bonds between grease, dirt, and the plastic surface, allowing them to be easily wiped away without chemical degradation.
- pH Neutralisation: For stubborn odours, leverage the alkaline properties of sodium bicarbonate (bicarbonate of soda). It chemically neutralises acidic odour molecules, such as those from spoiled food or dairy spills, rather than simply masking them. Apply it as a diluted solution or a gentle paste on stubborn areas, then rinse thoroughly.
- Seal Maintenance: The rubber lid gasket is the most vulnerable component. Clean it carefully using a soft cloth dampened with warm water. If sanitisation is required, a highly diluted isopropyl alcohol solution (under 70%) can be wiped quickly over the seal to kill spores without drying out the polymer structure.
Desiccation and the Prevention of Anaerobic Growth
The final and most critical step before storage is absolute desiccation. Liquid water can easily hide in drain plugs, screw threads, and the tight crevices between the plastic lining and the outer chassis. Even a single droplet of trapped water can sustain a microbial colony over the winter months.
Use a dry, lint-free microfiber cloth to thoroughly dry every internal surface, paying close attention to the gasket tracks and the corners of the cooling compartment. Once hand-dried, leave the cool box open in a well-ventilated, dry indoor area for at least 24 to 48 hours to allow any remaining microscopic moisture film to evaporate completely.
When placing the appliance in its final storage location, never close and latch the lid. A completely sealed, unpowered cool box is a recipe for musty smells and mould. Prop the lid slightly open using a clean towel, a block of clean wood, or a dedicated storage wedge. This maintains continuous passive airflow, ensuring the interior remains dry, fresh, and ready for trouble-free operation next season.







