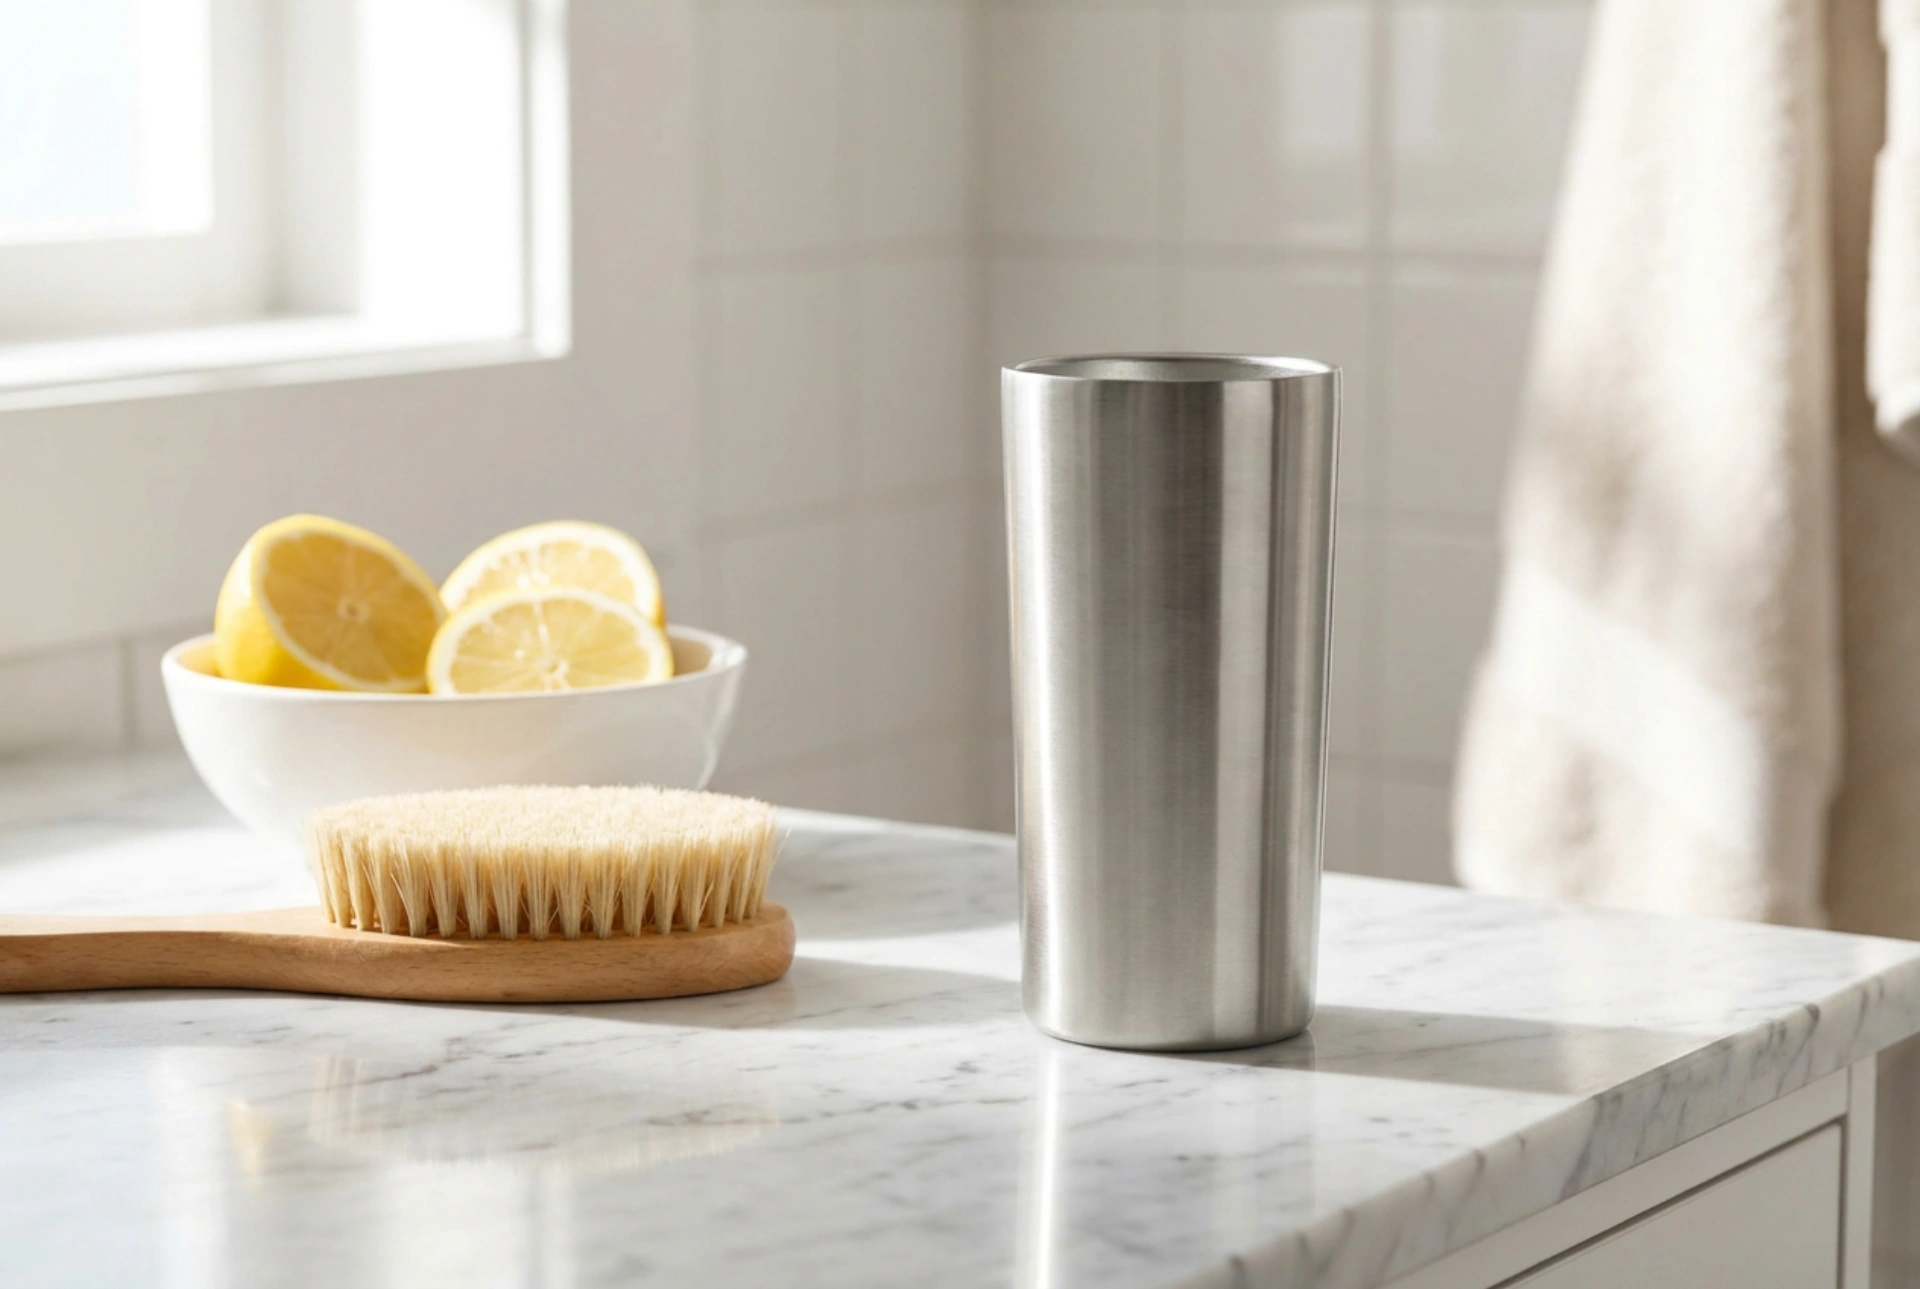


Thermal travel mugs are indispensable for keeping beverages hot, but they are notorious for retaining stale coffee and tea odours. This persistent smell is not just a nuisance; it is caused by organic compounds and oils that have bound to the mug's internal surfaces. To restore a fresh taste, you must deploy targeted household chemistry and precise cleaning techniques that go beyond a simple rinse with dish soap.
Why Do Thermal Mugs Hold Onto Smells?
Coffee contains volatile organic compounds, lipids, and acids that easily cling to surfaces. While high-quality stainless steel is highly resistant to corrosion, it still possesses microscopic surface roughness where these oils can accumulate. Over time, these residues polymerise, creating a thin, water-resistant biofilm. The problem is even more pronounced in the lid assemblies, gaskets, and handles. The silicone or rubber seals used to make travel mugs leak-proof are polymer materials with a molecular structure that can absorb hydrophobic organic molecules. This means the oils literally dissolve into the elastomer, making them incredibly difficult to remove with standard surfactants.
The Chemistry of Odour Elimination
To break down polymerised oils and neutralise acidic residues, standard dishwashing liquid is often insufficient because it only lowers surface tension to lift loose dirt. Instead, you need compounds that chemically alter the odour-causing molecules.
- Sodium Bicarbonate: As a mild alkali, sodium bicarbonate neutralises acidic odour compounds. It also acts as a gentle, non-scratch abrasive that physically disrupts the biofilm on stainless steel without damaging the protective chromium oxide layer.
- Sodium Percarbonate: When dissolved in warm water, sodium percarbonate decomposes into hydrogen peroxide and sodium carbonate. The active oxygen released physically lifts stains and oxidises organic compounds, breaking them down into water-soluble substances that easily rinse away.
- Acetic Acid: For mineral scale buildup, which acts as a porous sponge for coffee oils, a mild acid like diluted white vinegar is highly effective. It dissolves calcium carbonate deposits, stripping away the physical structure that traps smells.
Step-by-Step Deep Cleaning Protocol
To clean your thermal mug systematically, follow this science-backed procedure:
1. Complete Disassembly
Remove the lid and carefully pry out all silicone gaskets, O-rings, and seals. If the handle has a detachable mechanism or a tight seam, pay close attention to these areas, as capillary action can draw liquids into the gaps, creating breeding grounds for anaerobic bacteria.
2. The Thermal Soak
Fill the stainless steel flask with hot water (approximately 60°C to 70°C). This temperature is high enough to accelerate chemical reactions and melt solidified lipids, but safe enough not to warp plastic components. Add one tablespoon of sodium percarbonate or baking soda. Leave the mixture to effervesce for 15 to 30 minutes. Do not seal the lid during this process, as gas buildup can cause pressure issues.
3. Detail Scrubbing
While the flask is soaking, submerge the disassembled silicone seals and plastic lid parts in a small bowl containing warm water and baking soda. Use a small, stiff-bristled brush to clean the thread paths, seal grooves, and the areas around the handle attachments.
4. Mechanical Cleansing of the Flask
Use a long-handled bottle brush to scrub the interior walls of the flask. Pay special attention to the bottom seam, where gravity causes heavy particulates and oils to settle.
5. Rinsing and Descaling
Rinse all components thoroughly with clean, warm water. If you notice a white, chalky residue, rinse the mug with a 1:1 solution of warm water and white vinegar, then rinse again with plain water.
Drying and Prevention Tactics
Proper drying is the final, crucial step in odour prevention. Bacteria and mould require moisture to thrive. If you assemble a damp thermal mug and close the lid, any remaining microscopic organic matter will rot, creating a musty smell. Place all disassembled parts on a clean, dry towel or drying rack in a well-ventilated area. Allow them to air-dry completely before reassembling. When storing your thermal mug in the cupboard, always store it disassembled or with the lid off. This allows air to circulate freely, keeping the interior dry and hostile to microbial growth.