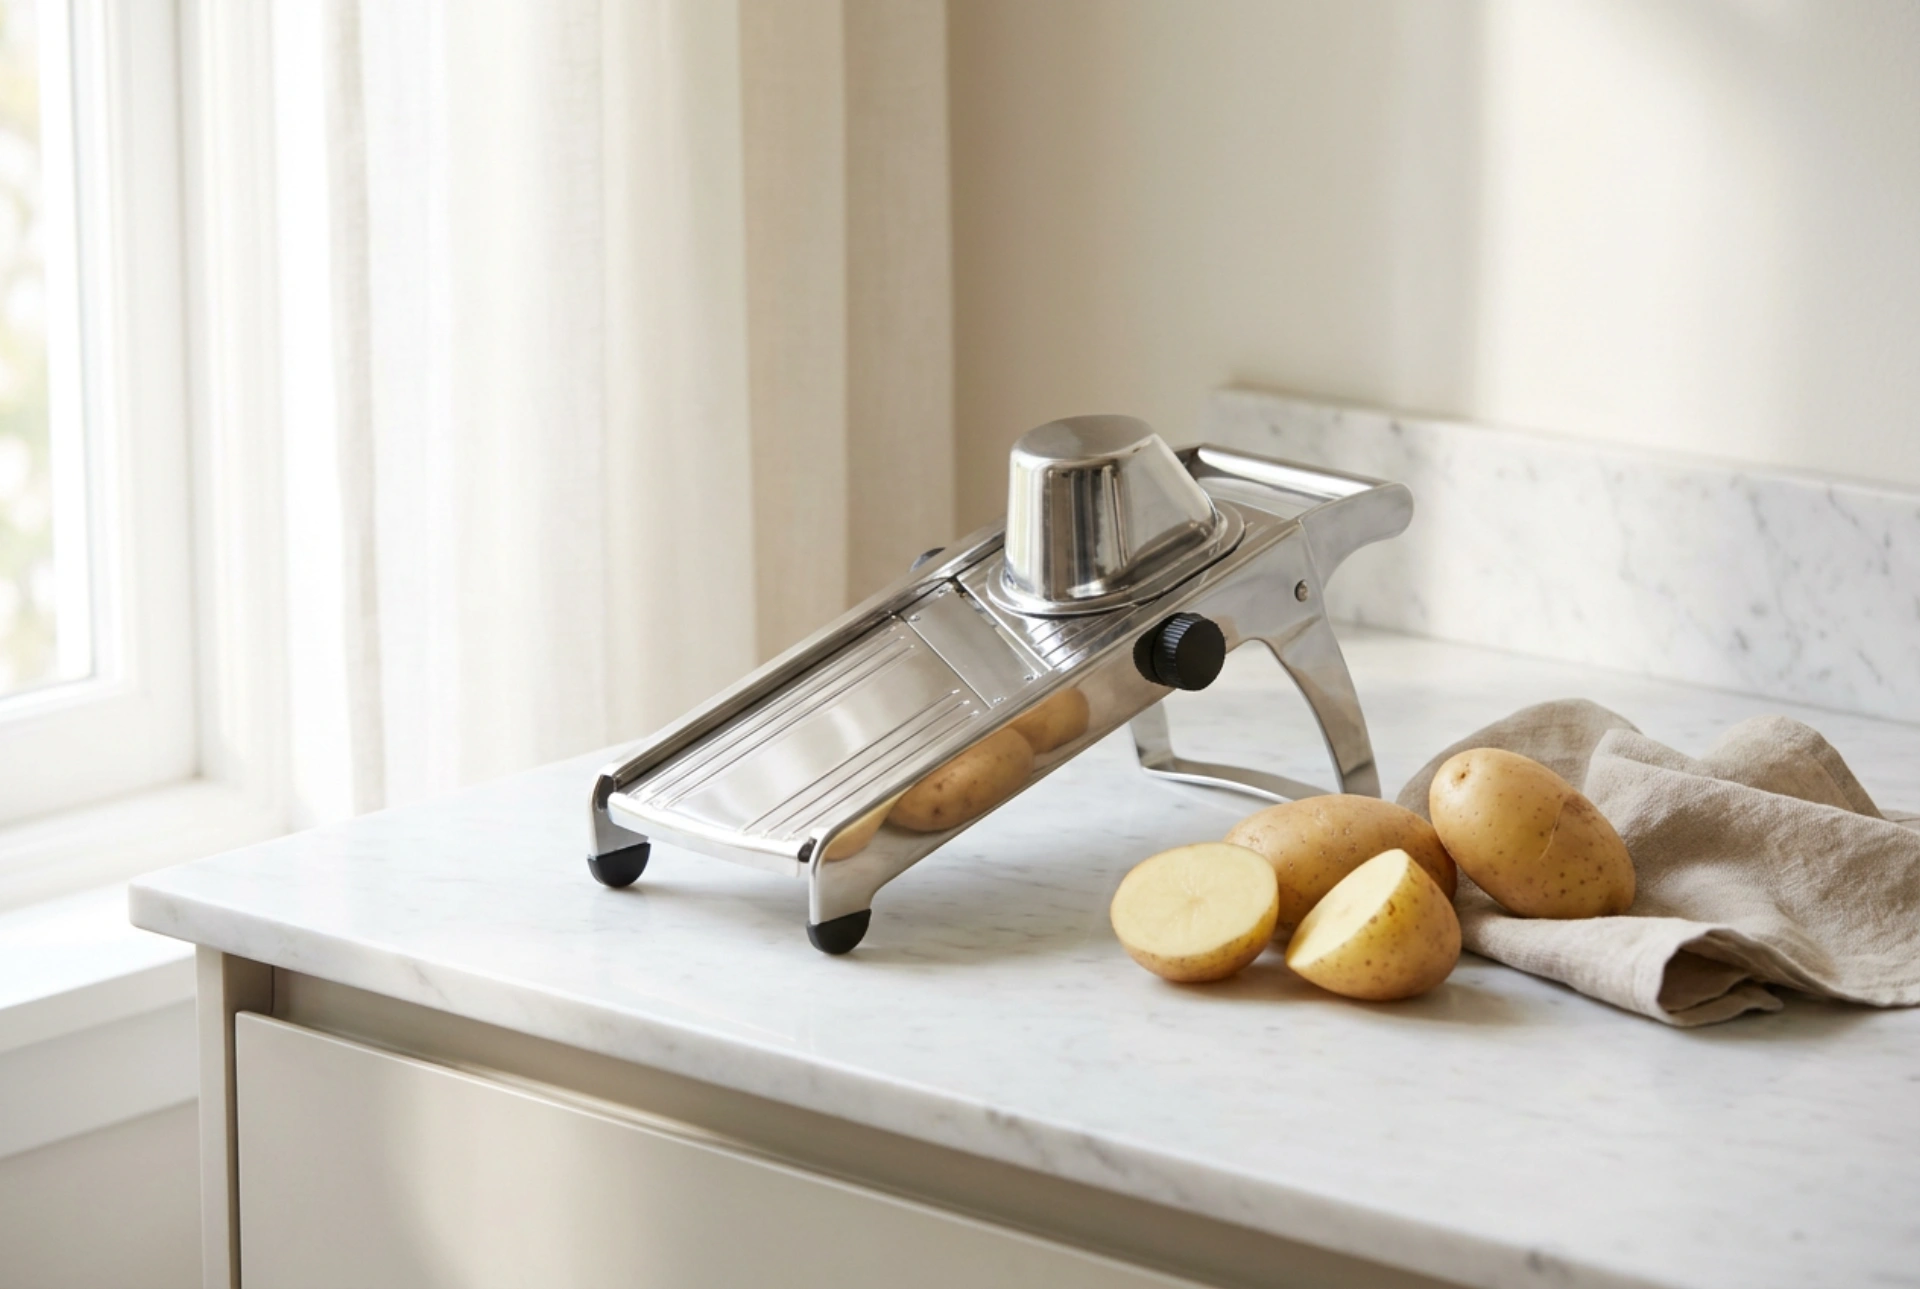


Starch residue on potato slicers dries into a stubborn, glue-like film that dulls blades and harbors bacteria if not removed promptly. Cleaning it effectively requires understanding the physical properties of potato starch and using the right temperature and mild chemical reactions to dissolve it without damaging the metal.
The Chemistry of Potato Starch
Potato starch is composed of two polysaccharides: amylose and amylopectin. When potatoes are sliced, cells rupture, releasing these starch granules along with water. As the water evaporates, these molecules cross-link, forming a highly adherent, semi-crystalline polymeric film on the stainless steel blades and housing. If you immediately expose this residue to hot water (above 60°C), the starch undergoes gelatinisation. The granules swell, absorb water, and turn into a sticky paste that binds tightly to the metal surfaces. Therefore, the secret to effortless cleaning lies in temperature control and timely intervention.
The Critical Cold Water Pre-Rinse
Always begin the cleaning process immediately after use, before the starch has time to dry and dehydrate. The first and most important step is a thorough rinse under cold running water. Cold water keeps the starch granules intact and prevents them from swelling and sticking. Disassemble the slicer as much as possible, removing the pusher plate and the blade grid. Hold the components under a strong stream of cold water to physically flush away the loose starch molecules from the cutting edges and crevices.
Breaking Down Stubborn Residue with Acetic Acid
If the starch has already dried into a white, hazy film, cold water alone will not suffice. To dissolve this bonded layer without using harsh abrasives that can dull the blades, utilise dilute acetic acid (common white vinegar). The acid acts as a mild solvent that hydrolyses the starch chains, breaking them down into smaller, water-soluble carbohydrates. Fill a shallow basin with equal parts warm water and white vinegar. Submerge the blade grid and pusher plate for 10 to 15 minutes. Avoid using boiling water, as moderate warmth is sufficient to accelerate the chemical reaction without causing remaining starch to gelatinise into glue.
Safe Mechanical Cleaning of the Blades
Once the starch film is softened, mechanical action is required to clear the tight corners of the grid. Never use steel wool or metal scouring pads, as these will scratch the polished surface of the stainless steel, creating micro-grooves where starch and bacteria can cling even more easily in the future. Instead, use a stiff-bristled nylon brush. Brush in a direction parallel to the blades to clean the cutting edges without dulling them. For the hard-to-reach intersecting corners of the dicing grid, use a soft wooden toothpick or a dedicated plastic cleaning tool to push out any compressed potato fibres.
Preventing Pitting Corrosion and Storing
While high-quality slicers are made of stainless steel, they are still vulnerable to pitting corrosion if exposed to moisture and organic acids over long periods. Starch residue can trap moisture against the metal surface, depleting local oxygen levels and breaking down the protective chromium oxide layer. After washing, rinse all parts thoroughly with clean water to remove any vinegar residue. Dry each component immediately with a lint-free microfiber cloth. To preserve the sharpness of the blades and protect the metal from atmospheric moisture, apply a microscopic layer of food-grade mineral oil to the cutting grid before reassembling and storing the unit in a dry place.







