

Maintaining a built-in wine cooler requires a precise approach to preserve both the delicate climate control system and the sensitive materials of the shelving. Using incorrect cleaning agents or physical techniques can permanently scratch stainless steel, warp wooden racks, or damage the airtight door gaskets that maintain optimal cellaring conditions.
1. Thermal Stabilization and Pre-Cleaning Physics
Before introducing any moisture or cleaning agents, the wine cooler must be turned off and allowed to reach ambient room temperature. Cleaning a cold appliance introduces the risk of thermal shock, particularly to glass doors and integrated metal components. Cold plastics and metals are also more brittle, making them more susceptible to micro-fractures under physical pressure.
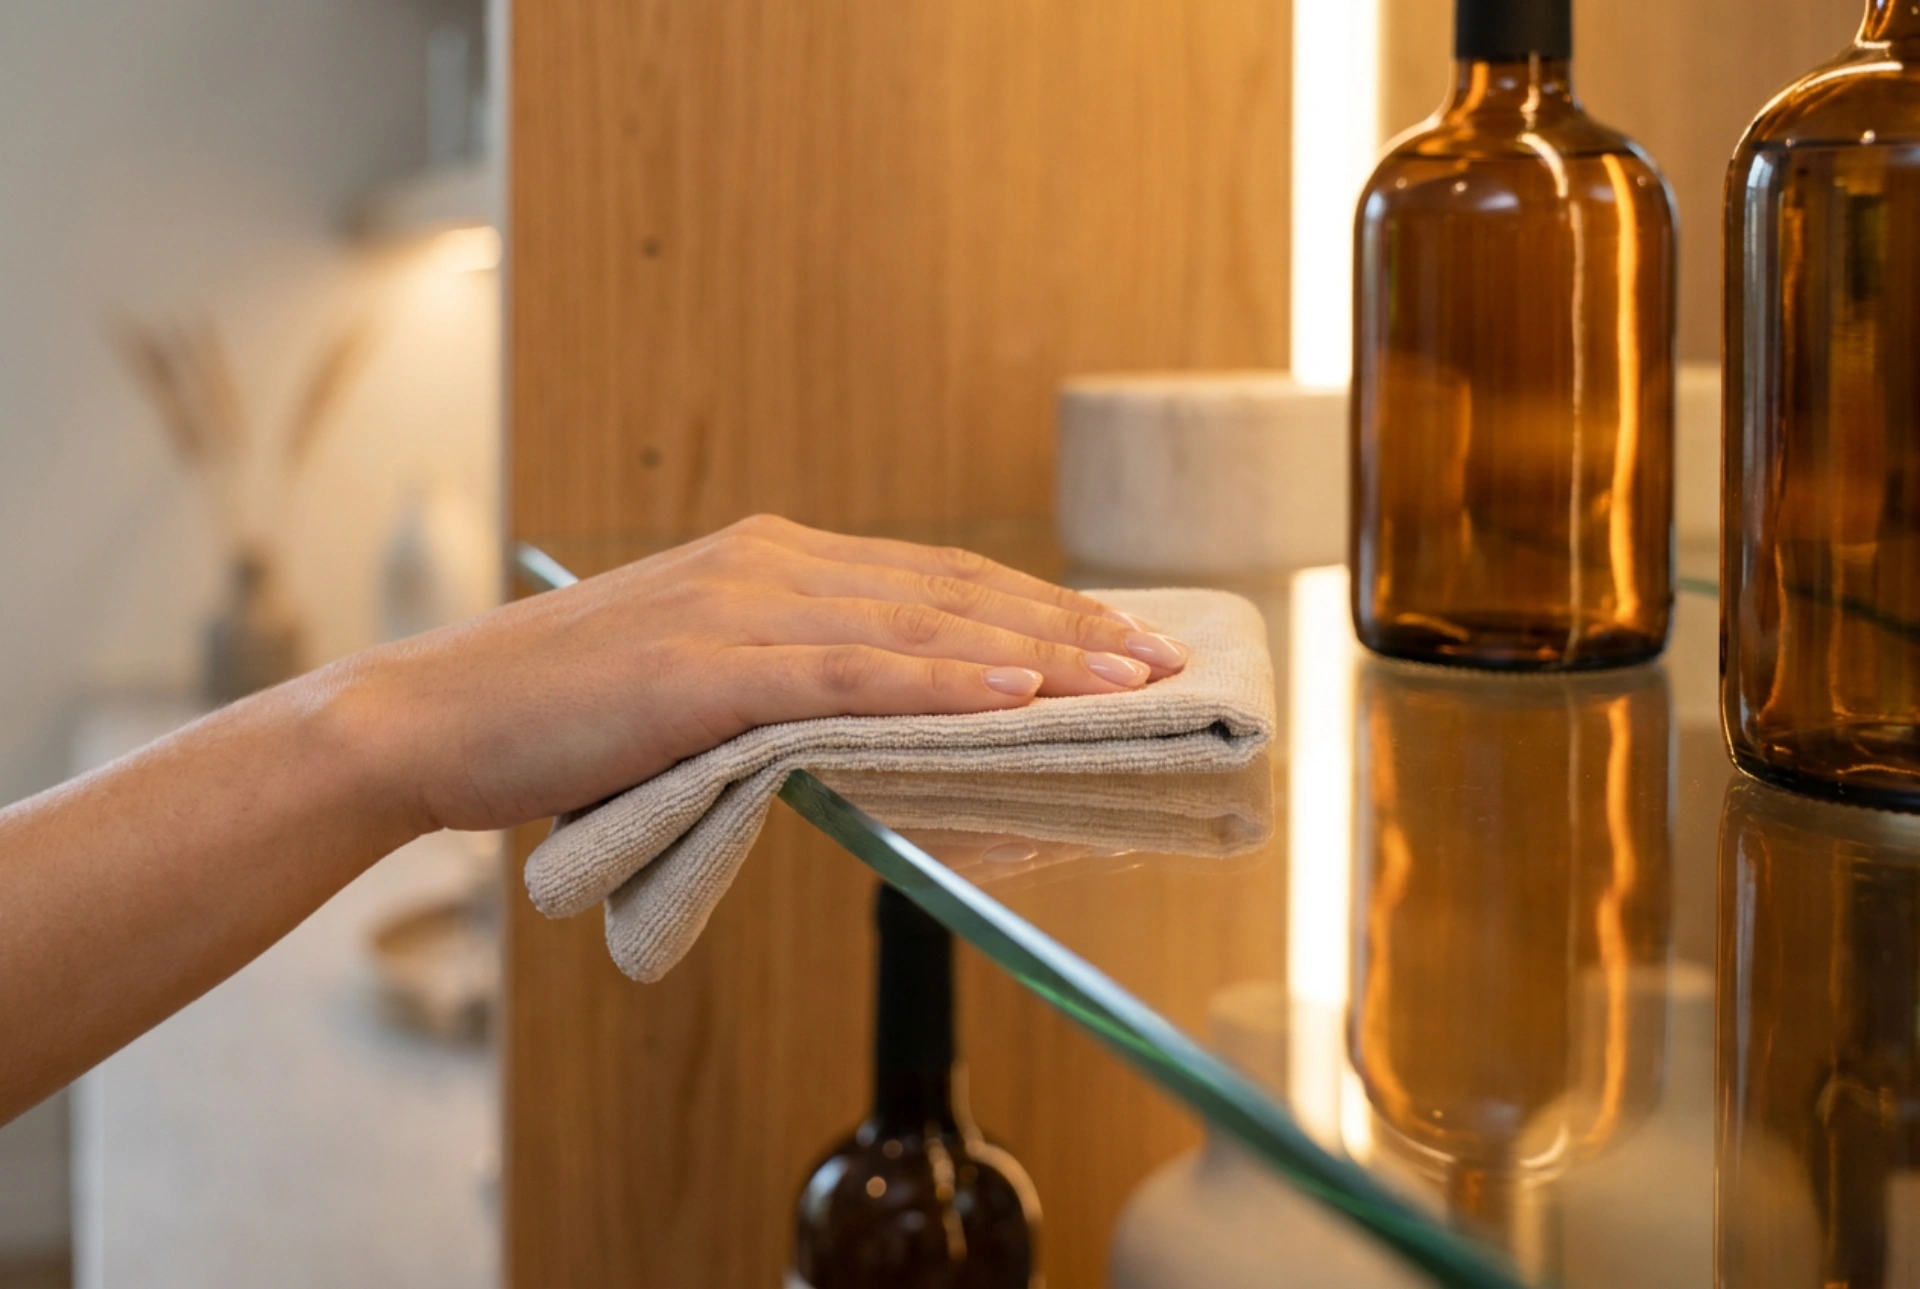
Remove all wine bottles carefully. This is also the ideal time to inspect the bottles for any signs of mold on the labels, which indicates excess humidity inside the cabinet. Once empty, use a dry, clean microfiber cloth to gently wipe away loose dust. Dry wiping first prevents dust particles—which often contain hard mineral silica—from acting as sandpaper when rubbed with a damp cloth later.
2. Caring for Wooden Shelves: Moisture Control and Chemistry
Many premium built-in wine coolers feature untreated wooden shelves, typically crafted from beech or oak, due to their vibration-dampening properties and lack of chemical odors that could seep through corks. However, wood is highly hygroscopic, meaning it readily absorbs moisture. Liquid water causes the wood fibres to swell, leading to warping and structural weakness.
Never submerge wooden shelves in water or spray them directly with liquid. Instead, prepare a solution of lukewarm water and a drop of pH-neutral dish soap. Dampen a microfiber cloth and wring it out completely until it is barely damp to the touch. Wipe along the grain of the wood to avoid lifting the fibers. Immediately follow with a dry microfiber cloth to absorb any residual surface moisture. Never use wood polishes, oils, or scented cleaners; these release volatile organic compounds (VOCs) that can penetrate corks and spoil the wine's flavor profile over time.
3. Cleaning Metal and Chrome Racks Without Scratching
Metal or chrome-plated wire shelves are durable but highly prone to hairline scratches that ruin their reflective finish. These scratches can also become focal points for corrosion in the humid environment of a wine cellar. To clean metal shelves, rely on the chemical lifting power of surfactants rather than physical scrubbing.
Use a premium, high-pile microfiber cloth. The split fibers of a microfiber cloth create a microscopic capillary action that lifts and traps dust and oils within the cloth, rather than scraping them across the metal surface. For sticky residues, apply a mild surfactant solution. If sanitizing is required, a highly diluted solution of isopropyl alcohol can be used. It evaporates quickly without leaving mineral streaks, which are common when using tap water containing calcium or magnesium.
4. Protecting the Gaskets and Internal Cabinet
The magnetic rubber gasket is the most critical component for maintaining the internal microclimate. Harsh chemicals like chlorine bleach, ammonia, or vinegar will dry out the rubber, causing it to crack and lose its sealing capacity. Clean the gasket using only warm water and a microfiber cloth. If a surfactant is needed, use a tiny amount of neutral liquid soap, ensuring it is completely wiped away with clean water.
For the plastic interior walls, avoid abrasive baking soda pastes. While baking soda is excellent for odor absorption, its crystalline structure is abrasive enough to scratch acrylic and plastic liners. Instead, use a soft cloth with a mixture of warm water and a mild, non-abrasive detergent to clean the interior walls, ensuring you wipe down the drain hole at the back to prevent algae buildup.
5. Reassembly and Post-Cleaning Protocol
Once all components are cleaned, they must dry completely in the open air before reassembly. Reassembling a damp cooler and sealing the door traps moisture, creating an ideal breeding ground for mold and mildew. Allow the interior to air out for at least one hour.
Carefully slide the dry shelves back onto their tracks. Power on the unit and allow it to reach its target temperature before reloading the wine bottles. Placing room-temperature bottles into a warm fridge allows the system to cool down gradually, preventing condensation from forming on the cold glass surfaces of the newly loaded bottles.