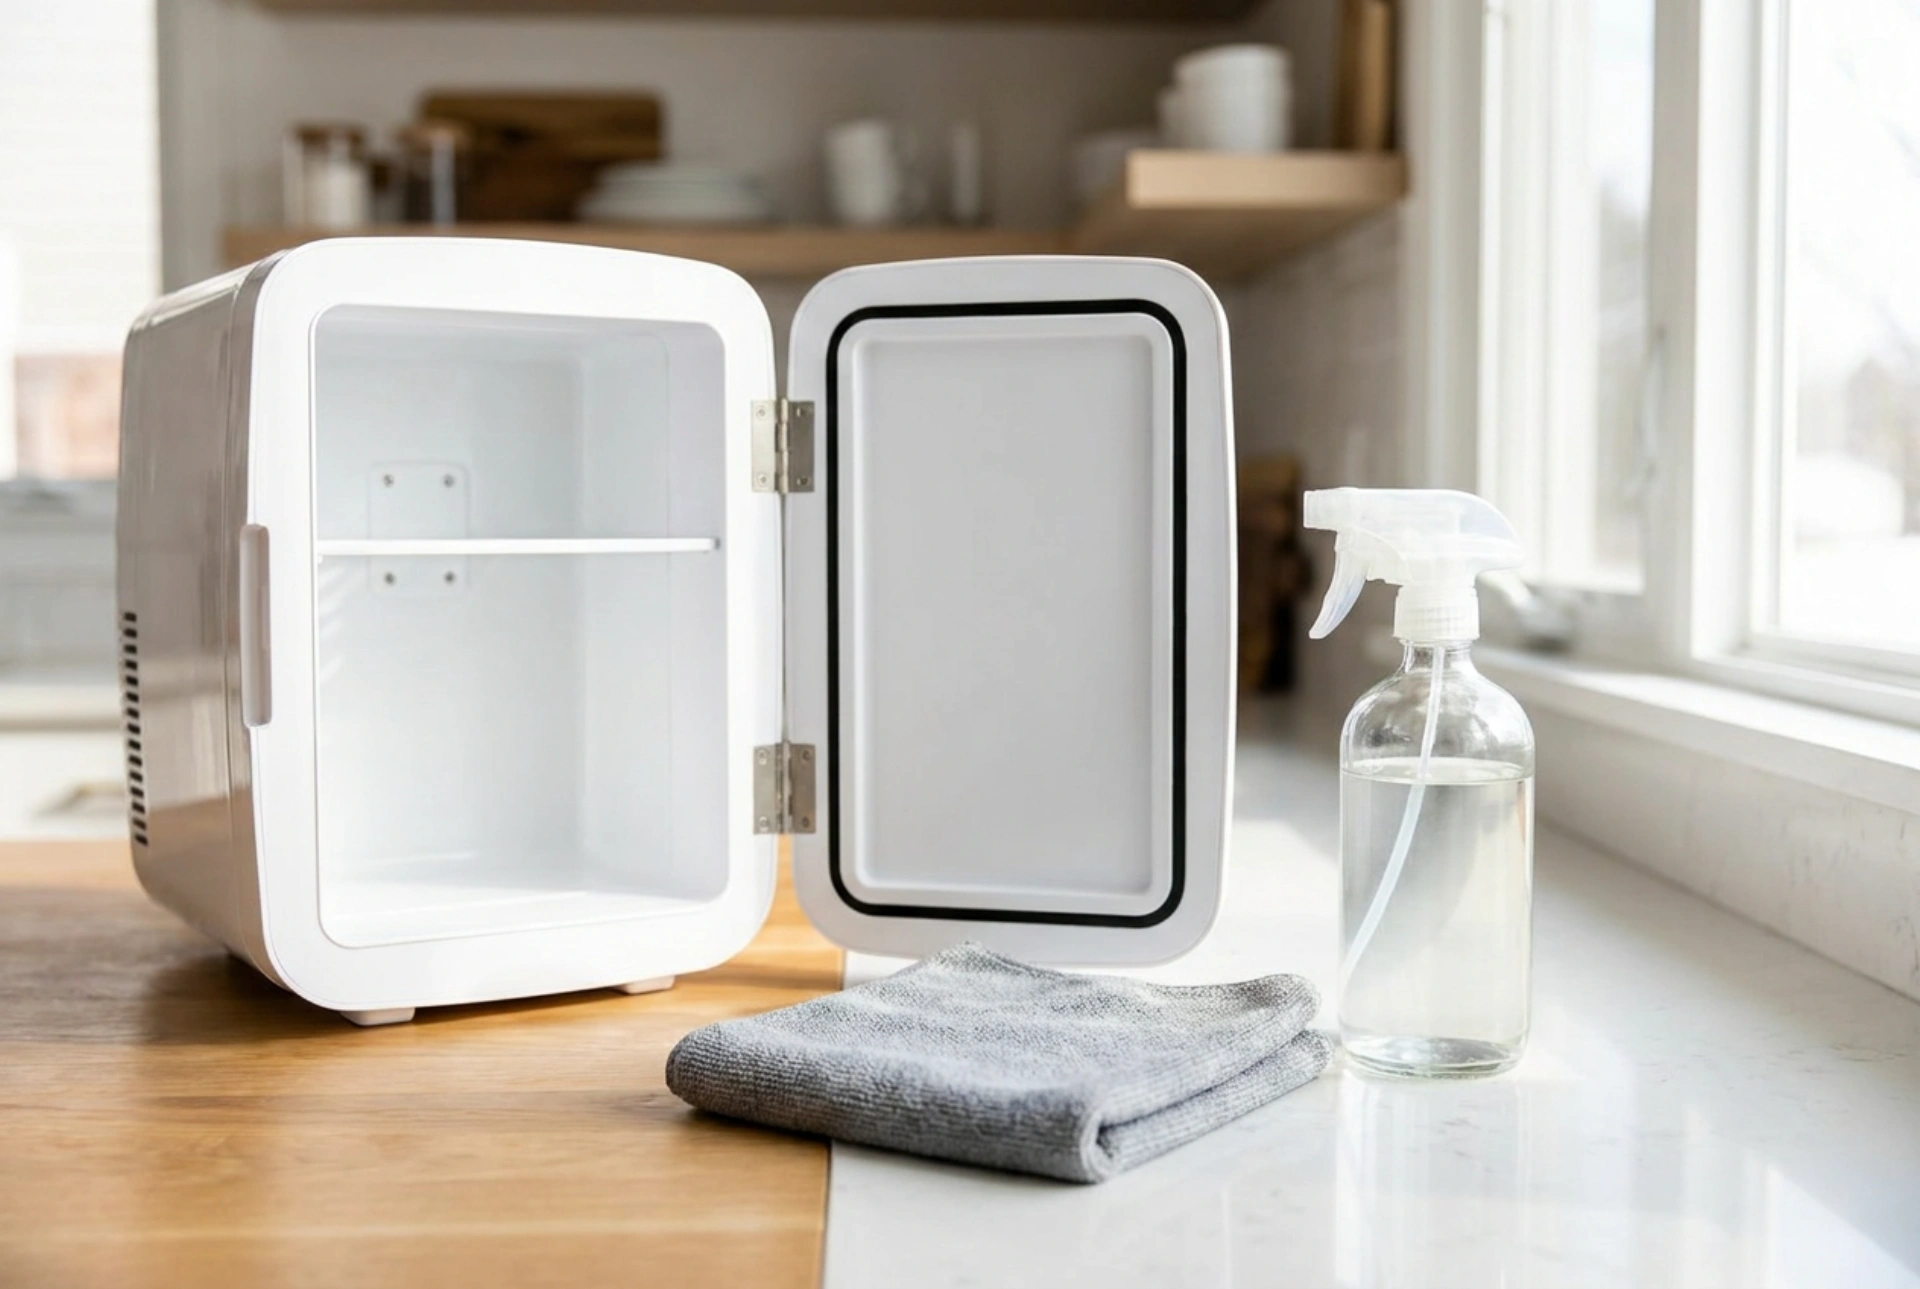


Cleaning an electric cool box after a trip requires a careful balance between thorough hygiene and protecting the delicate electronic thermoelectric cooling system. Food residues, condensation, and trapped humidity create a breeding ground for bacteria and mold, which can degrade both the plastic lining and the seal of your appliance.
The Science of Cool Box Odours and Plastic Porosity
Most portable electric coolers are lined with high-density polyethylene (HDPE) or polypropylene (PP). While these polymers are durable and lightweight, they are slightly porous at a microscopic level. When food particles or spilled liquids remain inside a sealed, warm environment after the power is cut, volatile organic compounds (VOCs) produced by bacterial decay penetrate these microscopic pores. This is why a closed, uncleaned cooler quickly develops a persistent, unpleasant smell.
Furthermore, the thermoelectric Peltier elements or miniature compressor cooling units generate condensation during operation. Once turned off, this moisture pools in corners and under seals. Combined with warmth, this moisture triggers rapid fungal spore germination, leading to black mold growth on the rubber gaskets. Addressing this requires chemical neutralization rather than mere physical wiping.
Step-by-Step Decontamination Process
To safely clean your electric cool box without risking an electrical short circuit or damaging the internal insulation, follow a structured sequence of operations based on surface chemistry.
Step 1: Complete Power Isolation and Temperature Equalisation
Before introducing any moisture, disconnect the cooler from all 12V DC or 230V AC power sources. Allow the interior surfaces of the cooler to reach ambient room temperature. Wiping a freezing cold thermoelectric plate with warm water can cause thermal shock to the ceramic elements inside the Peltier module, leading to micro-cracks and premature component failure.
Step 2: Dry Debris Removal and Gasket Extraction
Remove all loose shelves, dividers, and baskets. Vacuum or wipe out dry crumbs and loose debris using a dry microfiber cloth first. If the rubber lid gasket is removable, gently slide it out of its groove. Gaskets are highly susceptible to capillary action, drawing liquid spills underneath them where anaerobic bacteria thrive.
Step 3: Chemical Neutralisation of Soils and Odours
Avoid harsh chlorine-based bleach or abrasive scouring powders, which can microscopically scratch the plastic liner, creating deeper crevices for bacteria to hide. Instead, use a dual-action chemical approach:
- Surfactant Wash: Prepare a solution of warm water (not exceeding 40 degrees Celsius) and a few drops of mild, pH-neutral dishwashing liquid. Surfactants lower the surface tension of water, allowing it to penetrate lipid-based food residues and suspend them in the solution. Wipe the entire interior with a soft microfiber cloth, paying special attention to the corners.
- Odour Eradication: For persistent odours, apply a paste of sodium bicarbonate (baking soda) and water directly to stained areas, or wipe down the walls with a diluted solution of sodium bicarbonate. Sodium bicarbonate is an amphoteric compound; it chemically reacts with both strong acidic and basic odour molecules, converting them into non-volatile salts that can be easily wiped away.
- Disinfection: For sanitisation, use a highly diluted oxygen-based bleach or a simple 1:1 mixture of water and white spirit vinegar (acetic acid). Acetic acid denatures bacterial proteins and disrupts the cell membranes of common mold species without degrading the polymer structure of the cooler walls.
Step 4: Managing the Ventilation Grills and Electrical Ports
The cooling fan, vents, and electrical connection ports must never come into direct contact with liquid water. Use a dry, soft-bristled brush or a can of compressed air to clear dust and lint from the ventilation grates. Dust accumulation restricts airflow, forcing the cooling mechanism to work harder, which reduces efficiency and increases power draw during your next trip. Wipe the exterior casing with a damp, well-wrung microfiber cloth only.
Moisture Control and Correct Storage Techniques
Liquid water is the primary catalyst for microbial growth. After wiping down the interior with clean water to remove any residual cleaning agents, dry all surfaces immediately with a clean, lint-free towel. Leave the lid of the cool box fully open in a well-ventilated, dry room for at least 24 hours before storage. For long-term storage, always leave the lid slightly ajar to prevent air stagnation and pressure changes that could trap residual humidity inside the unit.







