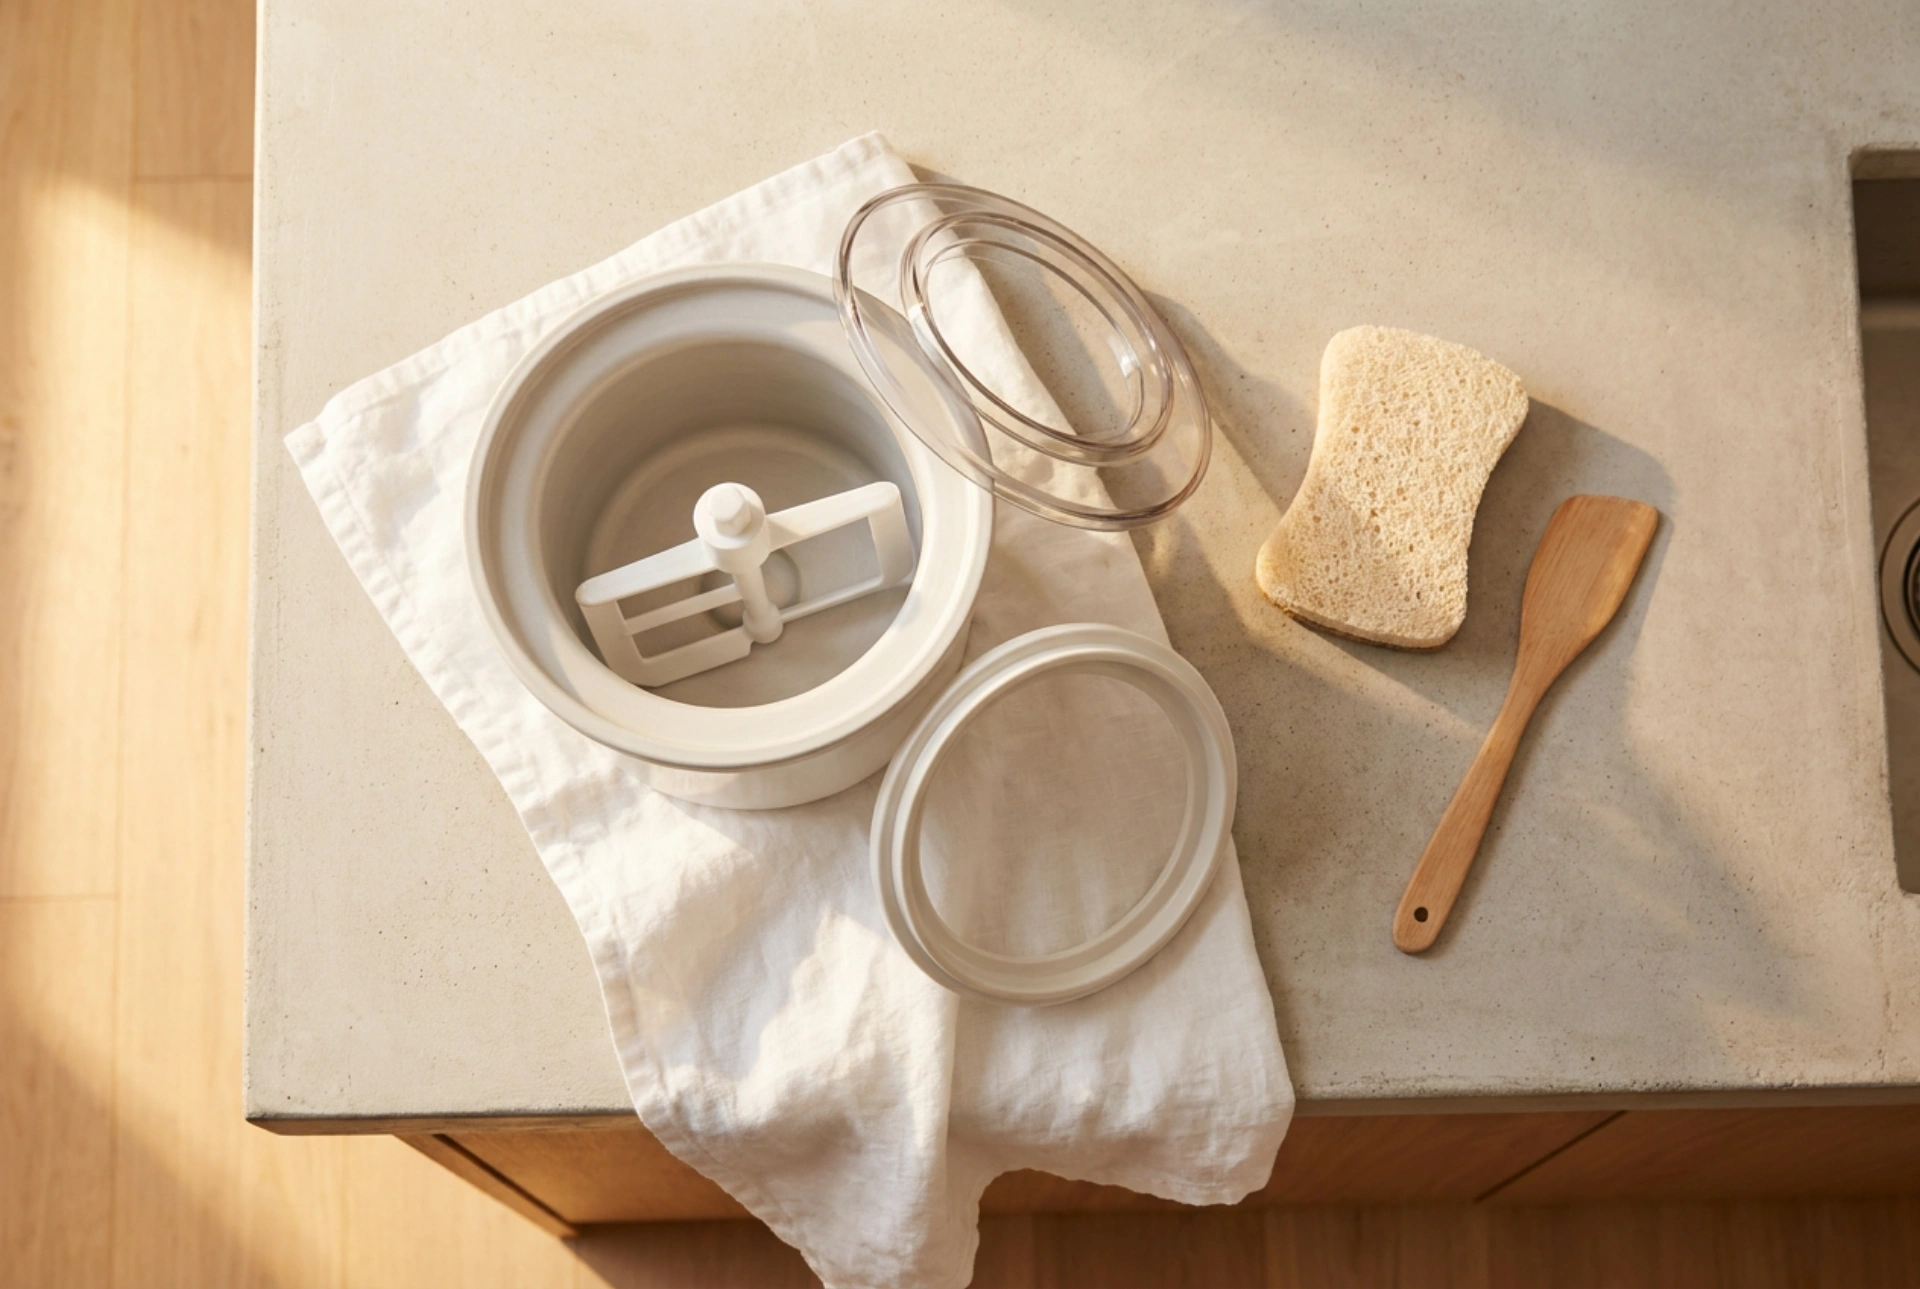


Thoroughly cleaning an ice cream maker is essential to prevent bacterial growth from dairy residues and protect the delicate freezing mechanisms of the appliance. Understanding the chemistry of fats and sugars, alongside the physics of thermal expansion, ensures a hygienic machine and a prolonged lifespan for its components.
The Physics of Thermal Shock: Why Warm-Up Time is Essential
The core component of most domestic ice cream makers is the double-walled freezing bowl, which contains a chemical cooling gel. This gel is designed to retain extreme cold temperatures for extended periods. Pouring hot water directly into a cold, recently used bowl creates a severe temperature differential known as thermal shock.
Because the inner metal lining (usually anodised aluminium) and the outer plastic casing expand and contract at different rates, sudden exposure to high temperatures can cause the metal to warp or the weld seals to rupture. If the cooling gel leaks, the bowl is permanently ruined. Always allow the freezing bowl to return naturally to room temperature—usually taking between 30 and 45 minutes—before introducing any liquid.
Dissolving Fats and Sugars: The Role of Surfactants and Temperature
Homemade ice cream relies heavily on dairy fats, sugars, and proteins. When cooled, these substances form a stubborn, hydrophobic film over the paddle and bowl walls. Removing this layer requires a combination of physical action, correct water temperature, and chemical surfactants.
- Water Temperature: Use warm water heated to approximately 40°C to 45°C. Water at this temperature is warm enough to melt solid milk fats without causing thermal stress to the plastic components. Cold water will only solidify the fats further, making them smear instead of rinse away.
- Surfactants: Standard washing-up liquid contains surfactant molecules with hydrophobic tails that attach to the fats and hydrophilic heads that dissolve in water. This action lifts the fats into micelles that can be easily rinsed away.
- Avoiding Abrasives: Never use steel wool, abrasive scouring pads, or harsh chemical powders. Anodised aluminium and food-grade plastics scratch easily. These micro-scratches create microscopic crevices where bacteria can settle and multiply, posing a serious contamination risk during subsequent batches. Instead, use a soft microfiber cloth or a non-scratch silicone sponge.
Cleaning the Dasher, Drive Shaft, and Silicone Seals
The moving parts of the ice cream maker require meticulous attention. The paddle (or dasher) often contains complex geometry with narrow slots and hollow spaces where mixture can accumulate.
Pay close attention to any removable rubber gaskets or silicone seals. Capillary action can draw liquid dairy mixtures under these seals during churning. If left uncleaned, this dark, moist environment becomes a prime breeding ground for mould. Gently pry the seals loose, wash them in warm soapy water, and allow them to dry completely before reassembly. For hard-to-reach recessed areas on the paddle or drive shaft connection, use a soft-bristled detail brush or a cotton swab dipped in soapy water.
The Outer Unit and Motor Base Maintenance
The motorized base of the ice cream maker must never be submerged in water or placed under running water due to the risk of short-circuiting and motor damage. Instead, unplug the appliance and wipe the exterior housing with a damp microfiber cloth wrung out with warm water and a drop of dish soap. Wipe again with a clean, damp cloth to remove any soap residue, then dry immediately with a lint-free towel to prevent moisture from entering the ventilation grates or switch mechanisms.
Proper Drying and Storage Mechanics
Once all components are clean, they must be thoroughly dried. Leftover moisture on the metal bowl can freeze into ice crystals when placed back in the freezer, which can damage the paddle when the machine starts. Air-drying is preferred over towel-drying, as dish towels can transfer lint and bacteria back onto clean surfaces. Ensure the bowl is completely dry before placing it in a plastic bag and returning it to the freezer, or storing it in a dry cupboard.







