

Removing sticky, fat-rich dairy residue from a soft-serve ice cream machine requires understanding how milk proteins, sugars, and fats interact with water temperature and cleaning agents. Implementing a precise sequence of thermal and chemical steps ensures a perfectly hygienic appliance without damaging delicate seals or baking proteins onto the internal surfaces.
The Chemistry of Dairy Residues on Steel and Plastic
Ice cream mix is a complex emulsion of milk fats, proteins (primarily casein and whey), water, and sugars. When the mixture cools or dries, these components bind tightly to the stainless steel cylinder and plastic freezing paddles. To remove them effectively, you must address each component scientifically. Milk fat solidifies at cooler temperatures, meaning cold water will only harden the residue and make it stickier. Conversely, water that is too hot (above 60°C) denatures the whey proteins, essentially cooking them onto the metal surfaces and creating a stubborn, varnished film. The ideal temperature for the initial flush is lukewarm (between 35°C and 45°C), which melts the fats without coagulating the proteins.
Step 1: The Initial Thermal Flush
Before disassembling the machine, you must remove the bulk of the remaining liquid and semi-solid mixture. Run the machine's wash cycle using lukewarm water. This physical agitation combined with the correct water temperature melts the fats and dissolves the sugars, carrying away up to 90 percent of the residue. Drain the rinse water completely and repeat this process until the discharged water runs clear. This initial step significantly reduces the soil load on your cleaning solution, making the subsequent deep clean far more effective and preventing the rapid exhaustion of active cleaning agents.
Step 2: Disassembly and Component Care
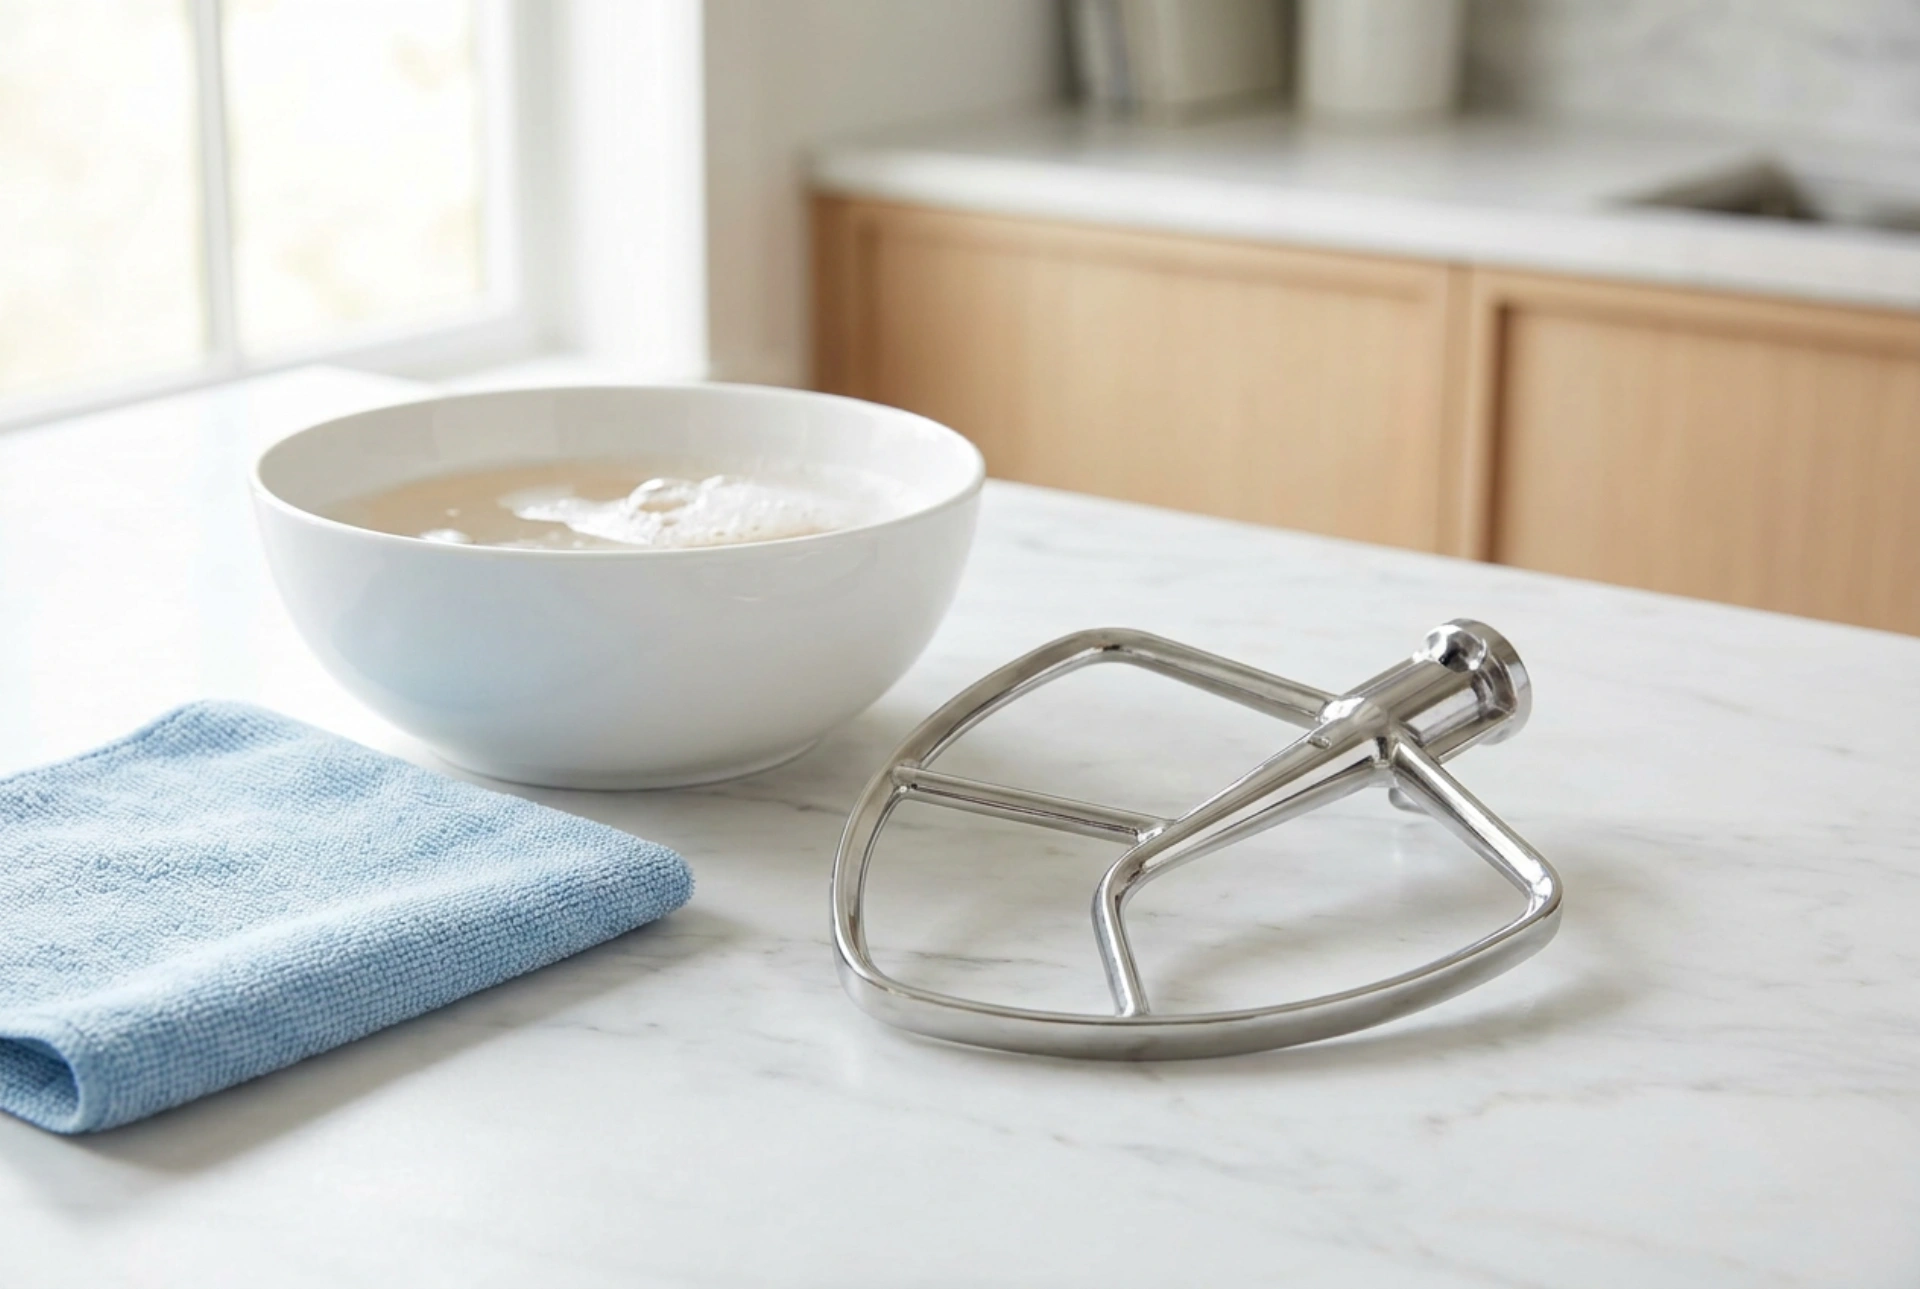
Once flushed, turn off the power supply and disassemble the removable parts, including the dispensing head, the freezing paddle, and the rubber gaskets or O-rings. Treat these parts with extreme care. Microscopic scratches on plastic paddles or stainless steel cylinders act as harbors for bacterial biofilms. Always use soft microfiber cloths or soft-bristled nylon brushes designed for delicate surfaces. Avoid abrasive scouring pads or steel wool, which abrade the polished surfaces and compromise the hygienic integrity of the machine.
Step 3: Emulsifying Fats with Alkaline Cleaners
Submerge the disassembled parts in a warm bath of water mixed with a mild alkaline surfactant, such as standard dishwashing liquid or a weak sodium carbonate solution. Alkaline environments are highly effective at breaking down fats and proteins. The surfactant molecules have a hydrophilic (water-attracting) head and a hydrophobic (fat-attracting) tail. The tails attach to the fat globules, lifting them from the surface and suspending them in the water in a process called emulsification. Gently scrub all crevices, paying special attention to the gasket grooves where residue tends to collect and spoil, causing off-flavours in future batches.
Step 4: Eliminating Milkstone with Acidic Rinsing
Over time, milk minerals such as calcium and phosphorus combine with proteins to form a hard, greyish-white scale known as milkstone. Alkaline cleaners cannot dissolve these mineral deposits. To prevent milkstone buildup, rinse the cleaned parts with a mild acidic solution, such as diluted citric acid. The acid reacts with the calcium carbonate and calcium phosphate, converting them into highly soluble salts that easily wash away. This step keeps the stainless steel surfaces perfectly smooth, preventing the rough texture that allows new ice cream mix to stick and build up rapidly during future use.
Step 5: Sanitisation, Drying, and Lubrication
After a thorough clean water rinse, sanitise the parts using a food-safe, chlorine-free sanitising solution based on oxygen bleach, following the precise concentration guidelines. Allow all components to air-dry completely on a clean, lint-free surface. Moisture left inside a closed machine creates a perfect breeding ground for mould and bacteria. Before reassembly, apply a thin layer of generic food-grade sanitary lubricant to the rubber gaskets and O-rings. This lubrication prevents the rubber from drying out, cracking, or tearing under friction, ensuring a tight seal and preventing the mixture from leaking into the mechanical drive components of the machine.







