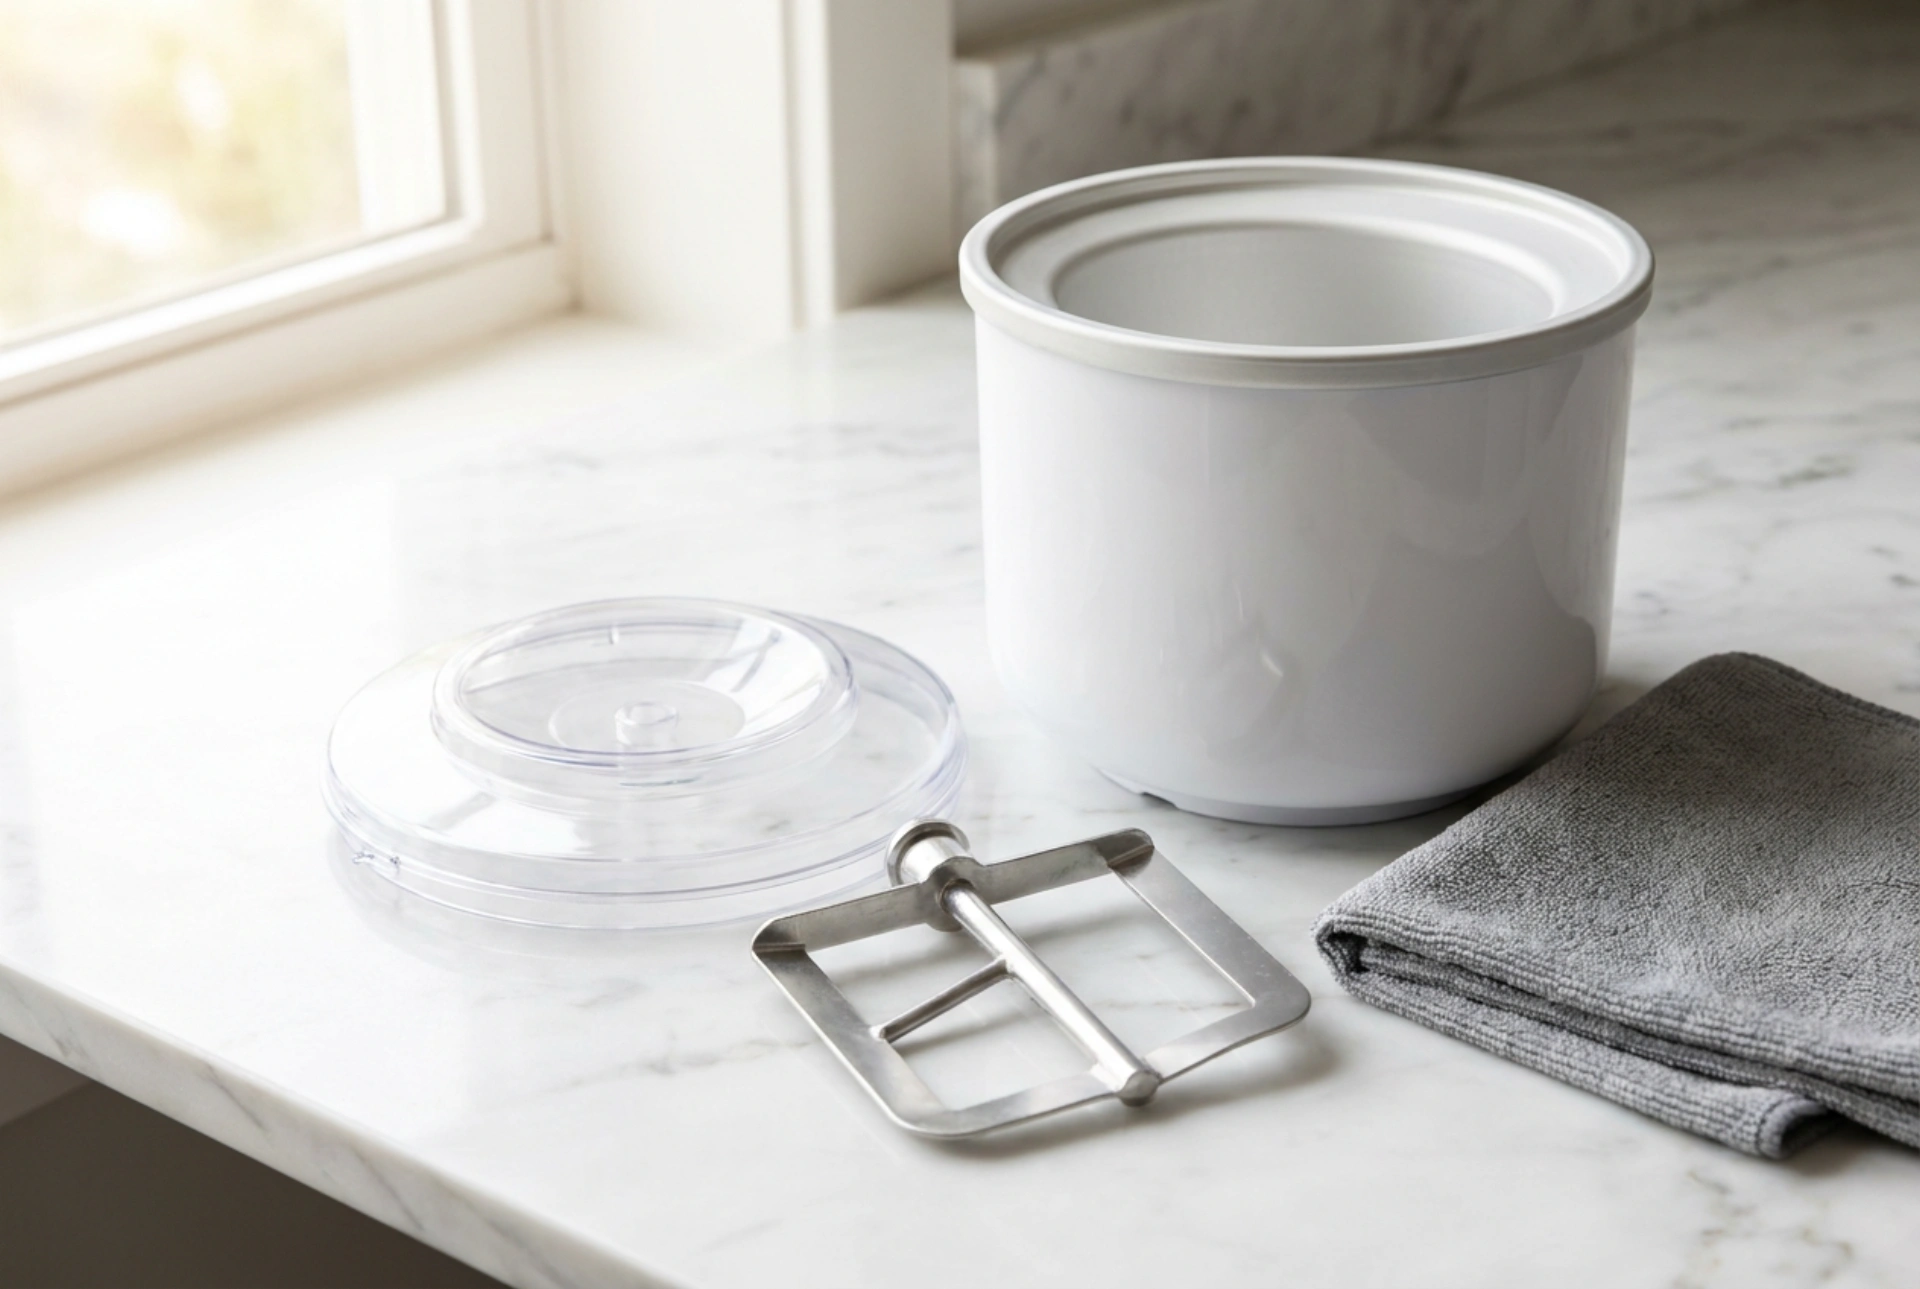


Cleaning a home ice cream maker requires more than a quick rinse; it demands an understanding of how milk fats, sugars, and sub-zero temperatures interact with different materials. Neglecting the proper thermal and chemical steps not only compromises food safety but can also permanently damage the appliance's cooling mechanism and mechanical parts.
The Risk of Thermal Shock in Freezer Bowls
Most domestic ice cream makers utilise a double-walled bowl containing a specialised saline or glycol-based freezing gel. Introducing hot water to a bowl that has just emerged from the freezer creates a rapid and uneven temperature differential. This thermal shock can warp the inner aluminium lining, crack the outer thermoplastic shell, or break the hermetic seal. Once a seal is breached, the cooling liquid leaks, rendering the bowl useless. Always allow the freezer bowl to sit at room temperature for at least two hours. Only when all condensation has evaporated and the metal feels completely neutral to the touch should you proceed with washing.
The Science of Surfactants and Fat Dissolution
Ice cream mixtures are complex emulsions of fat globules, water, proteins, and sugars. Milk fat solidifies at temperatures below 15°C, forming a stubborn, hydrophobic film on the paddle and bowl walls. To break down this lipid barrier, you must use water that exceeds the melting point of butterfat, which lies between 32°C and 40°C. Warm water alone is insufficient because water and oil do not mix. Introducing a surfactant—such as standard liquid dish detergent—is crucial. The hydrophobic tails of the surfactant molecules bind to the milk fat, while their hydrophilic heads bind to the water. This process, known as emulsification, allows the fat to be suspended in the water and rinsed away easily. Avoid boiling water, as excessive heat can deform food-grade plastics and damage internal bearings.
Sanitising Crevices, Gaskets, and the Dasher
The rotating paddle (dasher), drive shaft housing, and rubber seals contain tight tolerances where moisture, sugar, and proteins pool. This damp, nutrient-rich environment is highly susceptible to bacterial colonisation, particularly by psychrotrophic bacteria like Listeria, which can survive and multiply at low temperatures. Disassemble every removable component, paying close attention to rubber gaskets. Use a soft-bristled nylon brush to physically scrub these crevices. Mechanical friction is essential here; chemical soaking alone cannot reliably penetrate the microscopic bio-films that build up in narrow channels. Avoid using abrasive scouring pads, steel wool, or harsh chlorine-based bleaching agents, as these can scratch the anodised aluminium bowl and create microscopic grooves where bacteria can easily hide.
Why Complete Desiccation is Essential
After washing, every component must undergo thorough desiccation. Any residual water left inside the freezer bowl will immediately freeze into solid ice crystals when the bowl is placed back into the freezer for the next batch. During churning, these hard crystals will scrape off into your fresh mixture, disrupting the fat-protein matrix and ruining the smooth texture of your dessert. Use a dry, lint-free microfiber cloth to dry all surfaces, paying close attention to the drive socket and rim crevices. Allow the parts to air-dry completely on a clean rack before storing them. Never store the freezer bowl in the freezer while it is still damp, and always store it upright to keep the internal cooling gel evenly distributed.







