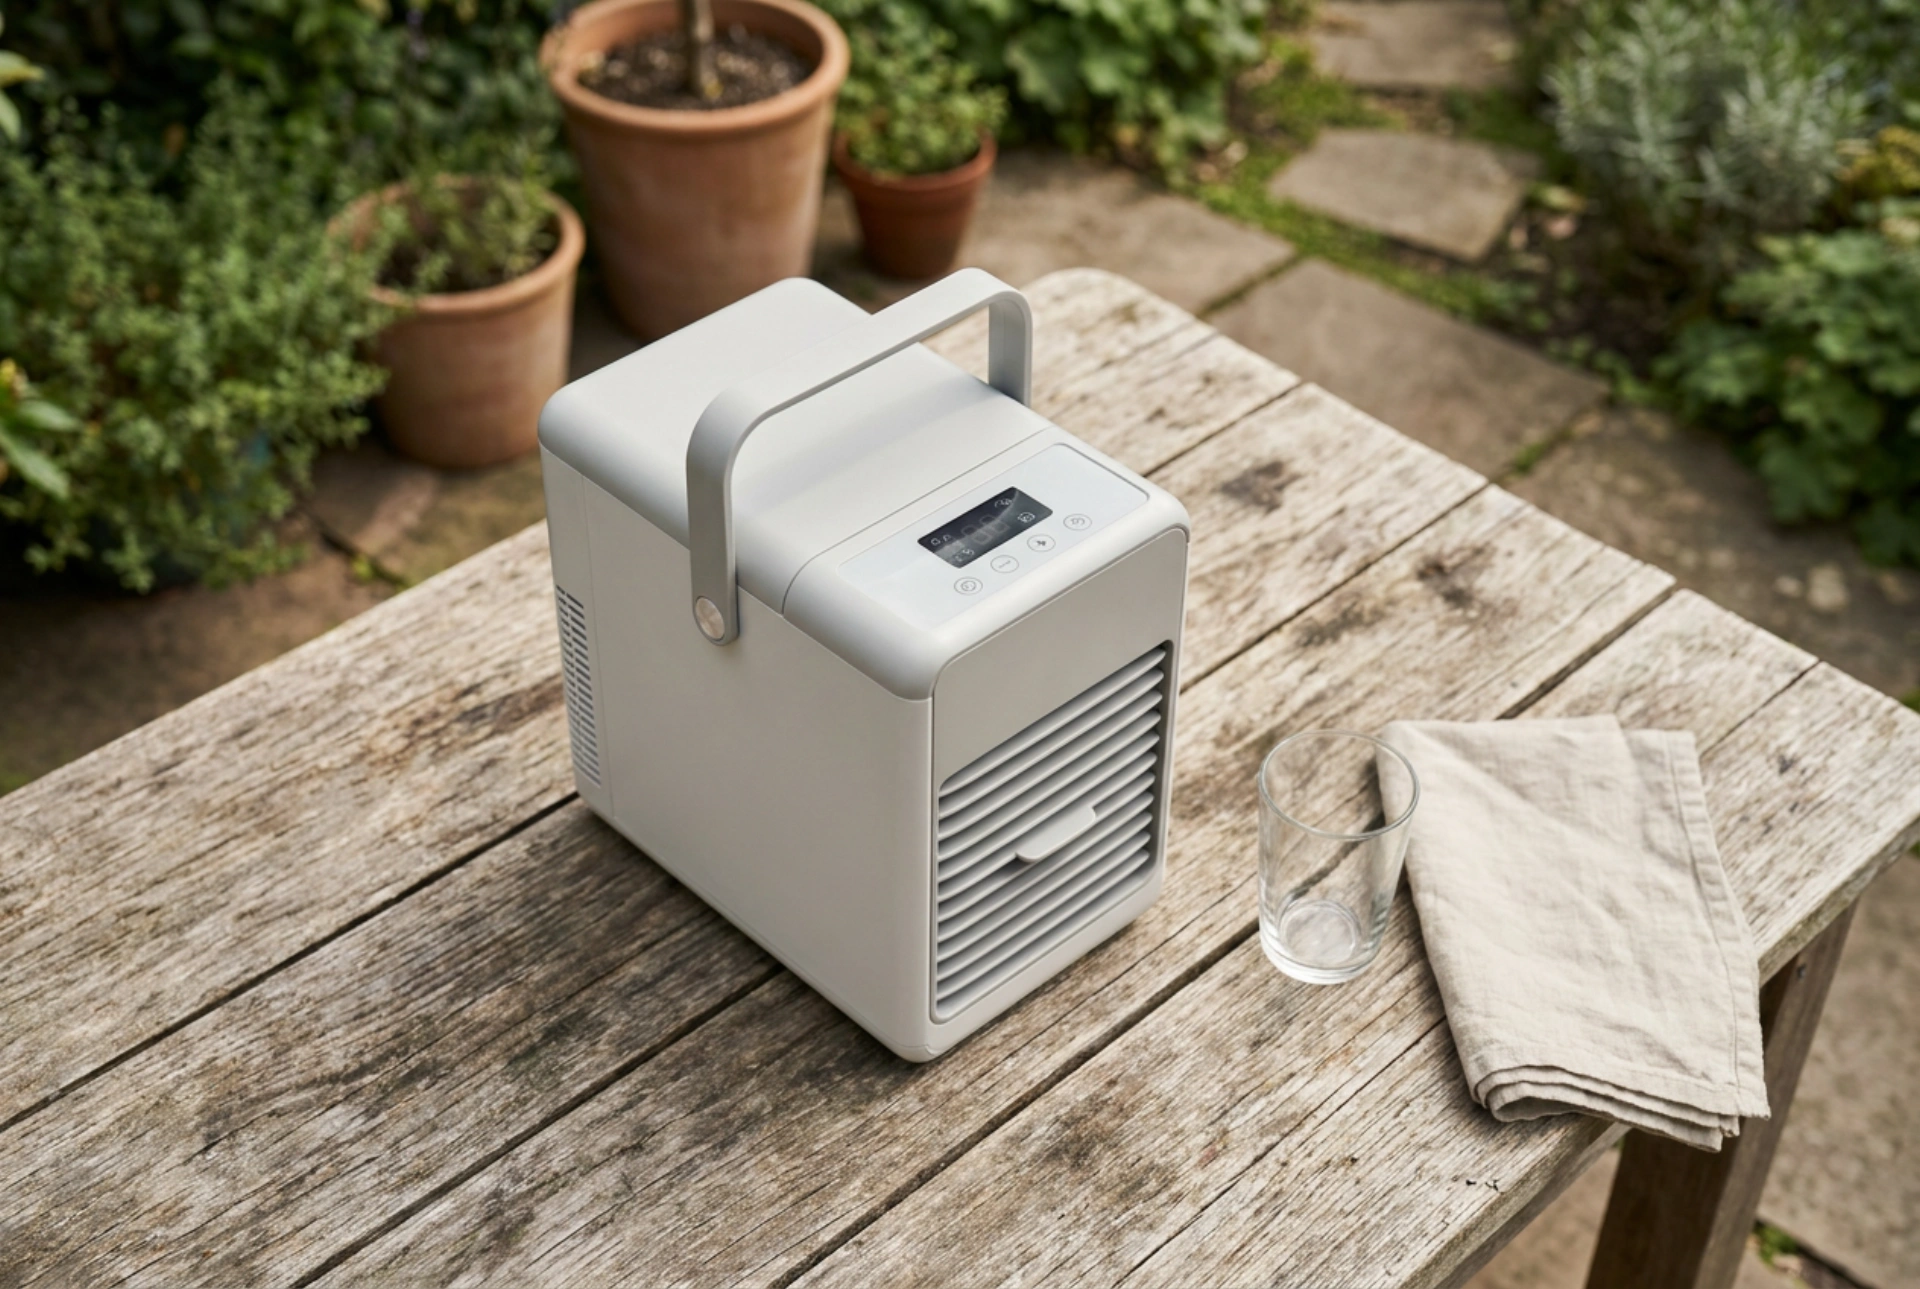


Operating a gas-powered portable refrigerator—often referred to as an absorption cooler—allows for off-grid food preservation, but it relies on a delicate balance of thermodynamics, gravity, and combustion chemistry. Understanding the physics behind these appliances is key to keeping your food cold and your campsite safe.
The Physics of Absorption Cooling and Leveling
Unlike standard household refrigerators that use mechanical compressors, portable gas fridges operate on an absorption cycle. This system utilizes a concentrated ammonia-water solution, hydrogen gas, and a heat source (the gas burner) to drive the cooling loop. The heat vaporizes the ammonia, which then condenses and evaporates inside the cooling compartment, absorbing heat from the interior to create a cold environment.
Because this chemical reaction relies entirely on gravity to return the liquid refrigerant back to the absorber, the appliance must be perfectly level. If the cooler is tilted by even a few degrees:
- The liquid refrigerant pools in the evaporator coils instead of flowing back.
- The cooling cycle halts, causing the interior temperature to rise.
- The boiler section can overheat, potentially damaging the internal pipework permanently.
Always use a small bubble level on top of the fridge before igniting the burner, adjusting the legs or placing flat blocks underneath until the bubble is centered.
Combustion Safety and Carbon Monoxide Prevention
Burning liquefied petroleum gas (LPG), propane, or butane requires a constant supply of oxygen and produces carbon dioxide, water vapor, and potentially carbon monoxide (CO) if combustion is incomplete. Incomplete combustion occurs when there is insufficient oxygen flow or if the burner jet is partially obstructed by dust or carbon deposits.
Because carbon monoxide is an odorless, colorless, and highly toxic gas, these units must never be operated inside sealed spaces such as tents, cars, or unventilated campervans. Always position the refrigerator in a well-ventilated area—such as under an open awning, on a patio, or in a semi-open vestibule. Additionally, keep the rear ventilation grilles entirely clear. Synthetic fabrics, dry leaves, or camping gear blocking the flue vent can create a severe fire hazard and impede the heat dissipation necessary for the cooling cycle.
Testing for Gas Leaks with Surfactants
Before lighting the burner, checking the integrity of the gas connections is paramount. High-pressure gas hoses and regulators can degrade over time due to UV exposure and temperature fluctuations. To verify that your setup is sealed:
- Inspect the rubber hose for micro-cracks or stiffness, and check that the internal gasket of the pressure regulator is flexible and clean.
- Prepare a simple surfactant solution by mixing a few drops of standard dishwashing liquid with water.
- Apply the soapy water generously over the gas cylinder valve, the regulator connection, and the hose joints.
- Slowly turn on the gas valve. If bubbles begin to grow or multiply at any connection point, there is a leak.
If a leak is detected, immediately close the gas valve, tighten the connection, and retest. Never use a match or a lighter to check for gas leaks, as this can instantly ignite escaping gas.
Systematic Ignition and Operation Sequence
To ensure safe and efficient start-up, always follow a systematic order of operations. Start by placing the unit in a shaded spot, as direct sunlight increases the thermal load and reduces cooling efficiency. Once the unit is level and the leak test is successful, purge the air from the gas line by pressing and holding the control knob for a few seconds. Press the piezo igniter repeatedly until you see a flame through the small viewing window at the back or bottom of the unit.
After the flame ignites, continue to hold the control valve for 15 seconds. This allows the thermocouple—a thermoelectric safety sensor—to heat up. If the flame blows out due to wind, the thermocouple will cool down and automatically shut off the gas supply, preventing a hazardous buildup of unburnt gas. A healthy flame should burn a steady, crisp blue; a flickering yellow flame indicates dirty burner jets that require professional cleaning.







