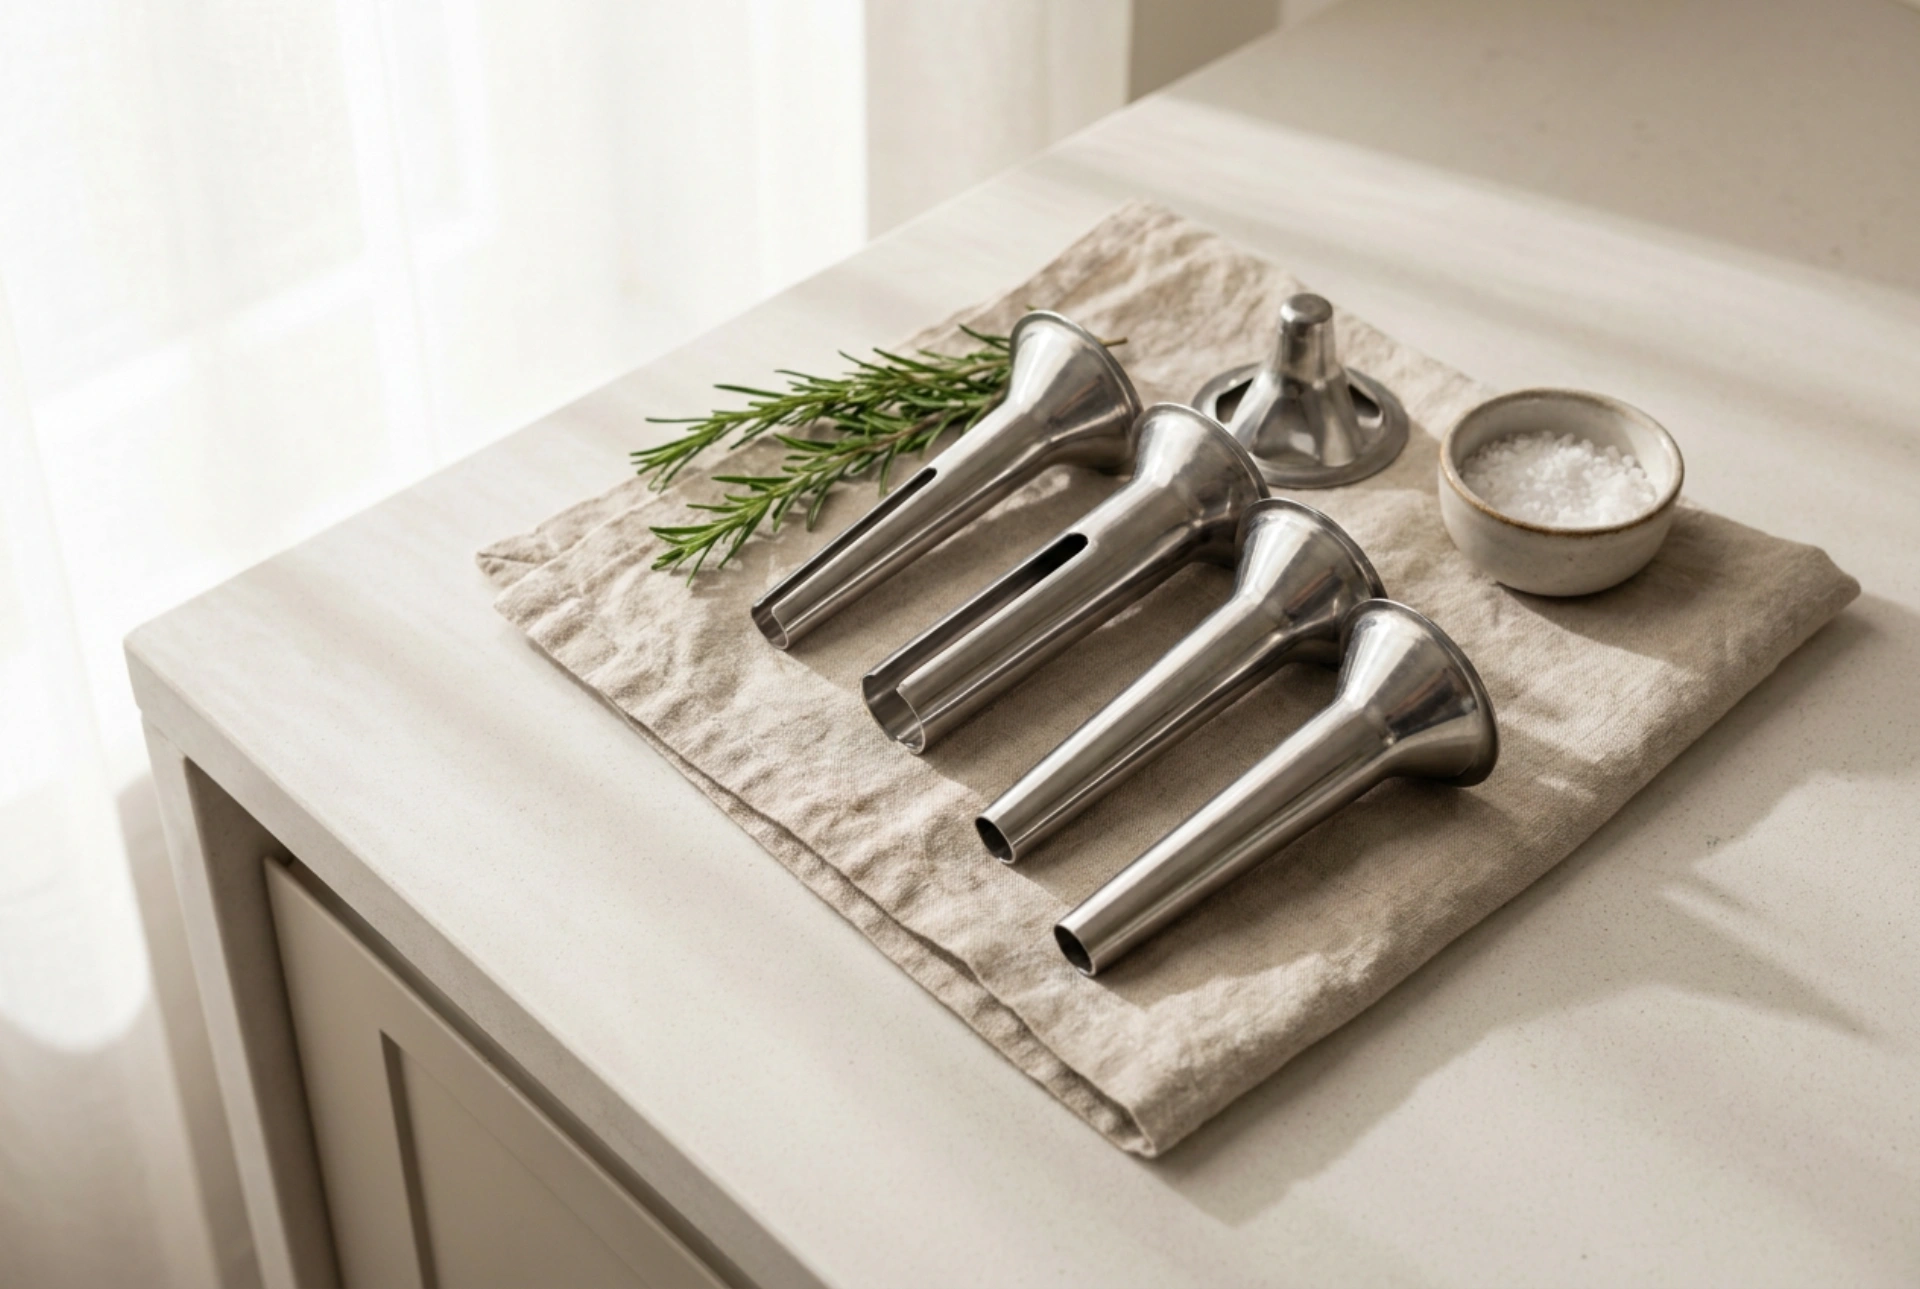


Cleaning a meat grinder thoroughly after processing sausage meat is critical to prevent bacterial growth and preserve the mechanical integrity of the steel components.
The Chemistry of Meat Residue and the Danger of Water
Sausage making leaves behind a complex mixture of animal fats, proteins, and moisture. Animal fat is hydrophobic, meaning water alone will not dissolve it; instead, it smears across the metal surfaces. Furthermore, raw meat carries microflora that thrive in warm, damp environments. The primary challenge in cleaning a meat grinder is that most of its functional parts—such as the grinding plates, knife, and worm gear—are made of carbon steel or cast iron. If these parts remain wet or are exposed to harsh dishwashing detergents in a dishwasher, they will oxidize rapidly, leading to rust and permanent surface pitting.
Step 1: The Bread Trick for Pre-Cleaning
Before disassembling the machine, you must push out the remaining fat and meat fibers trapped inside the grinding chamber. Run two or three slices of dry, stale white bread through the grinder. The dry bread acts as a rigid, highly absorbent sponge. As the worm gear rotates, the bread compresses and sweeps the internal channels, absorbing liquified fats and dragging out stubborn sinew stuck to the knife and plate. This mechanical action significantly reduces the amount of grease you will have to wash manually.
Step 2: Safe Disassembly and Warm Saponification
Unplug the appliance and disassemble all removable parts: the locking ring, grinding plate, cutting blade, feed screw (worm gear), and hopper. Never place these components in a dishwasher. The high heat and alkaline detergents strip away the protective oil layer, causing immediate darkening and oxidation of aluminum and carbon steel parts.
Prepare a basin of warm water (around 40 to 45 degrees Celsius) and add a generous squeeze of standard dishwashing liquid. This temperature is crucial: it is hot enough to melt and emulsify the fats (saponification process) without cooking any remaining protein fragments onto the metal, which would make them stick permanently. Use a stiff-bristled bottle brush to clean the internal threads of the grinding chamber and the center hole of the worm gear. Pay special attention to the small holes in the grinding plates; use a wooden toothpick or a small pipe cleaner to push out any lodged fiber particles.
Step 3: Disinfection and Neutralization
Once the grease is removed, rinse the parts in clean, warm water. To ensure sanitization without using corrosive chlorine bleach, submerge the non-aluminum parts in a solution of warm water and oxygen bleach (sodium percarbonate) for five minutes. This compound releases active oxygen, which destroys organic residues and sanitizes the metal surfaces without accelerating rust. For aluminum hoppers or casings, stick to mild dish soap and hot water, as strong oxidizers can pit the soft metal.
Step 4: Mechanical Drying and Oxidation Prevention
Water is the ultimate enemy of carbon steel. After rinsing, immediately dry every single part using a clean microfiber cloth. Do not let the components air-dry, as microscopic water droplets will trigger oxidation within minutes. To ensure complete moisture removal, place the dried metal parts in a warm oven (preheated to 60 degrees Celsius and turned off) for ten minutes to evaporate any residual moisture from deep crevices.
Once completely dry and warm, apply a thin protective barrier. Pour a few drops of food-grade mineral oil or neutral liquid cooking oil onto a paper towel and thoroughly coat the grinding plates, knife, and screw. Store the components disassembled in a dry, ventilated drawer wrapped in clean paper towels to absorb any ambient humidity.







