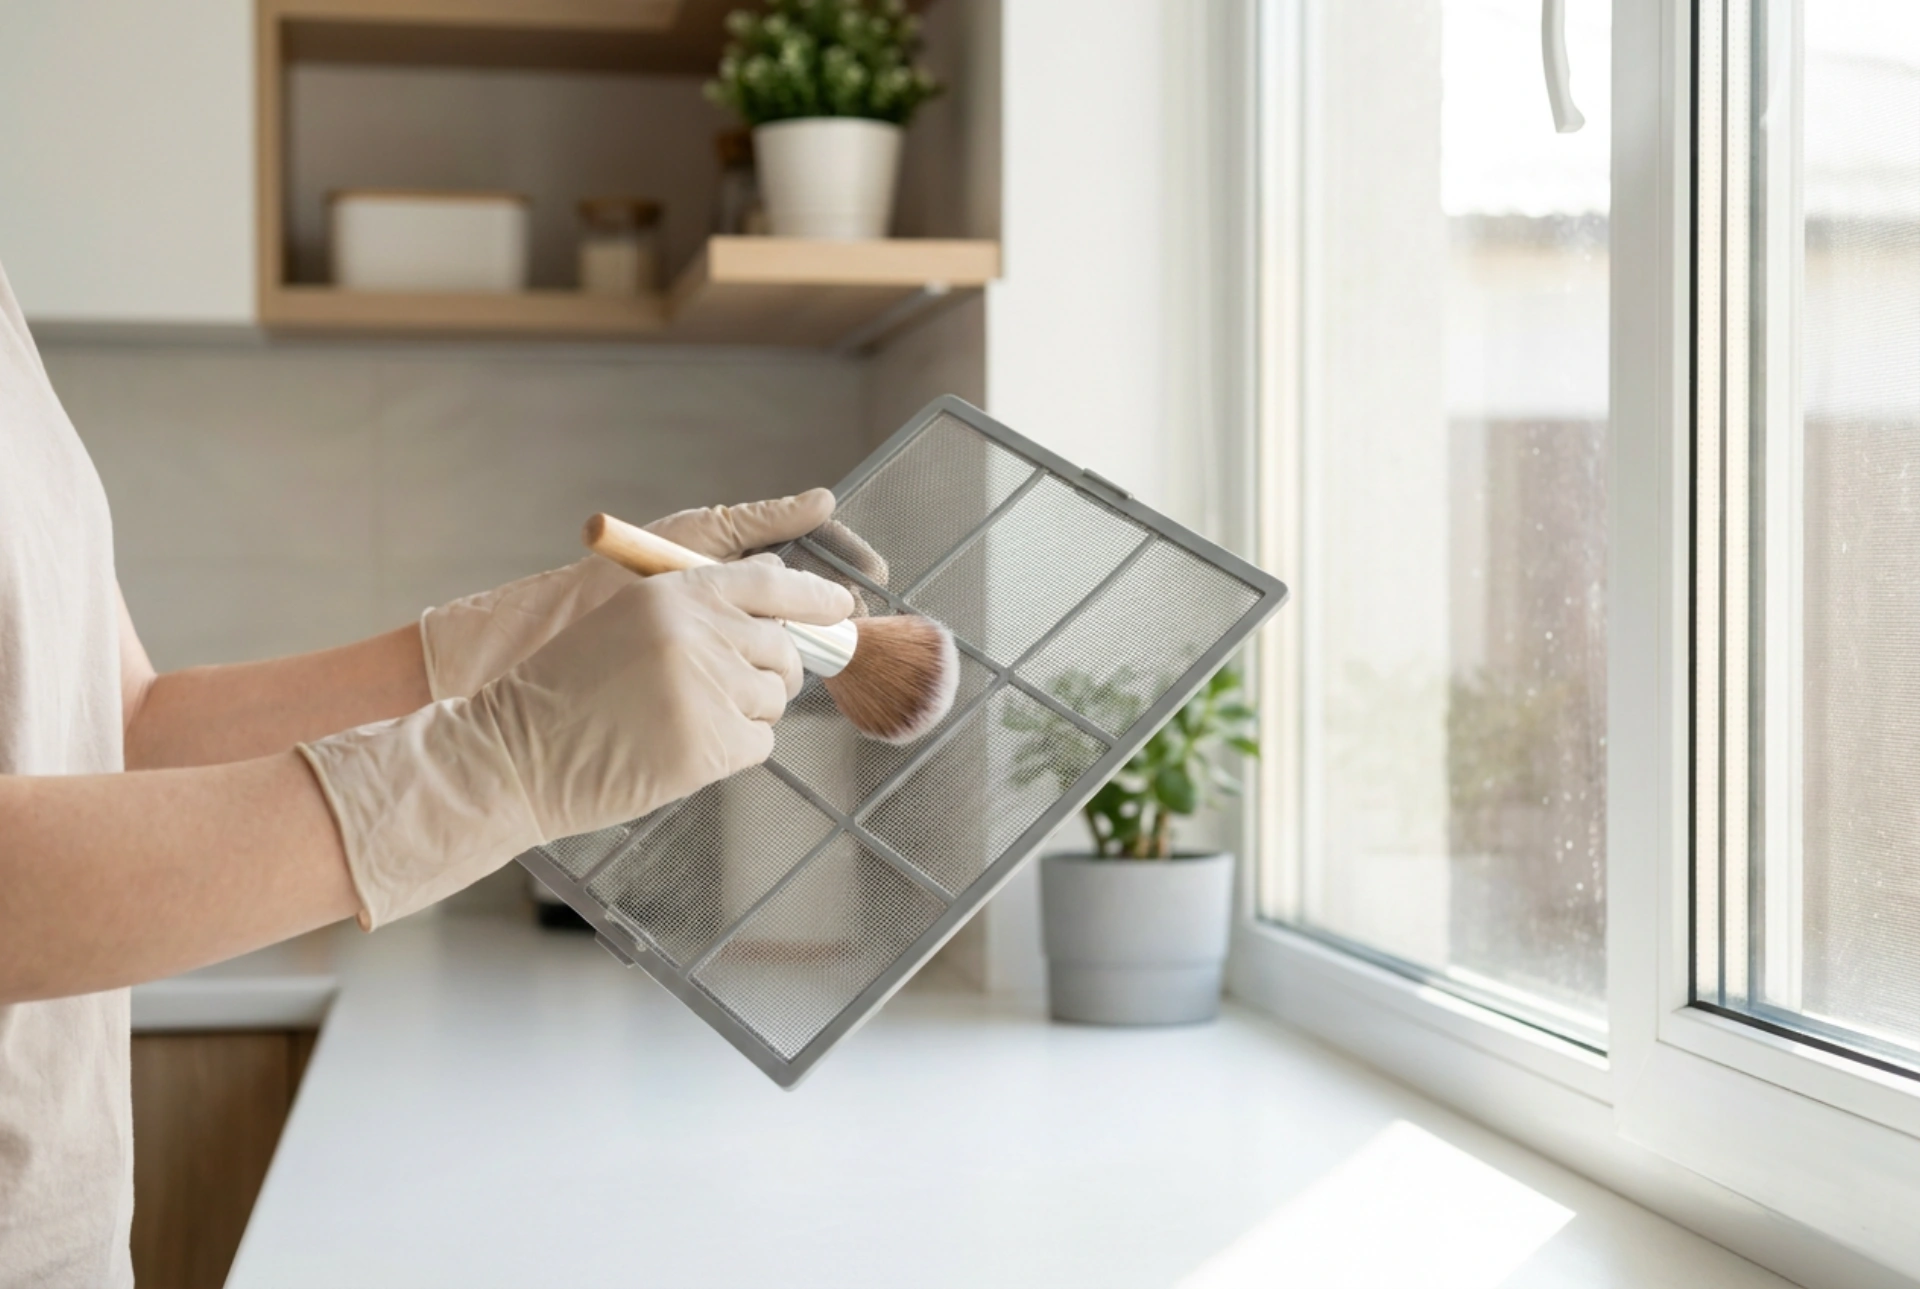


A dehumidifier relies on continuous, unrestricted airflow to extract moisture from the air, making regular filter maintenance essential for optimal performance and energy efficiency.
The Mechanics of Airflow and Dust Accumulation
To understand why filter cleaning is critical, one must look at the thermodynamic cycle of a dehumidifier. The appliance draws damp room air over cold evaporator coils, causing moisture to condense into a water tank. If the air filter is clogged with dust, pet dander, and airborne particles, the static pressure within the unit rises. This resistance forces the fan motor to work harder, increasing energy consumption while simultaneously reducing the volume of air passing over the coils. Consequently, the cooling mechanism can freeze, leading to frost build-up, potential system failure, and a drastic drop in moisture extraction capacity.
Step-by-Step Filter Removal and Inspection
Before initiating any maintenance, always disconnect the dehumidifier from the power source to ensure safety. Locate the filter compartment, which is typically situated behind the air intake grille or near the water reservoir. Gently slide the filter frame out of its housing, taking care not to shake loose heavy accumulations of dust back into the appliance or onto the floor. Inspect the filter under a strong light source. If you detect physical tears, warped frames, or mold deep within the fibers that cannot be washed out, the filter has reached the end of its lifespan and must be replaced rather than cleaned.
The Physics of Cleaning: Dry and Wet Methods
The choice of cleaning method depends on the type of filter and the level of accumulation. For light dust, a dry extraction technique is highly effective. Use a vacuum cleaner equipped with a soft brush attachment. Run the nozzle gently across the mesh in a grid pattern, moving in the opposite direction of the normal airflow. This pulls the dust particles out of the fibers rather than pushing them deeper into the weave.
For greasy residues or heavy buildup, a wet wash is required. Submerge the filter in a basin of lukewarm water mixed with a small amount of neutral dishwashing detergent. Avoid hot water, which can warp plastic frames and shrink synthetic mesh fibers. Agitate the water gently with your hands and let the filter soak for fifteen minutes to loosen stubborn particles. Avoid using stiff brushes or abrasive scrubbing pads, as these can tear the delicate micro-mesh structure.
Disinfecting and Eliminating Biofilms
Because dehumidifiers extract moisture, their filters often harbor microscopic mold spores and bacteria that thrive in damp environments. To sanitize the filter safely without damaging the material, prepare a rinsing solution of one part white vinegar to three parts lukewarm water. The acetic acid in the vinegar acts as a natural disinfectant, breaking down bacterial cellular walls and neutralising mold spores without releasing harsh chemical fumes. Submerge the filter in this solution for ten minutes, then rinse thoroughly under cold, running water until all soap and vinegar residues are completely flushed away.
Drying and Reinstallation Protocols
Reinstalling a damp filter is a critical mistake that leads to rapid mold growth and can damage the internal electrical components of the dehumidifier. Place the clean filter flat on a clean, dry towel in a well-ventilated area. Allow it to air-dry completely, which typically takes between six and twelve hours depending on ambient humidity. Never use hair dryers, radiators, or direct sunlight to speed up the process, as excessive heat will warp the synthetic mesh. Once entirely dry, slide the filter back into the unit, ensuring it sits flush within the tracks to prevent air bypass, and restore power to the appliance.







