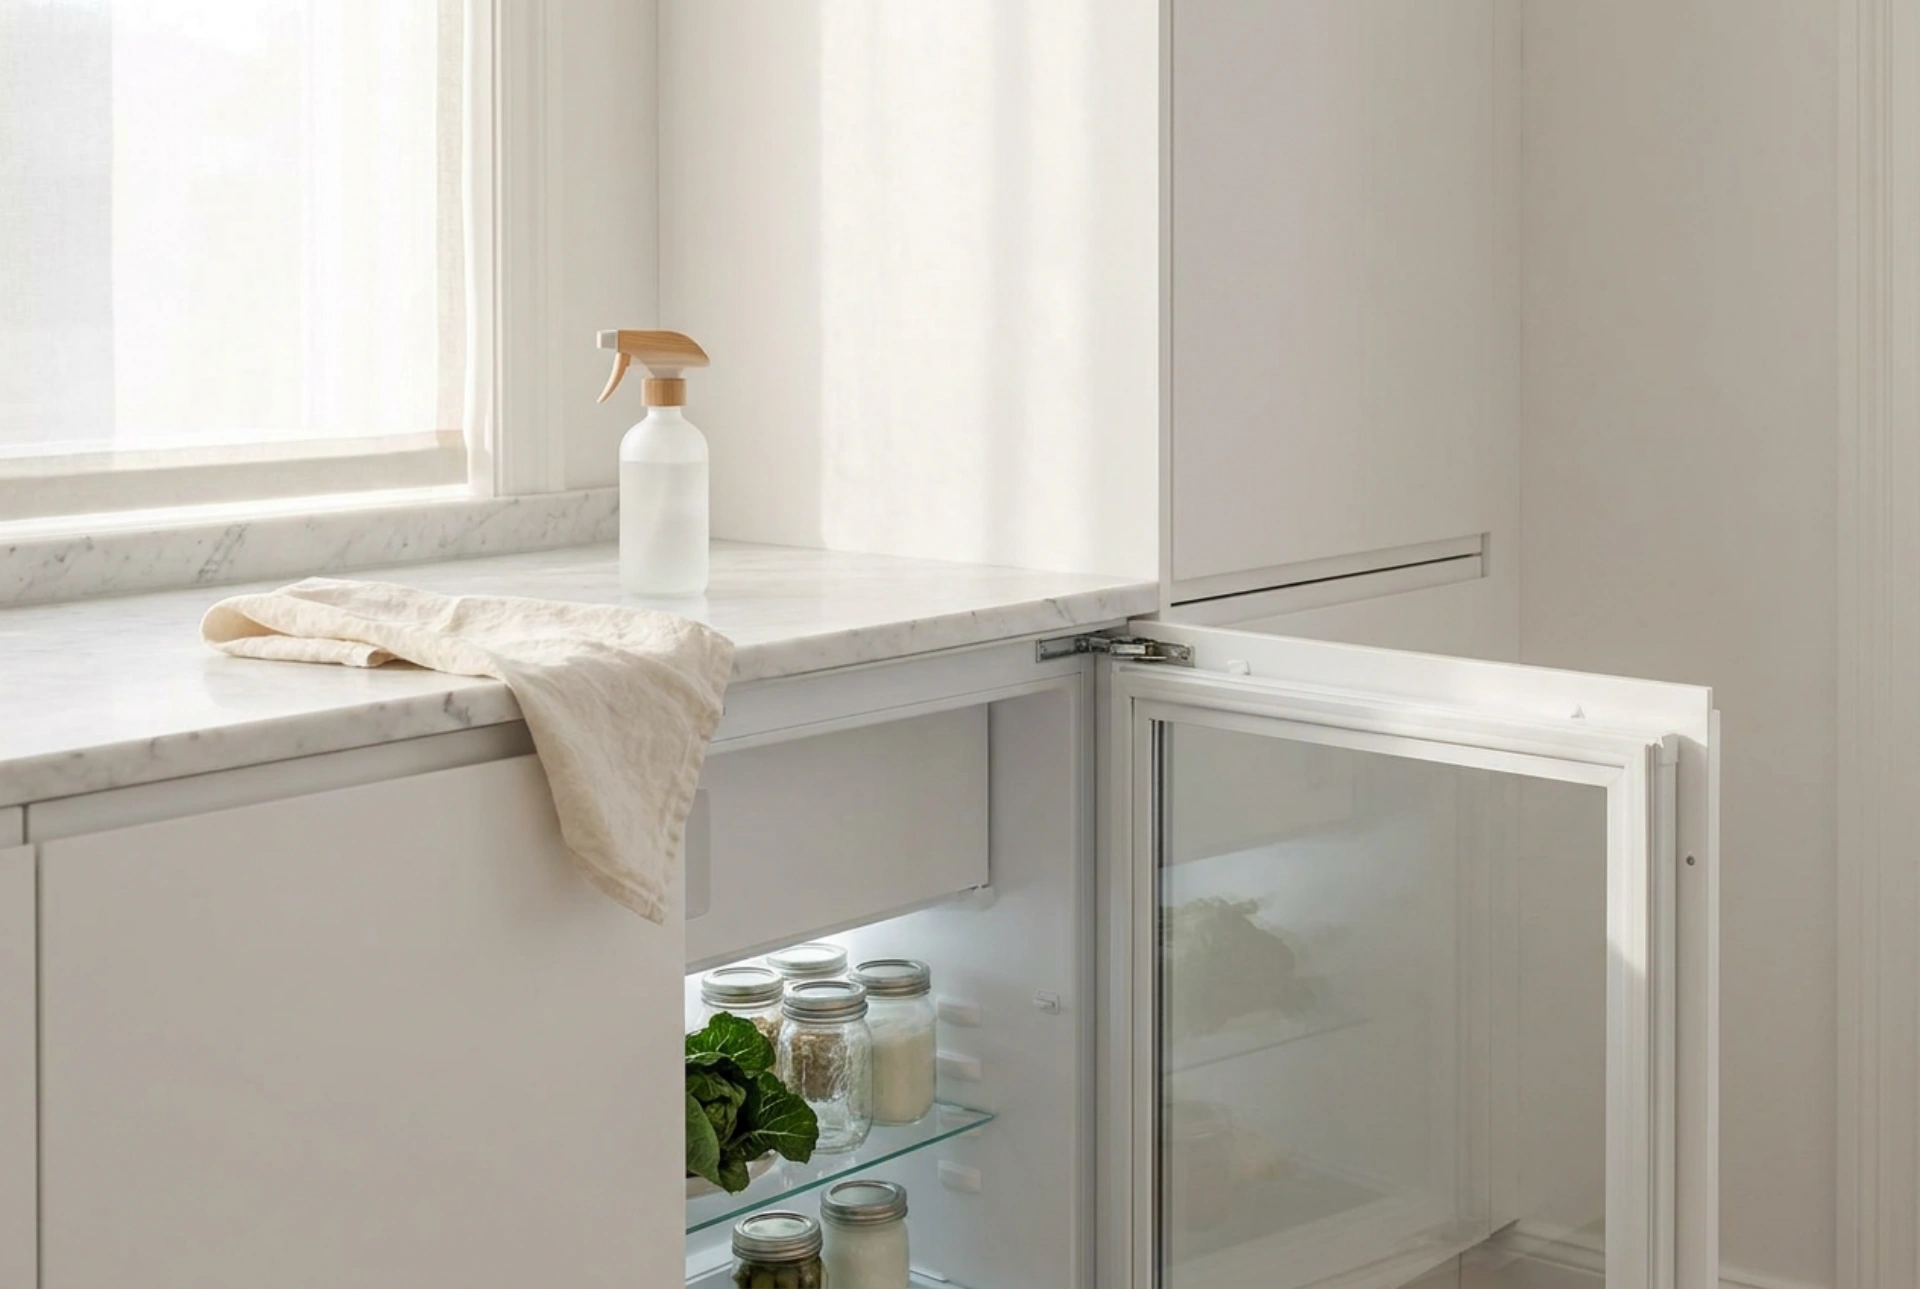


Cleaning a built-in under-counter refrigerator requires a systematic approach to manage tight spaces, ensure optimal air circulation, and preserve the integrity of integrated kitchen cabinetry.
The Thermal Challenge of Under-Counter Units
Built-in under-counter refrigerators operate in restricted environments where heat dissipation is a constant challenge. Unlike freestanding models that release warmth through large rear coils, built-in units rely on compact ventilation grilles located at the base or behind the kickboard. Over time, dust and pet hair accumulate in these air pathways, forcing the compressor to work harder, consume more electricity, and degrade prematurely. Prior to cleaning the interior, always disconnect the appliance from the mains power supply and vacuum the ventilation grilles using a soft brush attachment to restore unobstructed thermodynamic transfer.
Deconstruction and Thermal Acclimation
Attempting to clean shelves and drawers while they are frozen or cold introduces thermal stress to the materials. Glass shelves can crack when exposed to warm water, and cold plastic brackets become brittle and prone to snapping under physical pressure. Remove all food items, placing perishable goods into an insulated thermal bag, and extract all removable components. Allow these shelves and bins to reach room temperature naturally on your countertop before applying any liquid cleaning solutions.
The Chemistry of Food-Safe Interior Sanitation
The interior of a refrigerator is a highly humid environment susceptible to bacterial growth and mold spores, yet chemical residues from harsh household detergents must be avoided to prevent food contamination. Instead, utilize basic household chemistry to clean and deodorize. A solution of warm water and sodium bicarbonate (baking soda) acts as a mild abrasive and excellent odor neutralizer. The carbonate ions chemically bind to acidic odor molecules, neutralizing them instead of simply masking the scent.
- Mix two tablespoons of sodium bicarbonate with one liter of warm water.
- Wipe down all interior plastic walls with a soft microfiber cloth soaked in the solution.
- Pay special attention to the drainage channel and the drain hole located at the back wall; a blocked drain causes water accumulation under the crisper drawers. Clear any blockages gently with a cotton swab or a flexible pipe brush.
- Rinse with a damp cloth using pure water and dry thoroughly with a clean towel.
Maintaining the Integrity of Magnetic Gaskets
The magnetic door gasket is the primary barrier preventing warm, humid room air from entering the cold appliance. Harsh chemical cleaners can strip the plasticizers from the rubber, causing it to become brittle, crack, and lose its magnetic seal. To clean the gasket, use a dilute solution of neutral dishwashing liquid and warm water. Wipe along the folds carefully to remove food crumbs and liquid spills. Once dry, applying a thin layer of talcum powder or glycerin to the gasket keeps the rubber supple and prevents it from sticking and tearing during daily operation.
Reassembly and Proper Storage Physics
Once all internal surfaces and individual shelves are completely dry, reinsert them into the unit. Plug the appliance back into the power supply and allow the internal temperature to drop to 4 degrees Celsius before restocking. When organizing food, ensure that items do not touch the back wall of the refrigerator. Contact with the evaporator plate blocks airflow and causes condensation to freeze directly onto the food packaging, disrupting the appliance's automatic defrost cycle.