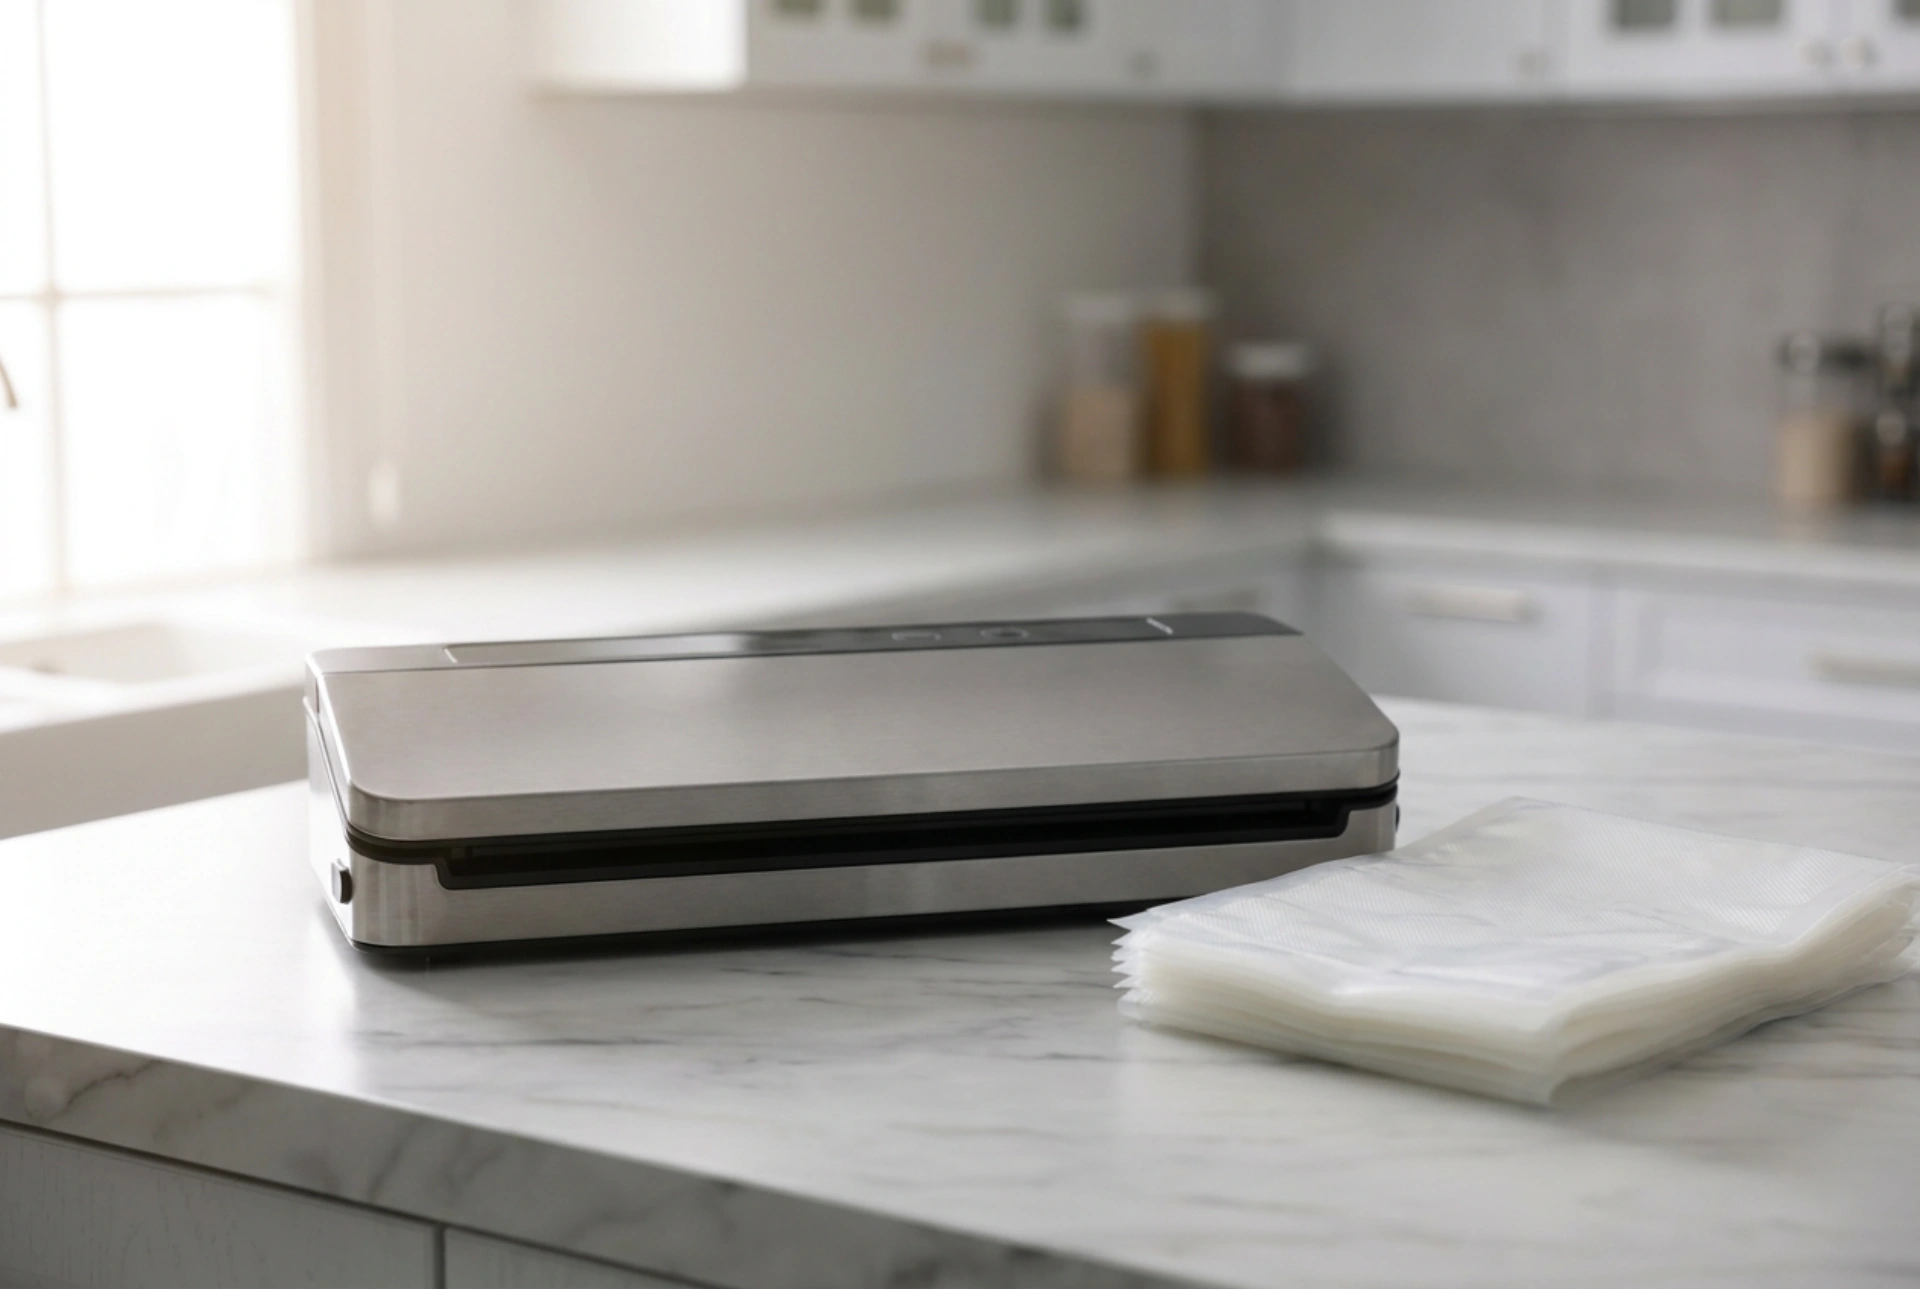


Achieving a reliable, airtight seal with a vacuum sealer depends on precise temperature control, correct bag alignment, and understanding the physical behavior of thermoplastic films under heat and pressure.
The Thermodynamics of Thermoplastic Sealing
Vacuum sealer bags are typically made of multi-layer plastics, featuring a tough outer layer of polyamide (nylon) for strength and an inner layer of polyethylene (PE) which melts at a lower temperature to form the actual seal. To create a hermetic bond, the heating element must reach the exact melting point of the polyethylene layer. If the temperature is too low, the plastic will not fuse completely, leading to microscopic leaks. If the temperature is too high, the polymer chains degrade, thinning the material and causing the bag to warp, burn, or fail under pressure. Adjusting your sealer’s settings involves balancing the heating duration (dwell time) with the cooling cycle.
Perfecting Bag Alignment and Tension
Uneven seals and wrinkles are usually caused by physical misalignment rather than temperature faults. When placing the bag into the vacuum chamber, you must ensure the film is completely flat. Any wrinkle creates a double layer of plastic, doubling the thickness that the heating element must melt. This results in an incomplete seal at the fold and scorched plastic around it. To prevent this, always stretch the opening of the bag taut with both hands before lowering the sealing bar. Ensure there is at least five to seven centimeters of clearance between the food content and the sealing line to prevent liquid or bulk from pulling the plastic unevenly during the vacuum cycle.
Managing Moisture and Contamination
Liquids are the primary enemy of a secure thermal seal. During the vacuum phase, atmospheric pressure pushes air out of the bag, which can draw moisture, oils, or fine powders upward toward the sealing area. When liquid gets trapped between the plastic layers, it acts as a heat sink, absorbing the thermal energy from the heating wire and preventing the polyethylene from reaching its melting point. To combat this, dry the interior sealing zone of the bag with a clean lint-free cloth before sealing. If packaging moist foods, select the moist or liquid setting on your machine, which reduces the vacuum speed and extends the heating time to boil away trace moisture before finalizing the seal.
The Importance of the Cooling Phase
A successful seal is not completed when the heating element turns off, but when the plastic solidifies. Thermoplastics require a brief cooling period under mechanical pressure to allow the polymer chains to crystallize and lock together. Opening the lid of the vacuum sealer immediately after the heating light goes out can pull the hot, molten plastic apart, causing the seal to stretch and fail. Always leave the vacuum sealer clamped shut for at least three to five seconds after the heating cycle ends to ensure the structural integrity of the joint.
Routine Maintenance of the Sealing Bar
A degrading heating element or a worn protective tape will lead to uneven heat distribution. The heating wire is covered by a high-temperature resistant PTFE (polytetrafluoroethylene) tape. If this tape is burnt, torn, or covered in melted plastic residue, it will create hot spots or cold spots along the seal line. Periodically wipe the PTFE strip with a damp microfiber cloth (when the machine is unplugged and cold). Inspect the silicone sealing profile on the opposite side of the lid; if it is indented, deformed, or brittle, it will fail to exert even pressure across the heating wire, resulting in patchy seals.







