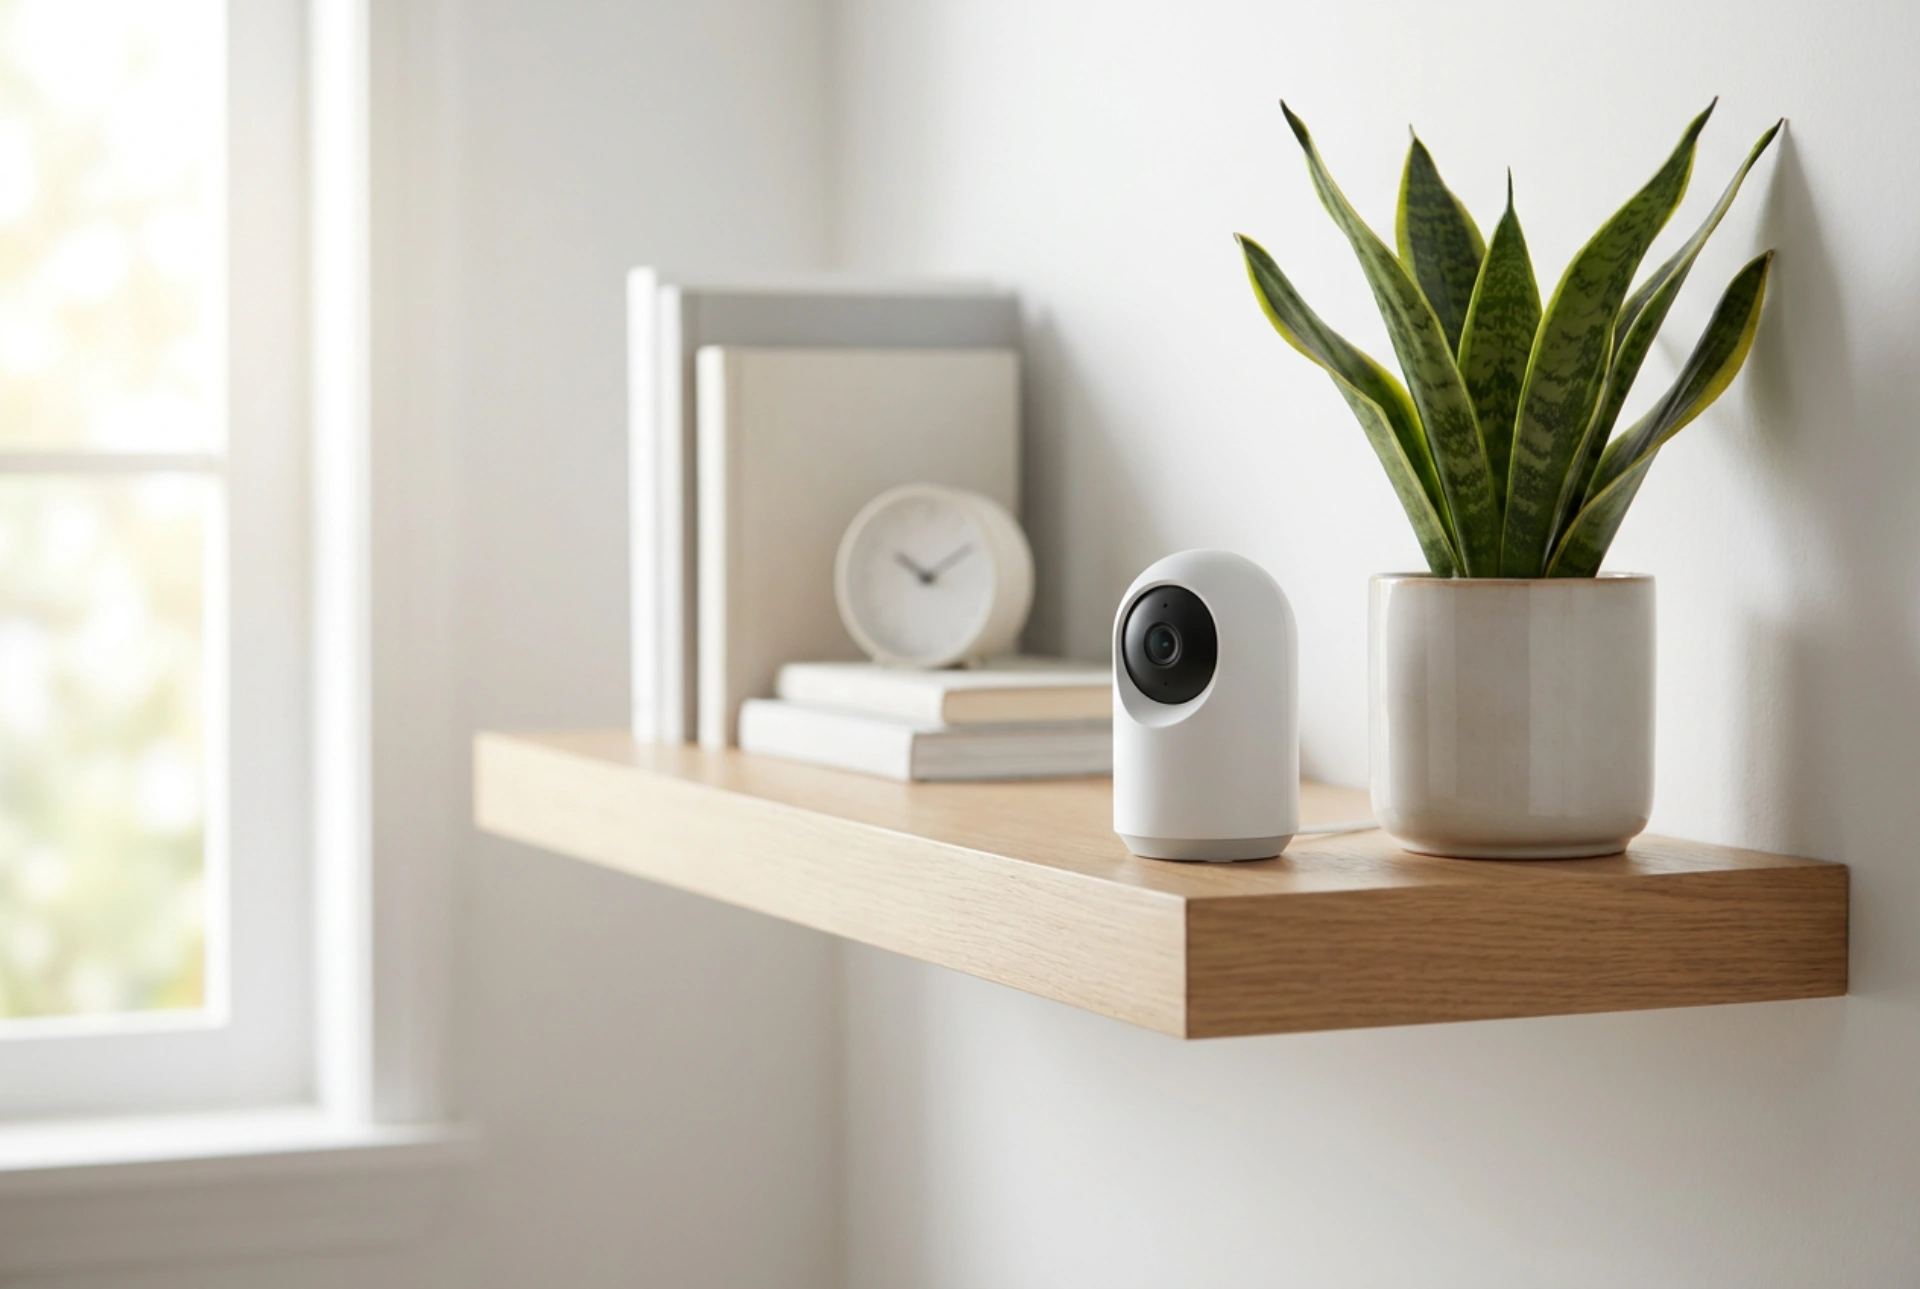


Setting up an indoor Wi-Fi camera with a motion sensor requires strategic placement and precise software calibration to ensure reliable alerts without false triggers.
Selecting the Optimal Physical Location
The physical positioning of your camera dictates its overall efficacy. For optimal motion detection, install the device at a height of 2 to 2.5 meters. This elevation provides a broad field of view while preventing physical tampering. Avoid pointing the lens directly at windows or high-contrast light sources, as sudden changes in light intensity can confuse the optical sensors, leading to false motion alerts.
Furthermore, position the camera so that anticipated movement crosses the lens laterally rather than moving directly toward or away from it. Passive Infrared (PIR) sensors detect changes in infrared radiation across their field of view. When a warm body moves across the sensor's zones, the temperature differential is registered immediately, triggering a highly reliable alert.
Configuring Network Stability and Bandwidth
A stable connection is vital for processing high-definition video feeds. Before mounting the device, verify the Wi-Fi signal strength at the intended installation spot using your mobile phone or a dedicated signal strength meter. If the signal is weak, consider the following technical adjustments:
- Choose the 2.4 GHz frequency band over 5 GHz, as lower frequencies penetrate walls and solid structures more effectively.
- Ensure your router is configured to a non-overlapping channel (typically 1, 6, or 11 on the 2.4 GHz spectrum) to minimize interference from neighboring networks.
- Assign a static IP address to the camera in your router settings to prevent connection drops when DHCP leases renew.
Optimizing Motion Detection Zones and Sensitivity
Once the camera is connected to the network, open the companion software to configure the detection parameters. Most modern smart cameras allow you to define custom detection zones. Mask out high-traffic or variable areas such as swaying tree branches, busy public sidewalks, or digital screens within the room.
Adjust the sensitivity slider based on environmental factors. High sensitivity registers minor pixel variations, which is useful in dark, stable rooms but problematic in areas with shifting shadows. Start at a medium sensitivity level and systematically test the trigger response by walking through the monitored area at different speeds, gradually refining the threshold until only human-sized objects trigger an alert.
Managing Power Supply and Cable Routing
To ensure uninterrupted operation, plan your power source carefully. For wired installations, route the power cable along wall joints or baseboards using insulated cable clips. Keep the cable taut to prevent sagging, which can pose a safety hazard or allow intruders to disable the unit. If the camera uses rechargeable batteries, enable power-saving profiles in the software, such as reducing the post-trigger recording duration or lowering the video frame rate, to extend operational lifespans between charges.





