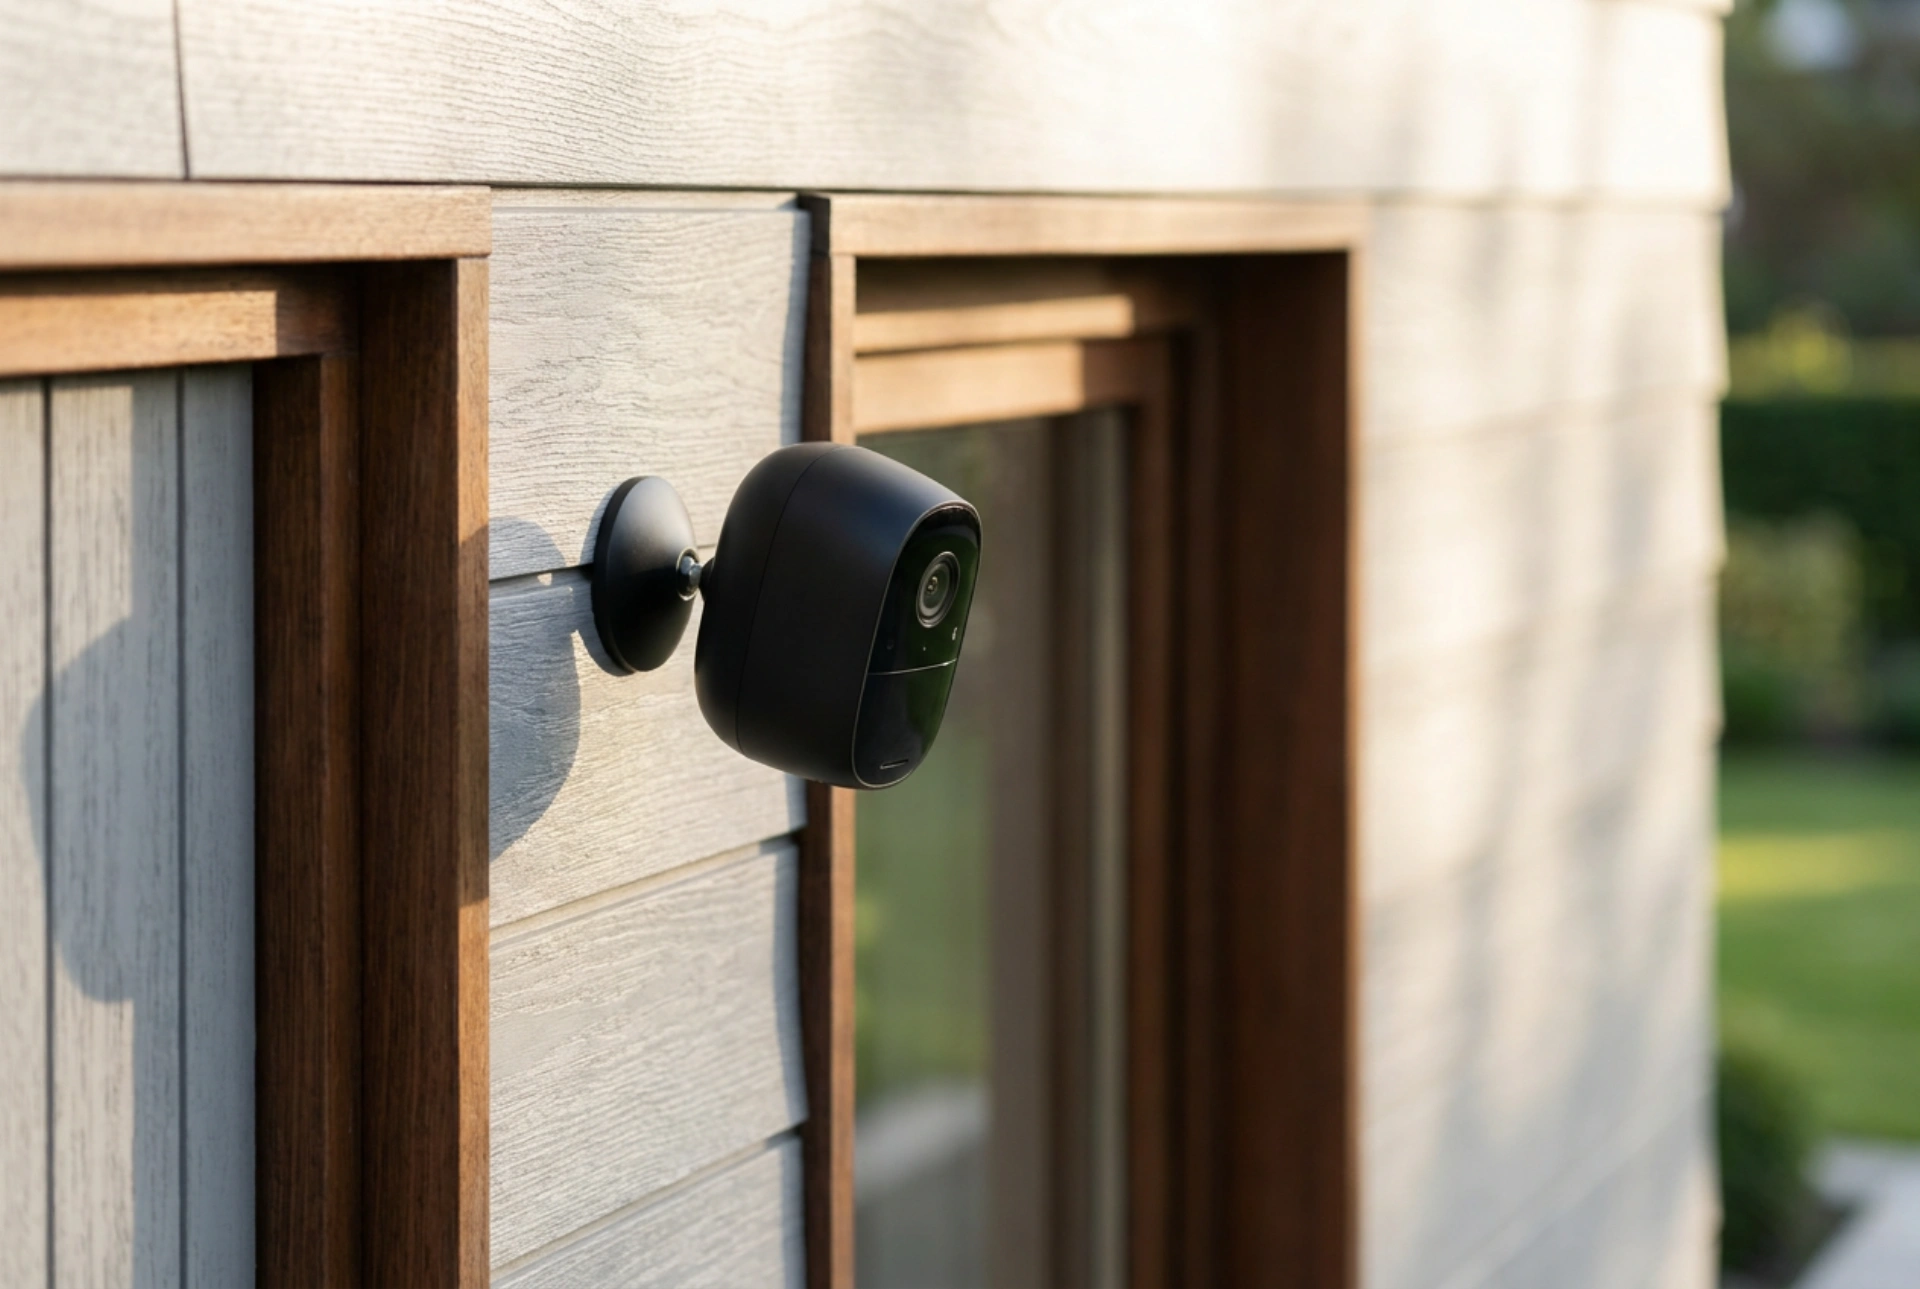


Installing an outdoor Wi-Fi security camera requires strategic physical placement and a solid understanding of signal physics to ensure continuous, high-quality monitoring.
Selecting the Optimal Height and Angle
The physical positioning of your camera dictates both its field of view and its vulnerability to tampering. To prevent manual disabling or physical theft, mount the camera at a height of 2.7 to 3 meters (9 to 10 feet) above the ground. At this height, the camera remains out of easy reach while maintaining a downward angle that is ideal for facial recognition and capturing license plates.
Avoid pointing the lens directly at the horizon or toward the sun. Direct sunlight causes lens flare and overexposure, blinding the image sensor during peak daylight hours. Angle the camera downward at approximately 30 to 45 degrees to capture the ground area closest to your entry points while utilizing the natural shade of your roof eaves or gutters to protect the lens from glare and rain droplets.
Analyzing and Overcoming Wi-Fi Signal Obstacles
Outdoor cameras rely heavily on stable radio frequency signals, which degrade when passing through dense building materials. When planning your installation, map the direct line of sight between your wireless router and the intended camera location. Every wall, window, and barrier weakens the signal strength through attenuation.
- Concrete and Brick: These materials absorb high-frequency radio waves heavily, drastically reducing signal strength and transmission speed.
- Double-Glazed Windows: Many modern windows contain low-emissivity (low-E) metallic coatings that reflect Wi-Fi signals rather than letting them pass through.
- Metal Sidings and Gutters: Metal acts as a shield, reflecting electromagnetic waves and causing dead zones directly behind them.
To ensure a stable connection, measure the signal strength at the exact mounting spot using a mobile network analyzer tool before drilling any holes. If the signal is weak, consider installing a dedicated wireless access point or a signal repeater indoors, positioned as close as possible to the exterior wall opposite the camera.
Power Supply Strategy and Cable Management
While data transmission is wireless, continuous power is vital for reliable security monitoring. Battery-powered units offer easy installation but suffer from latency and downtime during recharging cycles. For uninterrupted operation, a wired low-voltage power supply is highly recommended.
When routing power cables from the interior to the exterior, drill holes at a slight upward angle from the outside to the inside. This structural angle prevents gravity from pulling rainwater along the cable into your wall cavity. Always use a high-quality outdoor-rated silicone sealant to completely plug the entry hole after routing the cable. Apply a drip loop—a small, downward-hanging curve in the cable just before it enters the wall—which forces water to pool and drip off at the lowest point of the loop instead of following the wire into the house.
Managing Environmental and Lighting Challenges
Outdoor cameras must withstand temperature fluctuations, humidity, and varying light conditions. Ensure your selected device has an appropriate ingress protection (IP) rating, with IP65 being the minimum standard for dust tightness and water resistance. To handle nocturnal monitoring, understand the difference between active infrared (IR) illumination and ambient lighting. If the camera relies on built-in IR LEDs, ensure there are no physical obstacles like leaves, gutters, or nearby walls within the immediate foreground. These objects will reflect the IR light back into the lens, causing the camera to adjust its exposure and plunge the actual target area into pitch-black shadow.





