

Bringing a vintage slide projector back to life requires systematic cleaning of its optical and mechanical parts to prevent dust degradation and thermal damage. Accumulated dust inside the housing acts as an insulator and poses a risk of scorching under the extreme heat generated by high-wattage projection lamps.
The Thermodynamics of Vintage Projectors
Vintage slide projectors rely on powerful incandescent or halogen bulbs, often operating between 150 and 500 watts. These lamps generate immense thermal energy. When a projector has been stored for decades, a fine layer of dust settles over every internal component. If the device is switched on without cleaning, this dust layer acts as a thermal barrier, trapping heat inside the chassis.
Furthermore, dust particles resting on the lamp or the nearby glass elements absorb light energy and convert it instantly into extreme localised heat. This process can cause permanent baking of the organic dust onto the glass, clouding the optical path forever, or even causing thermal shock, which can crack delicate glass components. Effective heat dissipation relies on clean, unobstructed convection currents and a fully functional cooling fan.
Clearing the Housing and Mechanical Elements
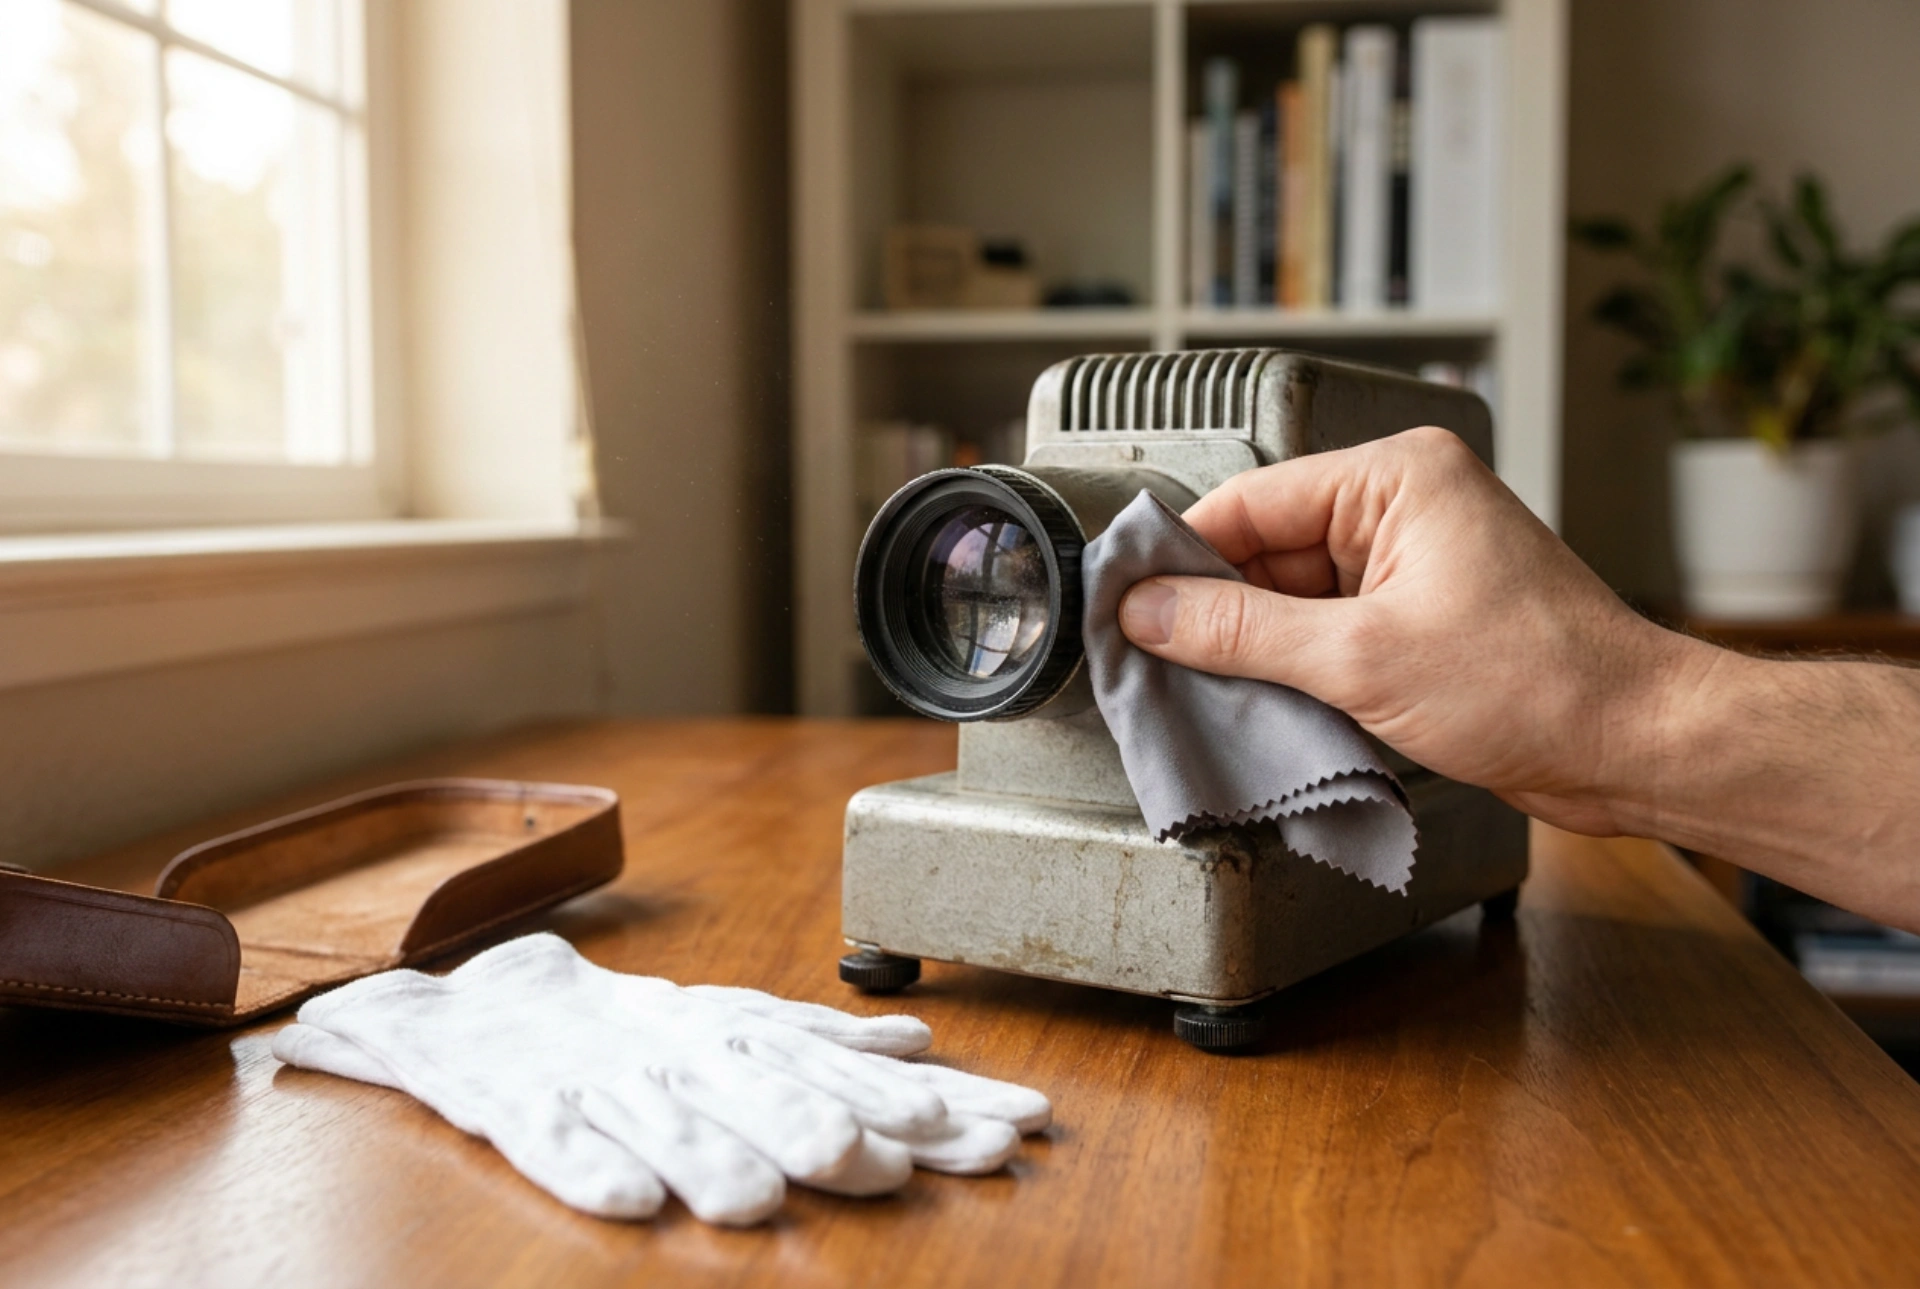
Before touching the optical components, the external housing and mechanical slide-transport system must be freed from dust and degraded lubricants. Use a soft, lint-free microfibre cloth slightly dampened with distilled water to clean the exterior chassis. Avoid using compressed air canisters carelessly; the high-pressure stream can push loose dust deeper into the sealed lens barrels or onto the delicate surface of the internal mirrors.
Mechanical parts, such as the slide changer arm or rotating tray gears, often suffer from saponification—the hardening of original lubricating grease over time into a sticky, wax-like residue. Gently dissolve this old grease using cotton swabs dipped in 99% isopropyl alcohol. Once the metal tracks are clean and dry, apply a microscopic layer of dry PTFE lubricant or high-refinement white lithium grease to ensure smooth mechanical movement without attracting new dust particles.
Deep Cleaning the Optical Train
The optical system is highly sensitive and consists of the rear reflector, the condenser lenses, the heat-absorbing glass, and the front objective lens. Each element requires specific handling to protect fragile anti-reflective chemical coatings.
- Dust Removal: Always use a manual rubber blower bulb to dislodge loose dust first. Never wipe a dusty lens with a dry cloth, as microscopic silica particles will scratch the glass surface.
- Solvent Selection: Avoid standard household glass cleaners containing ammonia, which can strip away optical coatings. Instead, use a solution of 99% isopropyl alcohol diluted with distilled water, or a dedicated optical-grade lens cleaning fluid.
- Wiping Technique: Apply a drop of the fluid to a lens cleaning tissue, not directly to the glass. Gently wipe the lens surface starting from the centre and moving outwards in a spiral motion. This technique prevents dragging debris across the entire optical path.
Maintaining the Cooling Fan and Heat Filter
The cooling fan is the unsung hero of a slide projector. It draws cool air across the slide gate to protect your irreplaceable slides from melting under the intense light beam. Carefully inspect the fan blades. Dust build-up on the blades alters their aerodynamic profile, reducing airflow and increasing mechanical vibration. Wipe each blade with a cotton swab moistened with isopropyl alcohol, ensuring no moisture drips into the motor housing.
Positioned between the lamp and the condenser lenses is a thick, slightly green-tinted piece of heat-absorbing glass. This filter absorbs infrared radiation while letting visible light pass. If this filter is dusty or greasy, the increased heat absorption can cause it to crack during operation. Clean both sides of this glass element with extreme care, ensuring it is completely dry and free of fingerprints before reinstallation, as skin oils can also burn and cause thermal cracking.
The Initial Test Run Protocol
Once all components are clean and reassembled, conduct the first power-up in a controlled manner. Begin by turning on only the fan (if the projector has a independent fan switch) to verify balanced rotation and clear airflow. Once satisfied, activate the lamp. Run the projector without any slides loaded for three to five minutes. Observe the light path for any signs of rising vapour or faint odours, which indicate remaining cleaning residue or missed dust. Only after a successful, odourless test run should you introduce your slides into the gate.