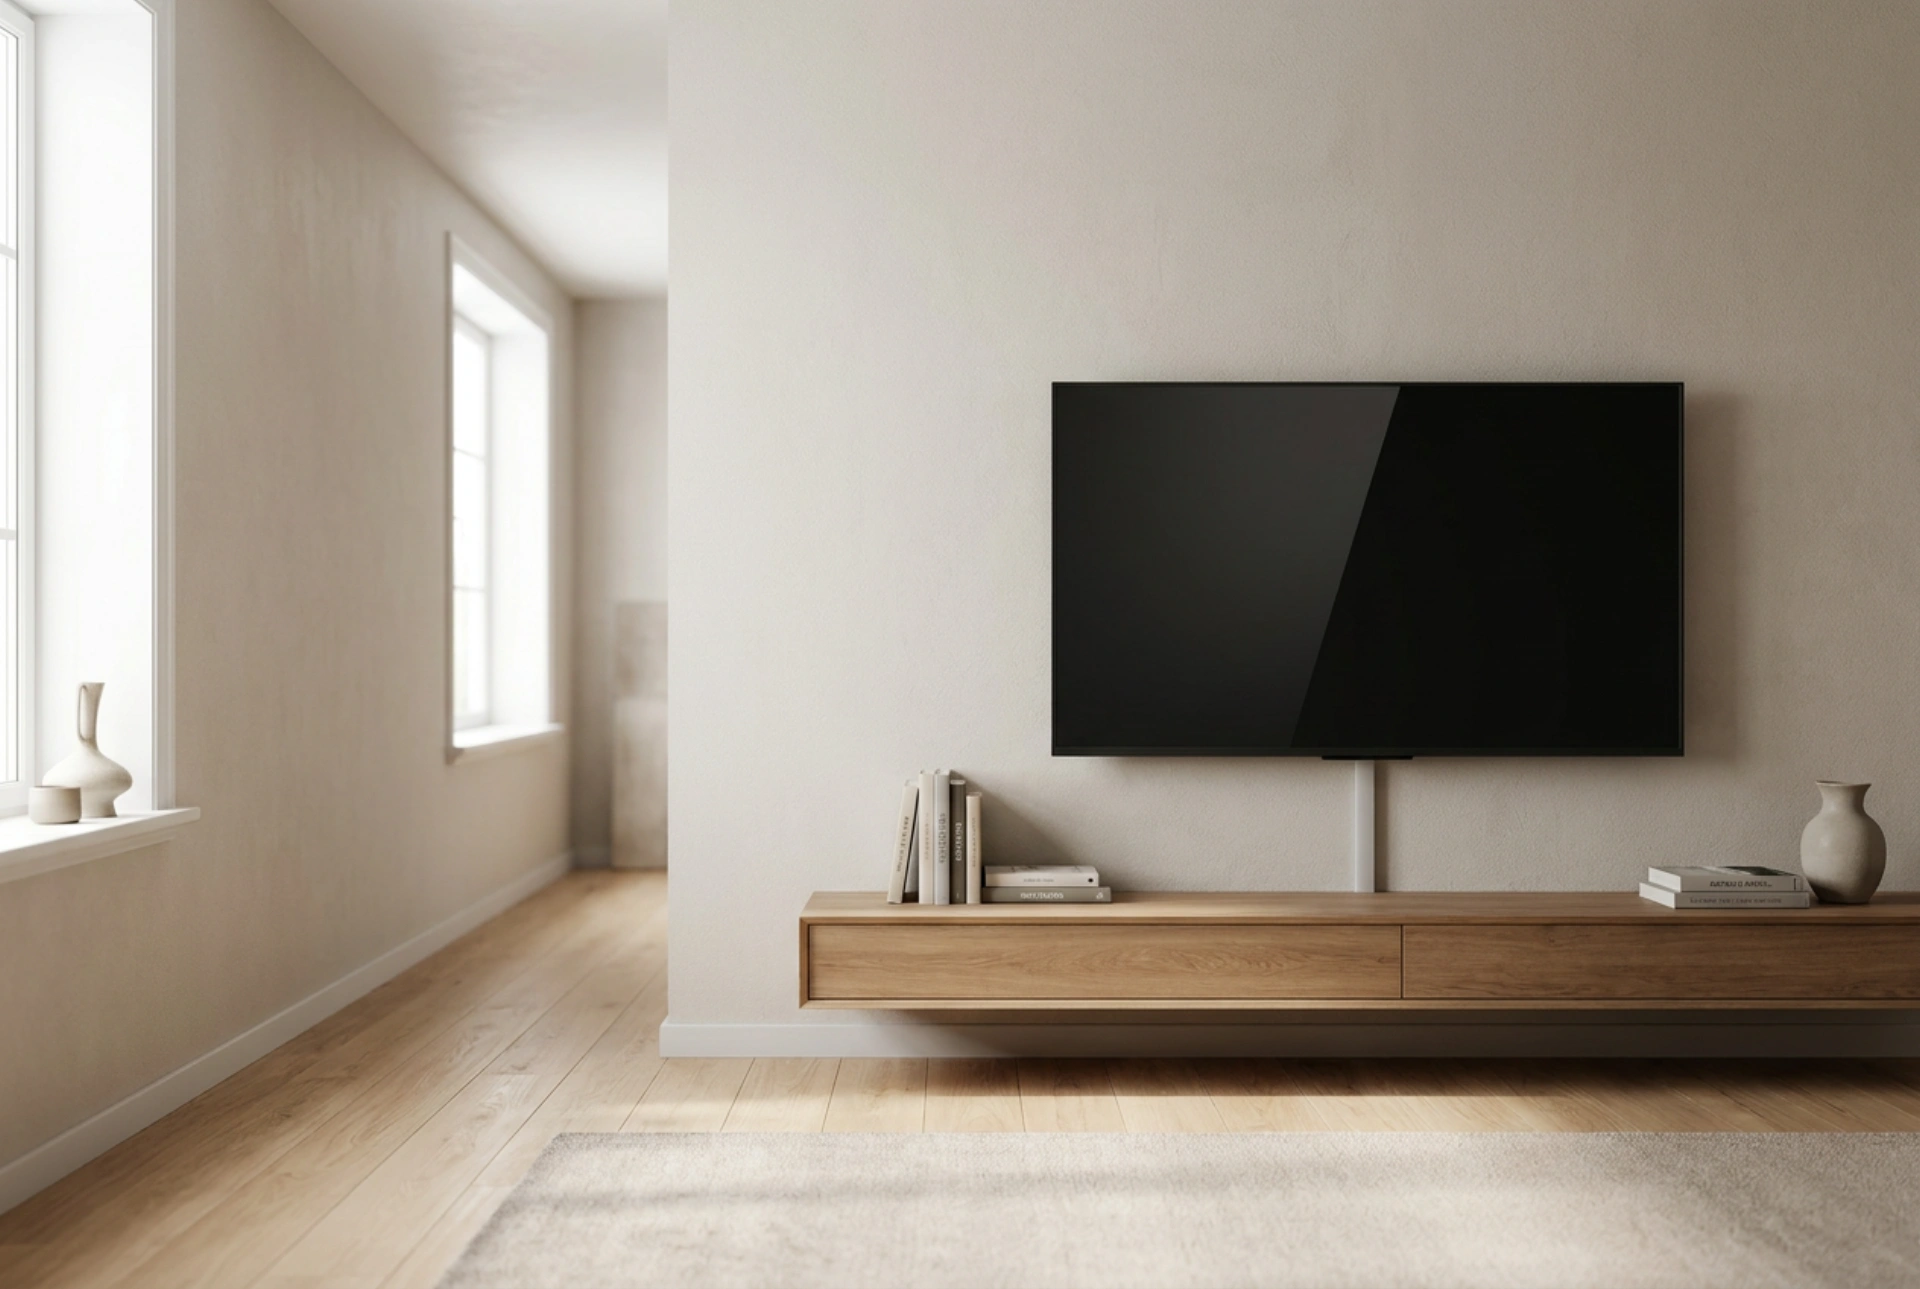


Mounting a television in a confined room requires precise calculation of viewing angles, structural load-bearing capacity, and profile depth to maximize space efficiency without sacrificing ergonomics. Properly distributing the physical weight of the screen across the wall surface ensures long-term stability and safety in narrow areas where bumping into furniture or walls is more likely.
Understanding Wall Substrates and Anchor Physics
Before drilling, you must identify the composition of your wall. The structural integrity of the installation depends entirely on matching the mounting hardware to the wall material. Solid substrates, such as concrete, brick, or solid timber studs, offer high load-bearing capacity and excellent resistance to shear forces. For these materials, standard nylon expansion plugs or sleeve anchors are ideal because they expand outward against the sides of the drilled hole, creating friction that resists pulling forces.
Drywall or hollow-cavity walls behave differently under stress. Because gypsum board has low shear strength and can crumble under concentrated loads, you must use anchors that distribute weight over a wider surface area behind the board. Toggle bolts or heavy-duty metal self-drilling anchors are effective because they clamp onto the back of the drywall sheet, converting pulling force into a wider compression force. Never rely on friction-based plastic plugs in hollow drywall for television mounts, as the cyclic vibrations of adjusting the screen can loosen them over time, leading to sudden failure.
Selecting the Mount Profile for Tight Spaces
In narrow rooms, the distance the television projects from the wall directly impacts both safety and room usability. Fixed, low-profile mounts offer the shallowest depth, often keeping the back of the screen within 15 to 25 millimeters of the wall. This minimizes the lever arm effect, which is the physical principle where distance from the pivot point increases the rotational force (torque) applied to the wall anchors. Keeping the television flush to the wall minimizes this torque, making the installation highly secure.
However, if the screen must be mounted higher than eye level due to furniture placement, a tilting mount is necessary. A tilt angle of 5 to 15 degrees helps align the screen perpendicular to your line of sight, preventing color shift and contrast degradation common in modern liquid crystal displays viewed off-angle. For tight corners, a single-arm articulating mount provides directional flexibility, but it increases the distance from the wall when extended, significantly multiplying the tension forces acting on the top wall anchors. Always ensure the bracket size matches the VESA (Video Electronics Standards Association) hole pattern on the back of your television.
Calculating Ergonomic Angles and Height
The placement height of the screen dictates the comfort of the viewer. In a tight space, the distance between the seating area and the wall is compressed, which amplifies the angular strain on the neck if the television is mounted too high. The optimal ergonomic position places the center of the screen at eye level when seated in your primary viewing position—typically between 90 and 110 centimeters from the floor.
To calculate the correct position in a narrow room, measure the exact eye height from the floor while sitting. If obstacles like radiators, desks, or low cabinets force you to mount the television higher, use a tilt mount to maintain a 90-degree viewing angle relative to the screen plane. Aim to keep the vertical viewing angle within a 15-degree limit above or below the center line to prevent cervical spine strain over extended viewing periods.
Step-by-Step Installation and Precision Leveling
Begin by locating the structural studs behind drywall using a capacitive stud finder, or mark the solid masonry drilling spots using the mounting bracket as a template. Use a high-quality bubble level placed directly on the bracket; even a microscopic deviation of one or two millimeters across the bracket width translates into a noticeable slant over the width of the television screen.
Drill holes using a bit that precisely matches the outer diameter of your wall anchors. For masonry, use a hammer drill with a carbide-tipped masonry bit at a steady, moderate speed to avoid fracturing the surrounding brick or concrete. For drywall, drill cleanly without wallowing the hole to ensure a snug fit for toggle mechanisms. Vacuum out the dust from the holes before inserting the anchors to prevent loose particles from reducing friction. Fasten the bracket tightly using a socket wrench, ensuring all bolts are seated flush against the metal plate without over-tightening, which can strip the threads or crack plastic spacers.
Thermal Dynamics and Cable Organization
Electronics generate heat during operation, which must dissipate to prevent component degradation. In tight spaces or recessed alcoves, air circulation is restricted. Ensure there is at least a 20-millimeter air gap behind the television to facilitate passive convection currents—cool air drawn from below the screen warms up as it absorbs heat from the internal components and rises out through the top vents. To manage cables safely without internal wall modification, use external paintable surface conduits. Avoid bending cables, particularly optical or high-bandwidth HDMI cables, beyond their minimum bend radius, as sharp angles cause signal refraction and internal structural fatigue.