

Recommissioning a vintage video game console requires a systematic approach rooted in material science and chemistry to prevent damaging sensitive components that have degraded over decades of storage.
Removing Dust and Atmospheric Particulates
Before introducing any liquids or power to a vintage console, dry contaminants must be thoroughly removed. Dust acts as an insulator, trapping heat generated by internal components, and can also absorb ambient moisture, leading to localized corrosion. To remove loose debris without generating static electricity, use a specialized anti-static brush with synthetic conductive fibers. When using compressed air, always hold the canister completely upright. Tilting the can can release liquid propellant, which undergoes rapid expansion and drops in temperature instantly. This thermal shock can crack aged ceramic capacitors and warp delicate plastic optical components inside the drive bay. Use short, controlled bursts of air to dislodge dust from vents, port entries, and cartridge slots, directing the airflow outward so particles are expelled rather than pushed deeper into the chassis.
Chemical Action: Restoring Electrical Conductivity
Metal contacts in cartridge slots and port connectors inevitably oxidize over time when exposed to oxygen and humidity, creating a resistive barrier that prevents clean signal transmission. To restore conductivity, use high-purity isopropyl alcohol (specifically 99% concentration). Lower concentrations contain water, which evaporates slowly and can initiate fresh oxidation on copper or tin-plated pins. Isopropyl alcohol acts as a highly effective polar solvent that dissolves oils, greases, and light corrosion products without damaging the surrounding circuit board material. Apply the solvent to a dense, lint-free cotton swab and gently sweep across the contact pins. Avoid excessive mechanical pressure, which can bend fragile spring contacts. For cartridge slots, a clean, stiff-bristled non-static card wrapped in a thin microfiber cloth moistened with isopropyl alcohol can be inserted and withdrawn vertically to clean the leaf springs safely.
Preserving Aged ABS Plastic Shells
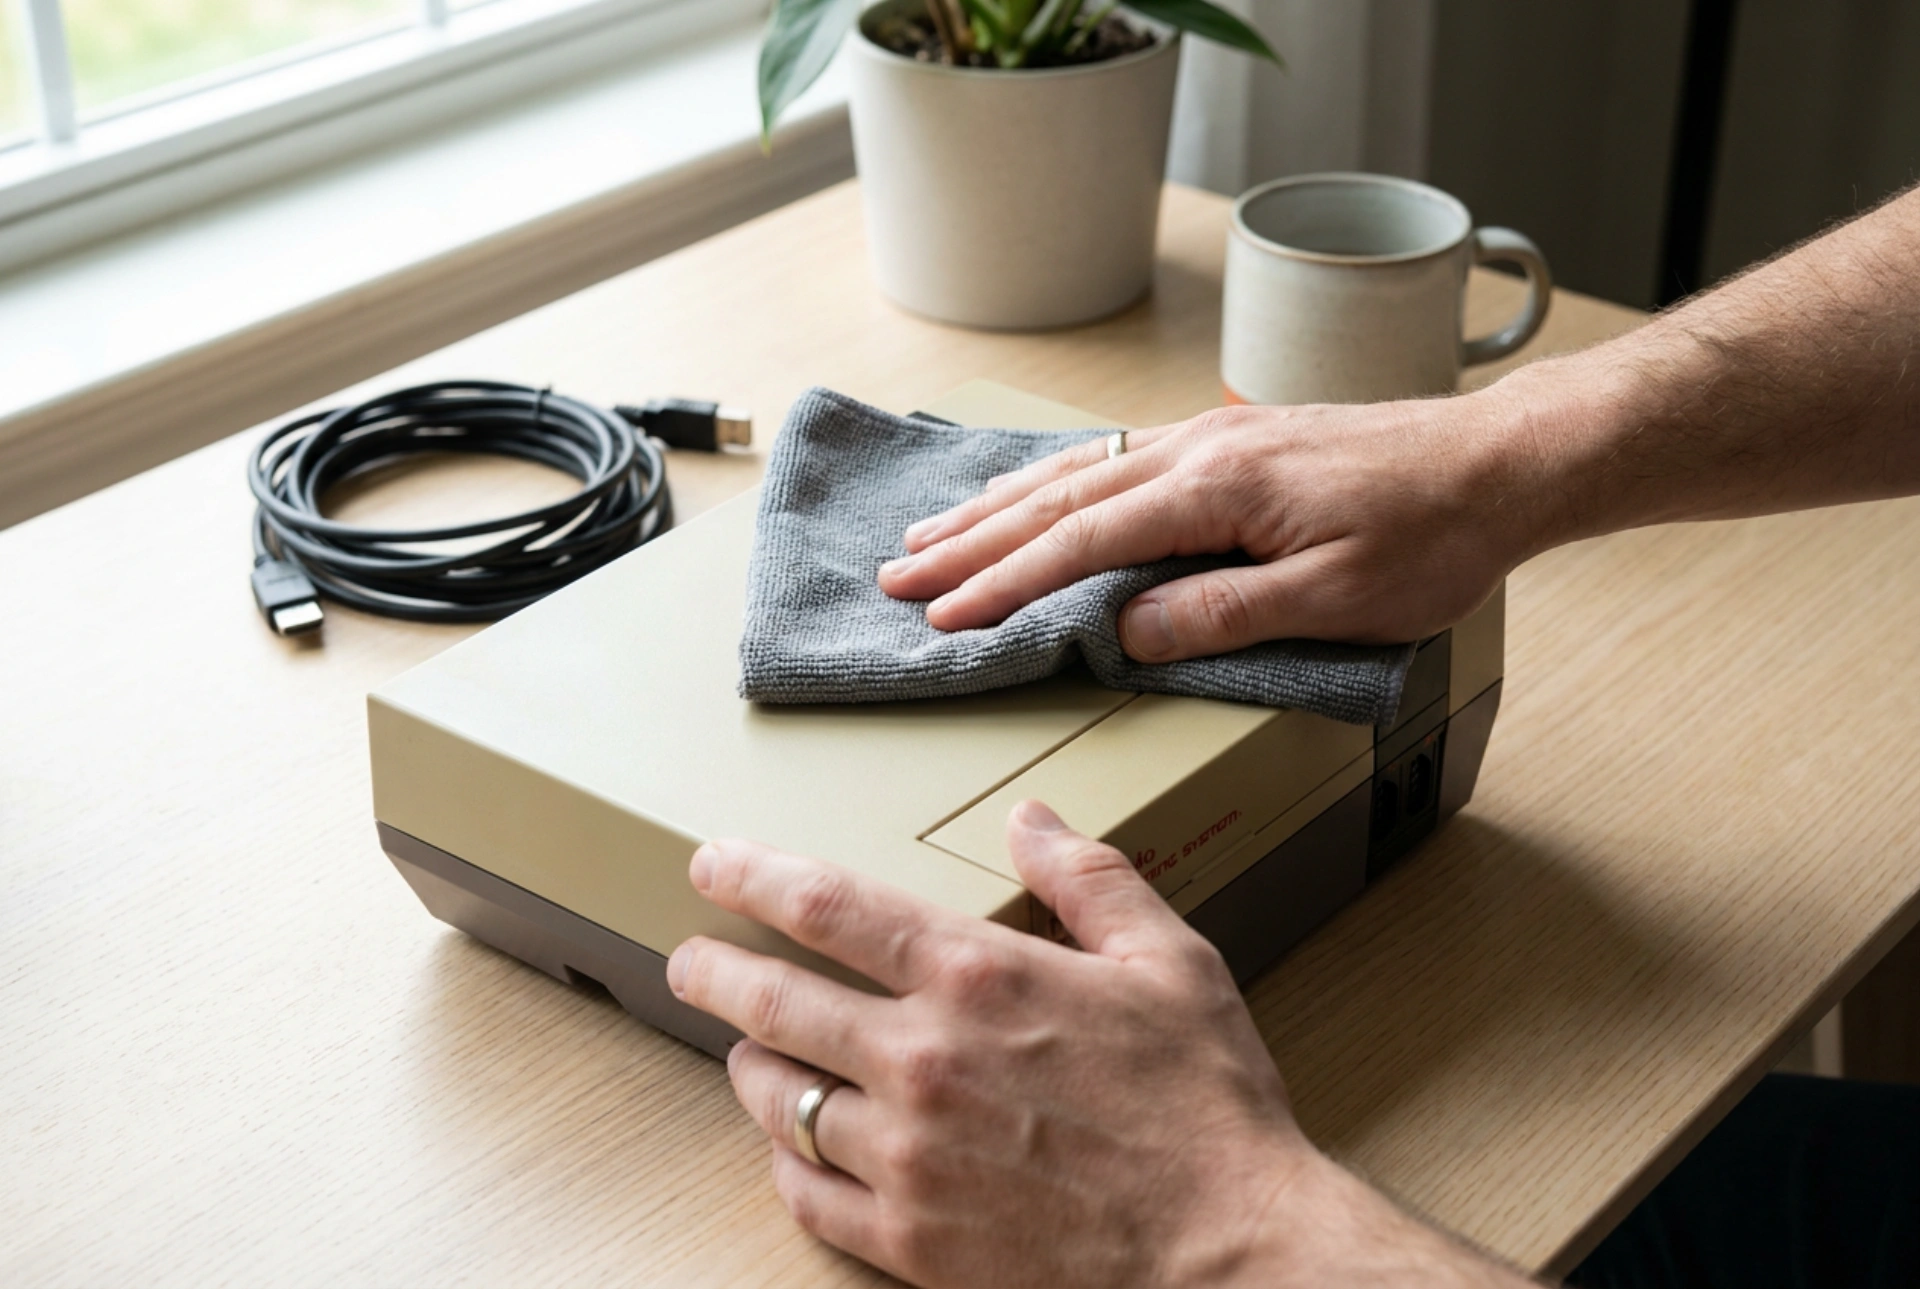
The exterior housings of classic consoles are typically manufactured from Acrylonitrile Butadiene Styrene (ABS). Over time, exposure to ultraviolet light degrades the butadiene phase of the polymer, making the plastic brittle and prone to yellowing. When cleaning the housing, avoid aggressive organic solvents such as acetone, ethyl acetate, or paint thinners. These chemicals break the polymer chains of ABS, causing the plastic to melt, swell, or lose its texture. Instead, use a highly diluted solution of a mild surfactant (such as standard dish soap) in lukewarm water. Apply this solution using a damp, well-wrung microfiber cloth. The surfactant molecules lower the surface tension of the water, allowing it to encapsulate and lift greasy finger oils and dirt. Immediately dry the surface with a separate dry microfiber cloth to prevent water from seeping into seams and reaching the internal circuitry.
Optical Drives and Laser Lens Maintenance
If the console utilizes optical media, the laser lens requires specialized attention. The lens itself is often made of optical-grade plastic rather than glass, meaning it is highly sensitive to harsh chemicals. A cloudy or dusty lens will scatter the laser light, resulting in read errors. First, attempt to blow away loose dust using a manual air bulb blower rather than compressed gas, as the pressure from a canister can misalign the delicate suspension wires of the lens assembly. If a film remains on the lens, use a dry, high-density microfiber swab designed for optical cleaning. Rotate the swab gently in a circular motion starting from the center of the lens outward. Only use isopropyl alcohol if dry cleaning fails, and ensure it is applied extremely sparingly to prevent the solvent from dissolving the optical adhesives holding the lens in place.
Safe Reconnection and Thermal Monitoring
Once cleaned, the console must be allowed to sit in a dry environment for at least one hour to ensure all volatile solvents have completely evaporated. When selecting a power source, inspect the original external transformer for physical integrity, checking the cord for cracked insulation. Do not plug the unit into power if there are exposed copper strands. Position the console on a flat, hard surface that allows unrestricted airflow through all ventilation grates. Avoid placing the device on carpets or inside enclosed media cabinets during its initial operation, as degraded internal thermal pads may no longer transfer heat efficiently to the heat sinks, requiring vigilant monitoring of the exhaust temperature during the first hour of use.