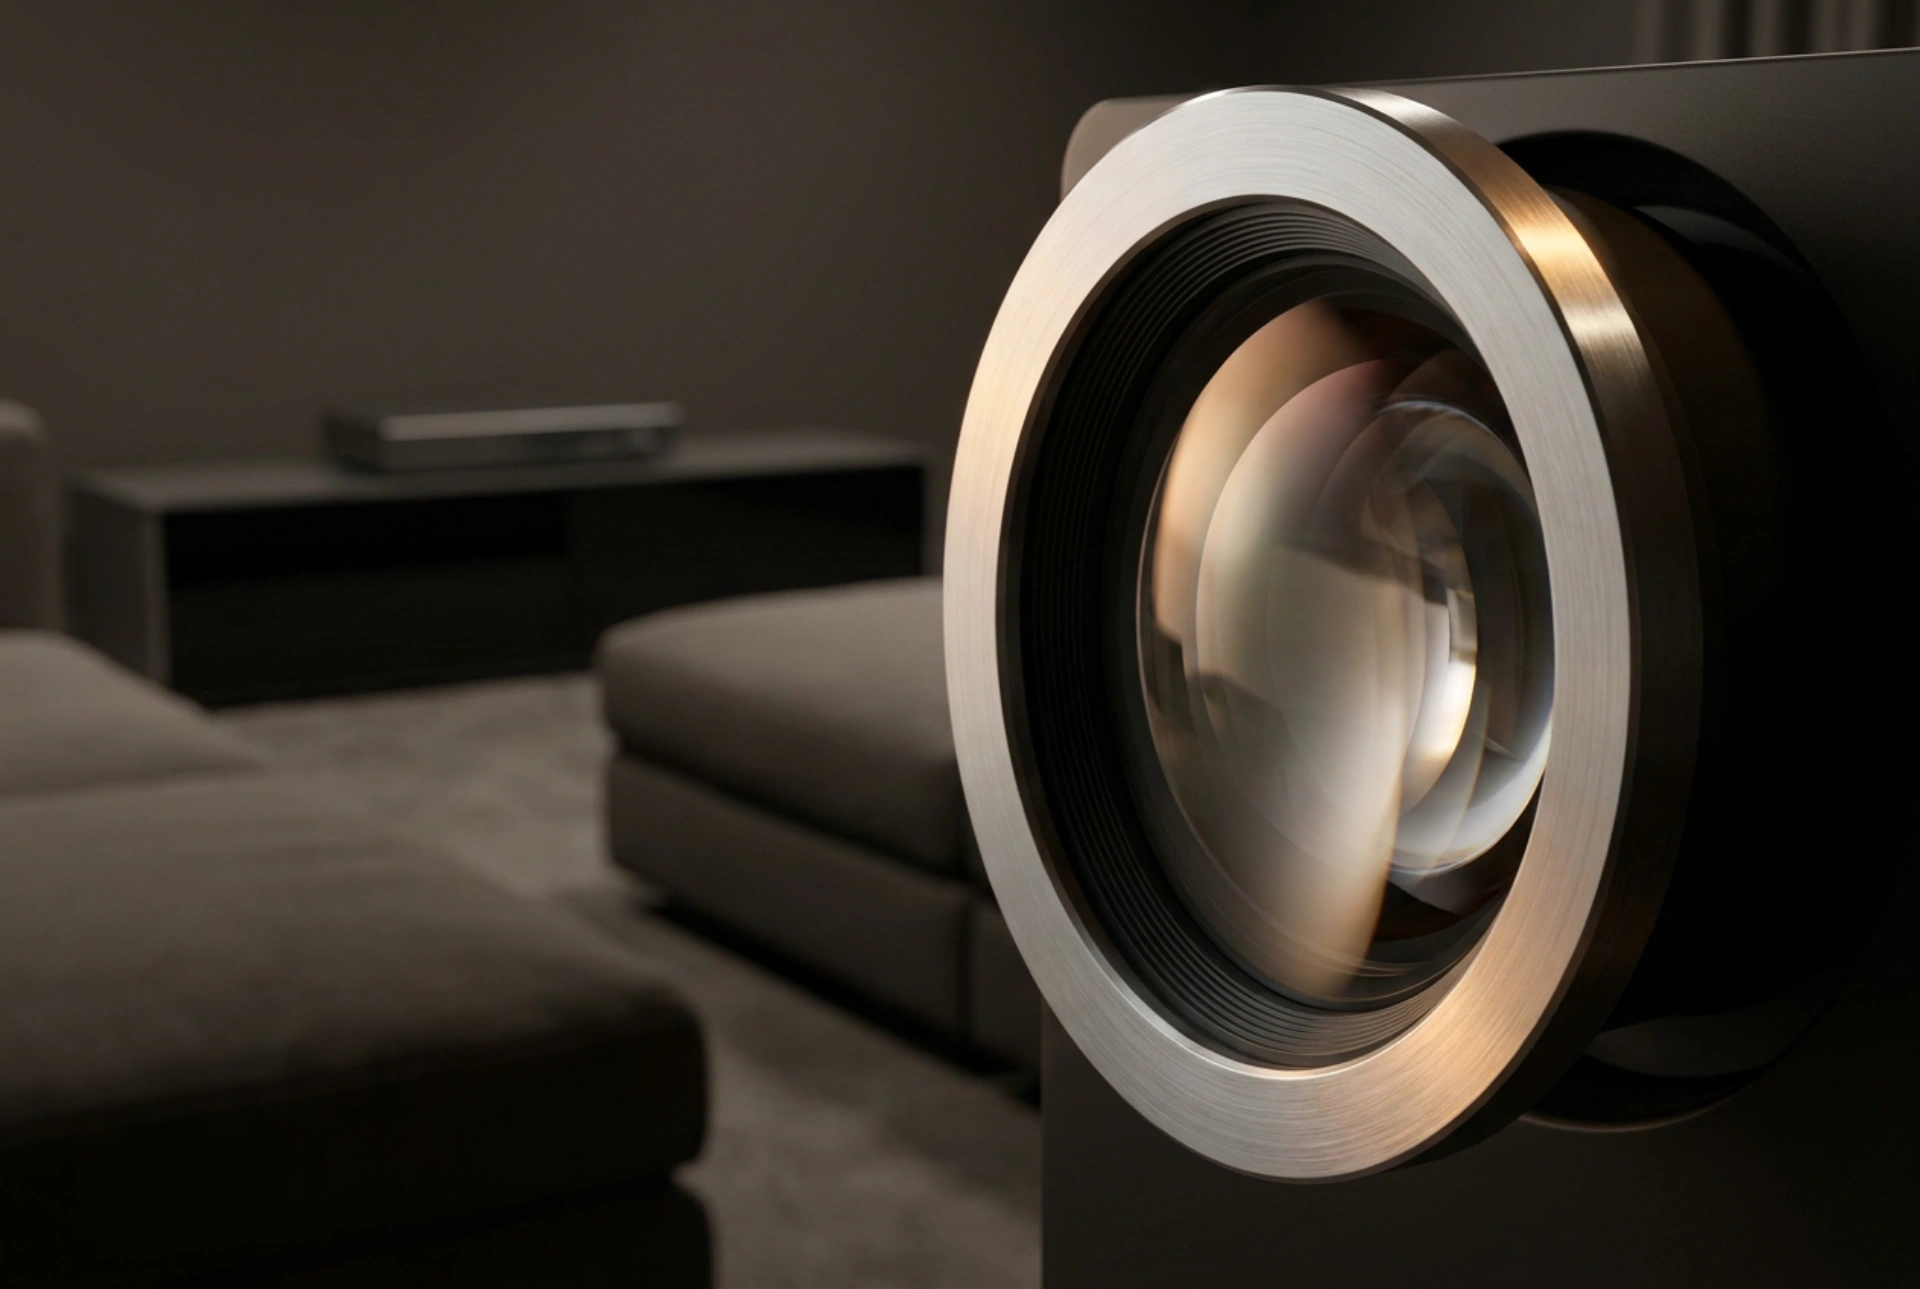


Achieving a pixel-perfect Full HD projection requires precise geometric alignment, physical lens adjustment, and control over light refraction. By mastering the physics of projection, you can eliminate blur and distortion without relying on degrading digital corrections.
The Geometry of Projection: Why Physical Alignment Comes First
To achieve uniform sharpness across the entire screen, the projector's lens must be perfectly perpendicular to the projection surface. When a projector is tilted upward, downward, or to the side, it creates a trapezoidal distortion known as the keystone effect. While modern projectors offer digital keystone correction, this feature should be avoided whenever possible.
Digital keystone correction works by compressing the image digitally, scaling the pixels to fit a trapezoidal space. This process reduces the active resolution of your Full HD (1080p) display, leading to aliasing, jagged edges, and a loss of fine detail. Instead, rely on physical alignment. Place the projector at the height specified by its native offset. If the projector has physical lens shift—a mechanical system that moves the lens assembly vertically or horizontally without tilting the device—use this instead of tilting. This keeps the light path perpendicular to the screen, preserving every single native pixel.
Mechanical Focus and Thermal Stabilization
Achieving a crisp image is not just about turning the focus ring until the picture looks clear; it requires understanding the thermal dynamics of the projector. The powerful light source inside a projector—whether a traditional lamp, LED, or laser—generates significant heat. This heat causes the optical elements inside the lens assembly, which are made of glass or specialized polymers, to expand slightly during the first 15 to 30 minutes of operation.
To get a permanently sharp focus, follow these steps:
- Turn on the projector and let it run for at least 20 minutes to reach its stable operating temperature before making final focus adjustments.
- Project a high-contrast text pattern or a dedicated grid pattern rather than a moving video. Sharp, black-and-white lines make it easier to detect chromatic aberration and soft focus.
- Focus on the outer edges and corners first. Lenses naturally struggle with edge-to-edge sharpness. If you focus solely on the center, the corners may remain blurry. Aim for a balanced compromise where the center is sharp and the edges are acceptable, or use the "three-quarters" rule: focus on an area about 75% of the way from the center to the edge.
The Role of Surface Texture and Contrast
The human eye perceives sharpness through contrast. If contrast is low, even a perfectly focused lens will produce an image that looks soft. This is where the physics of the projection surface and ambient light come into play.
A standard painted wall, even a flat white one, has microscopic textures that scatter light in unpredictable directions, reducing local contrast. For a true Full HD experience, a dedicated projection screen is essential. These screens use specialized coatings to control the "gain"—the measure of the screen's reflectivity compared to a standard white board. A screen with a gain of 1.0 reflects light evenly in all directions, while high-gain screens focus light toward the viewing area, increasing brightness but reducing viewing angles.
Ambient light must also be strictly controlled. Stray light washes out dark areas of the image, destroying the black levels. Without deep blacks, the transitions between dark and light pixels become muddy, tricking the brain into perceiving the image as out of focus. Use blackout curtains and matte paint on nearby walls to prevent reflected light from bouncing back onto the screen.
Source Matching and Pixel Mapping
Even with perfect optics and geometry, your image will remain blurry if the incoming signal does not match the projector's native resolution. This is known as 1:1 pixel mapping. A Full HD projector has a fixed grid of 1920 by 1080 pixels. If your source device—such as a media player or computer—is outputting a 720p or 4K signal, the projector must scale the image. Scaling introduces interpolation, where the projector estimates the colors of nonexistent pixels, resulting in a softer image.
Ensure that the output resolution of your playback device is set precisely to 1080p at the native frame rate of your content (usually 24Hz or 60Hz). Additionally, disable any digital zoom features on both the source and the projector, as these stretch the image and ruin the pixel-to-pixel alignment.





