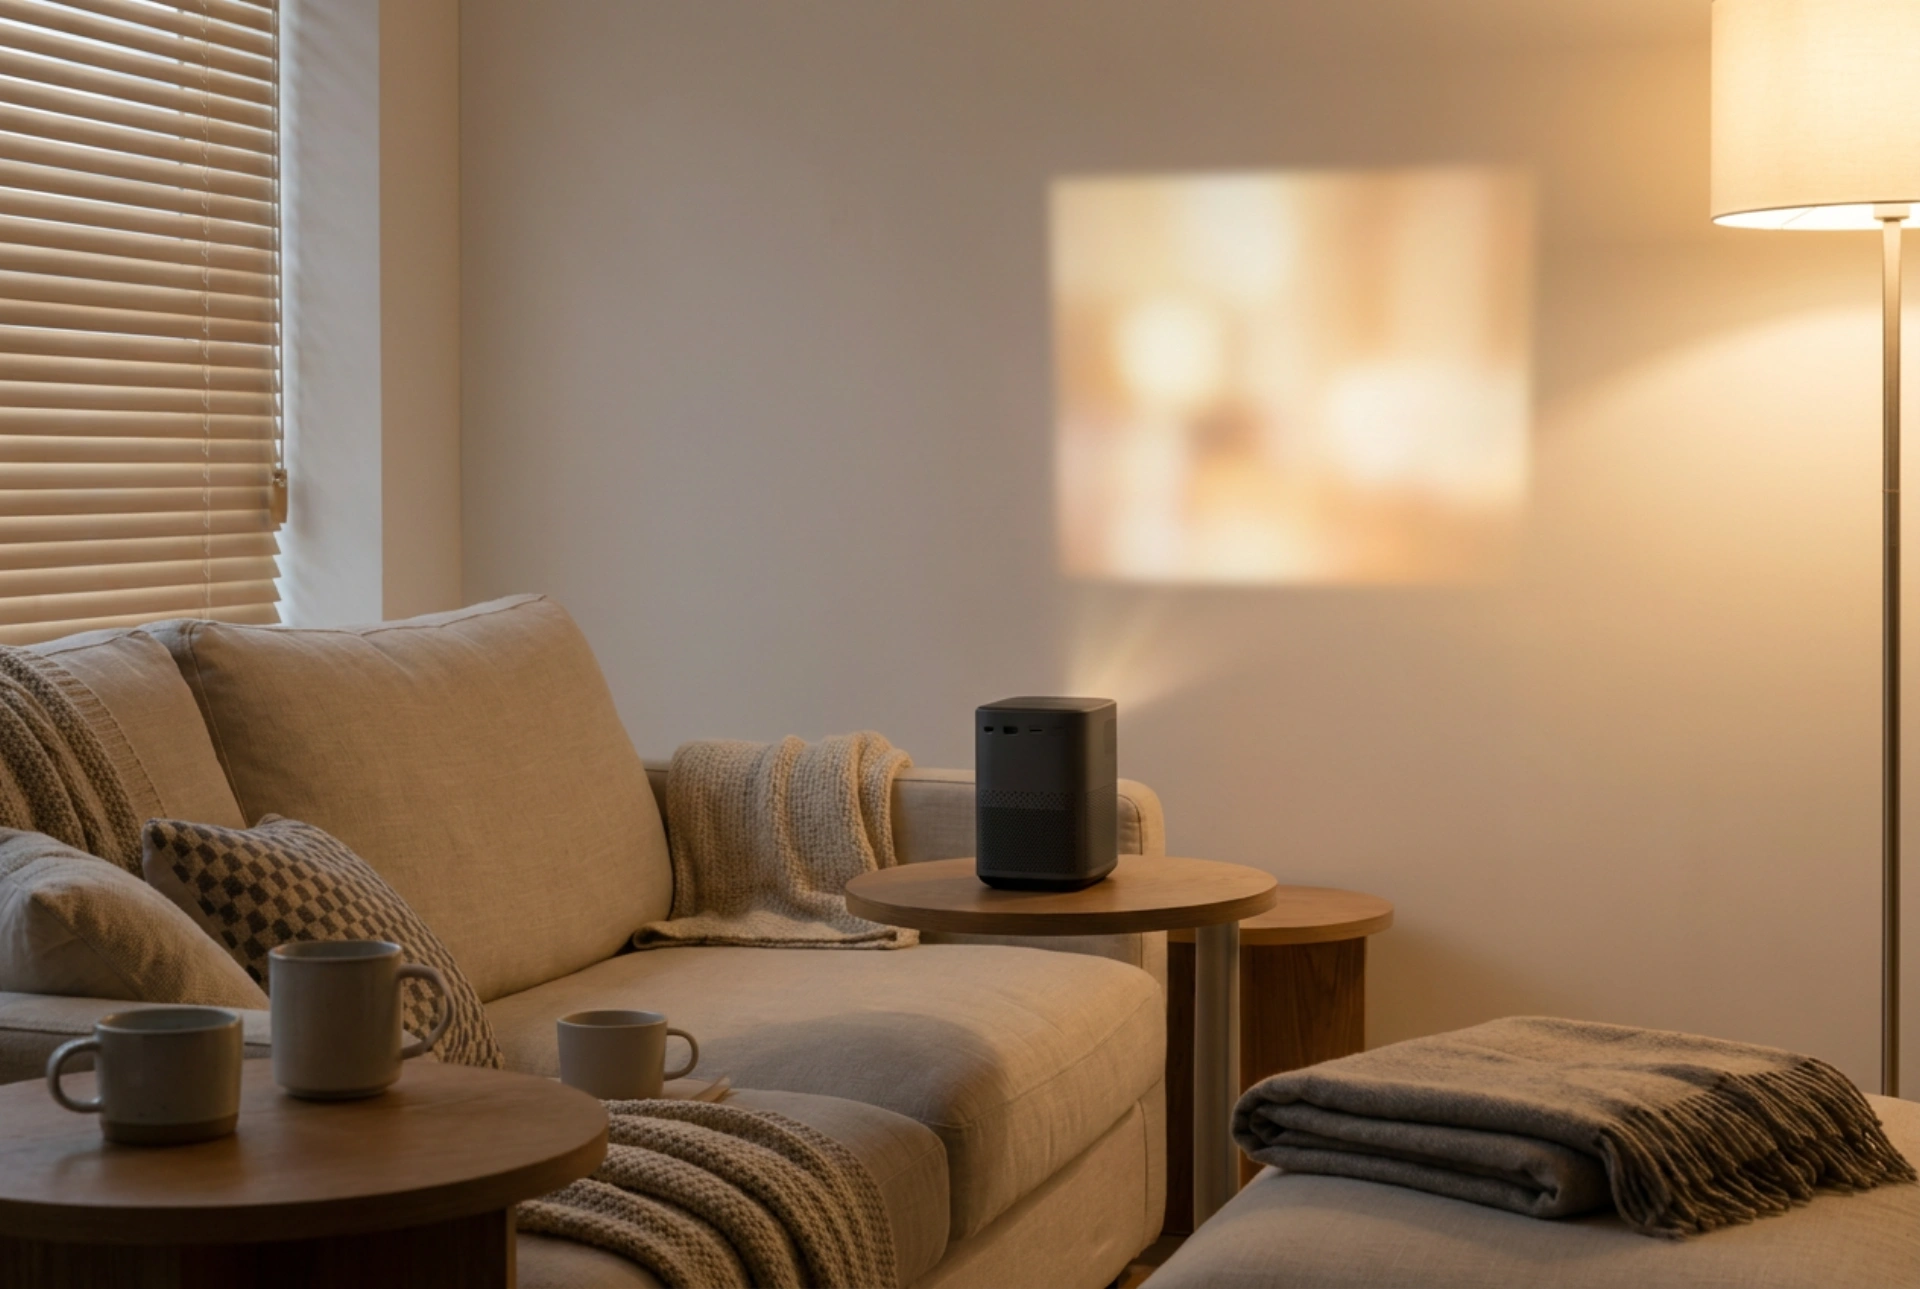


Setting up a home cinema projector requires balancing optical physics, surface reflectivity, and digital signal processing to achieve a true cinematic experience. By understanding how light interacts with your projection surface and how geometry affects pixel structure, you can bypass generic factory presets and calibrate your system for optimal visual fidelity.
The Science of Surface Reflection and Gain
The surface onto which you project plays a critical role in image quality. A standard white wall, while convenient, often disperses light unpredictably due to microscopic texture variations. For projector setups, we measure surface reflectivity in terms of gain. A neutral matte white surface has a gain of 1.0, meaning it reflects light evenly in all directions. High-gain screens reflect more light toward the viewer but narrow the viewing angle, whereas grey screens lower gain to absorb ambient light, improving black levels in rooms with light-coloured walls. If using a wall, a flat, non-reflective matte paint finish is essential to prevent specular reflections, often referred to as hot spotting, which ruins image uniformity.
Physical Alignment over Digital Correction
Achieving a perfectly rectangular image without distortion is a primary setup challenge. Many users rely heavily on digital keystone correction, which electronically compresses the image to fit a rectangular grid. However, this process sacrifices native resolution and creates unwanted scaling artifacts. This occurs because pixels are digitally scaled down, and the unused parts of the projector's light engine still emit a faint grey glow around the active image. To maintain pixel-to-pixel mapping, physical alignment is paramount. Place the projector perfectly perpendicular to the projection surface. The lens axis must align with the offset requirements of the device. Most projectors project slightly upwards, meaning the lens should align with the bottom edge of the screen when table-mounted, or the top edge when ceiling-mounted. Use optical lens shift if available, as it physically moves the lens assembly without distorting the pixel grid.
Calibrating Contrast, Brightness, and Luminance
Once physically aligned, image calibration aligns the projected light with the standards used by film mastering studios. Factory presets are typically tuned to be excessively bright and cool to stand out in retail environments. To set the black level, which controls overall brightness, use a gradient test pattern showing dark grey bars against a black background. Raise the brightness until you can see the darkest grey bar, then lower it until the absolute black background is as dark as the projector can physically achieve without crushing the details in the adjacent grey bars. To set the white level, which controls contrast, use a white gradient pattern. Increase the contrast until the brightest blocks merge into a solid white block, then back off slightly until you can distinguish individual shades of near-white. This prevents clipping, ensuring highlights in clouds or snow retain texture.
Colour Temperature and Gamma Selection
To achieve natural skin tones and director-intended colour balances, the colour temperature should be set to warm, which typically targets the 6500 Kelvin standard. Cooler settings inject a blue tint that degrades red and green accuracy. Additionally, configure the gamma setting, which determines the rate at which transition from black to white occurs. For dedicated dark viewing rooms, a gamma curve of 2.4 or 2.2 is ideal, providing deep, cinematic shadow transitions, while a lower gamma of around 2.0 is better suited for spaces with unavoidable ambient light.





