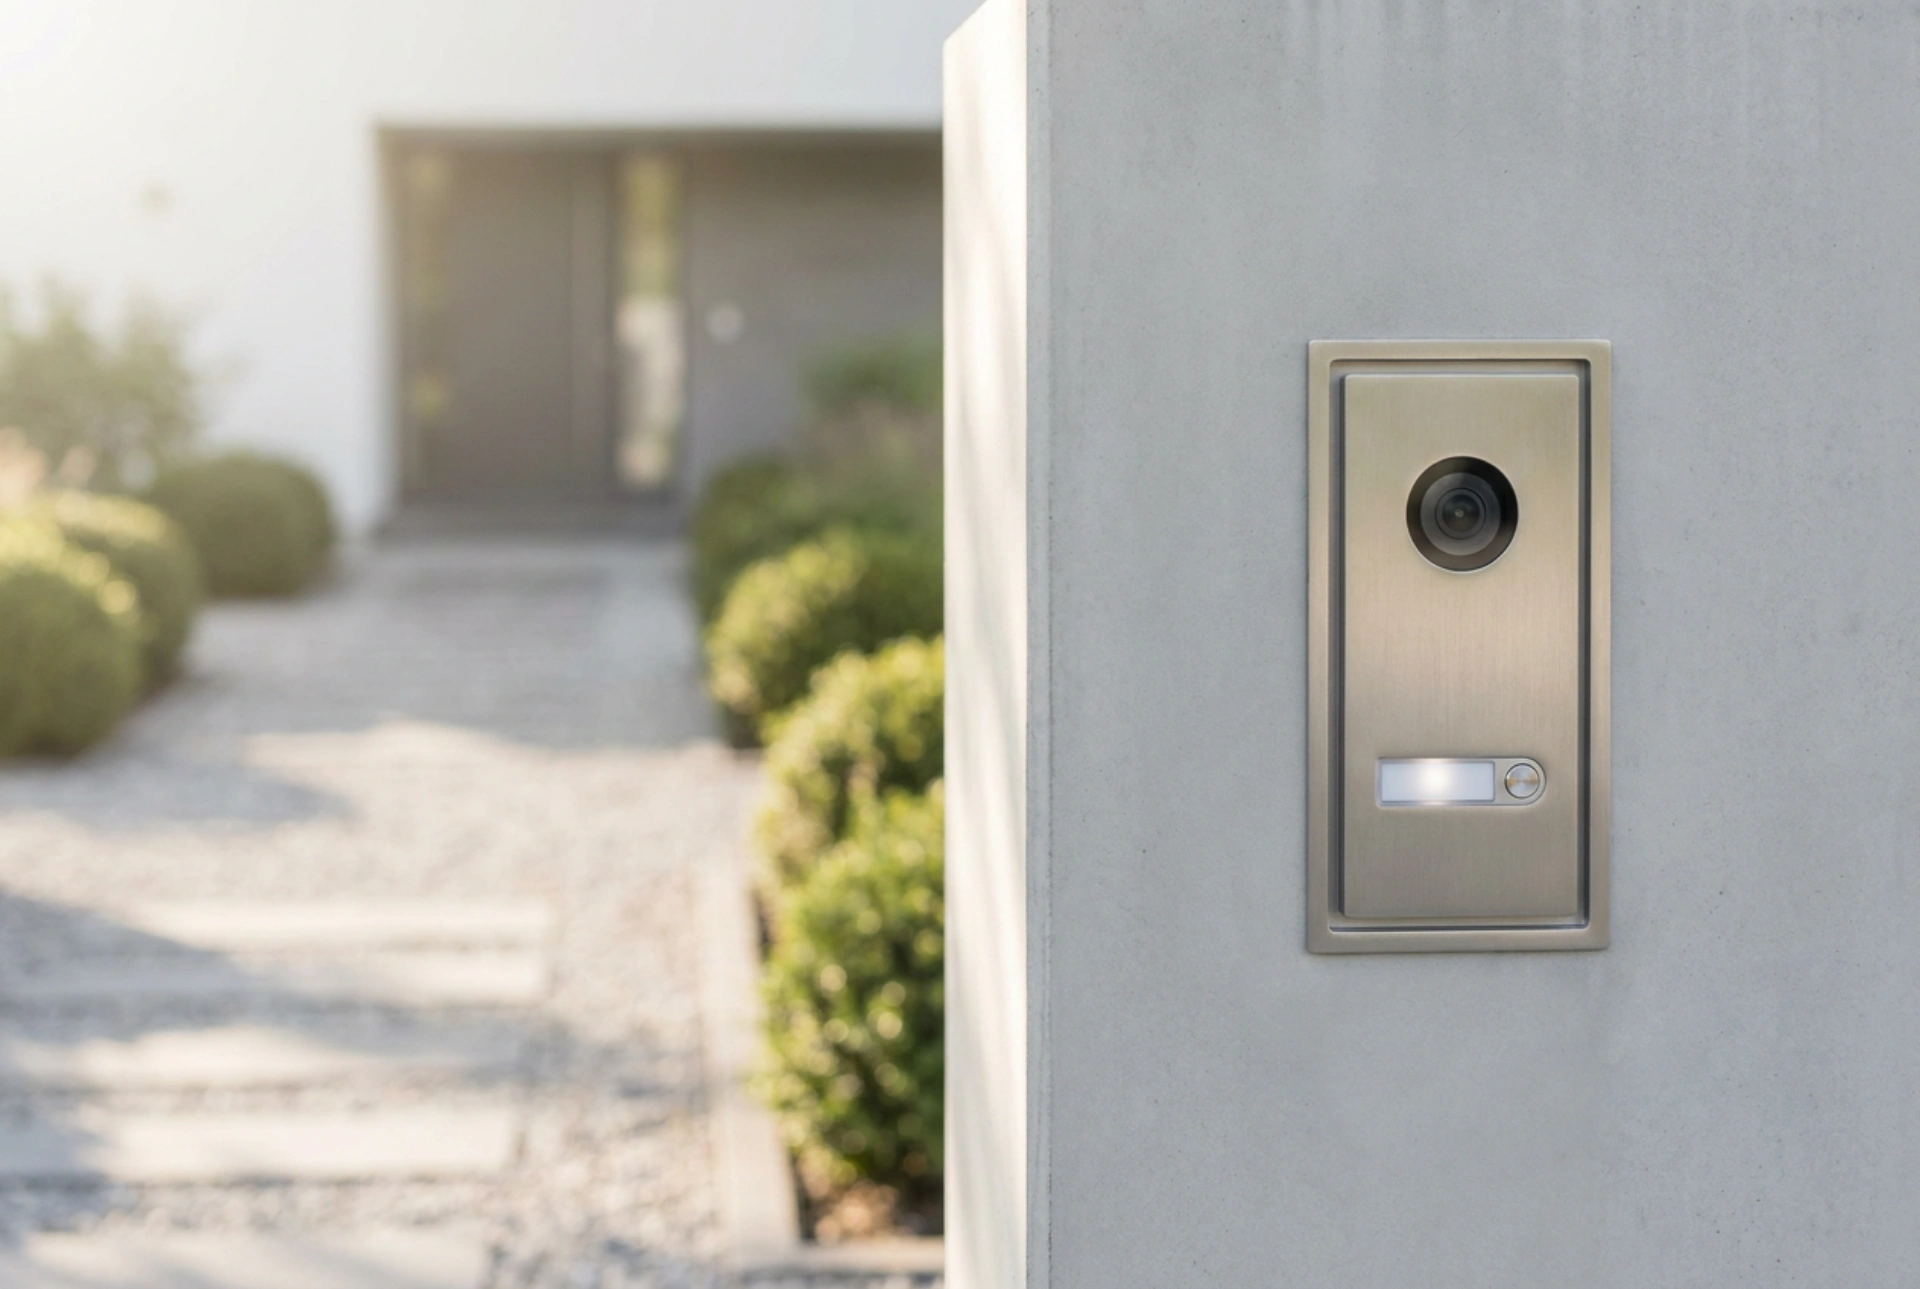


Setting up a wireless gate intercom requires a solid understanding of radio frequency propagation and environmental barriers to ensure a stable, crystal-clear connection between your gate and your home. By mastering physical placement, signal paths, and environmental protection, you can achieve professional-grade reliability without laying underground cables.
Understanding Signal Propagation and Attenuation
Wireless intercoms rely on radio waves—typically operating on the 1.9 GHz (DECT), 2.4 GHz, or 5 GHz frequency bands—to transmit audio and video data. The primary challenge in any wireless installation is attenuation, which is the loss of signal strength as it passes through obstacles. Different materials impact waves in distinct ways:
- Concrete and Brick: Heavy masonry pillars absorb high-frequency radio waves, significantly reducing range.
- Metal Gates and Fences: Solid metal acts as a reflector or a partial Faraday cage, completely blocking or bouncing signals away from the receiver.
- Foliage and Wet Trees: Water content in leaves absorbs radio energy, meaning a signal that works perfectly in winter may degrade when spring foliage appears.
To counteract attenuation, aim for a clear line of sight where possible. If you must mount the transmitter on a brick or concrete pillar, use a non-metallic spacer or bracket to offset the unit from the surface. This physical gap reduces the near-field detuning of the internal antenna, allowing the radio waves to radiate more efficiently into the open air.
Optimal Height and Angle Positioning
Physical positioning directly dictates both transmission quality and user interaction. The outdoor transmitter should be mounted at an ergonomic height of approximately 1.4 to 1.5 metres from the ground. This height aligns perfectly with the average human mouth for clear audio capture and provides an optimal field of view if the intercom includes an integrated camera.
When positioning the unit, avoid placing it directly opposite highly reflective surfaces or in areas prone to strong acoustic echo, such as narrow concrete alcoves. If the intercom is mounted next to a metal gate, ensure the antenna side of the device points away from the metal frame to prevent signal reflection. For the indoor receiver, place it away from large household appliances, microwave ovens, and wireless routers, which operate on similar 2.4 GHz frequencies and can cause electromagnetic interference.
The Pairing Process and Frequency Security
Before permanently mounting the hardware, perform a bench-test pairing. This involves placing both the transmitter and receiver on a table a few metres apart to establish the initial digital handshake. This process ensures the devices recognise each other's unique MAC addresses or security tokens without the physical barriers of the yard interfering.
Most modern wireless intercoms use digital encryption (such as AES) to secure the transmission from eavesdropping. During the pairing sequence, the devices exchange encryption keys. If your system operates on a standard Wi-Fi band, configure your router to assign a static IP address to the intercom. This prevents connection dropouts when the router periodically renews dynamic IP addresses. For non-Wi-Fi RF systems, select a clean channel with minimal local traffic to avoid interference from neighbouring garage door openers or baby monitors.
Power Management and Thermal Resilience
Because wireless intercoms do not rely on mains wiring, they are powered by internal batteries, often supplemented by a low-voltage solar panel. Battery chemistry is highly sensitive to temperature fluctuations. Standard alkaline batteries suffer from voltage drops in sub-zero temperatures because the chemical reactions inside the cell slow down. For outdoor units, always use lithium-based batteries, which maintain stable voltage output down to -40 degrees Celsius.
If utilizing a solar trickle charger, position the solar panel facing south (in the Northern Hemisphere) at an angle roughly equal to your latitude plus 15 degrees to maximise winter sun exposure. Ensure the connection terminal between the solar panel and the intercom is treated with dielectric grease to prevent oxidation from moisture.
Moisture Protection and Long-Term Maintenance
Outdoor electronics face constant exposure to humidity, rain, and temperature-induced condensation. When mounting the exterior unit, verify that the integrated rubber gaskets are seated perfectly flat within their grooves. Any twist in the silicone seal will allow capillary action to draw rainwater into the battery compartment or circuit board.
Apply a thin bead of silicone sealant around the top and sides of the mounting bracket where it meets the pillar, leaving the bottom edge open. This creates an effective watershed while allowing any internal condensation to drain freely out of the bottom. Periodically clean the microphone and speaker grilles with dry compressed air to remove dust and insect debris that can muffle sound propagation.





