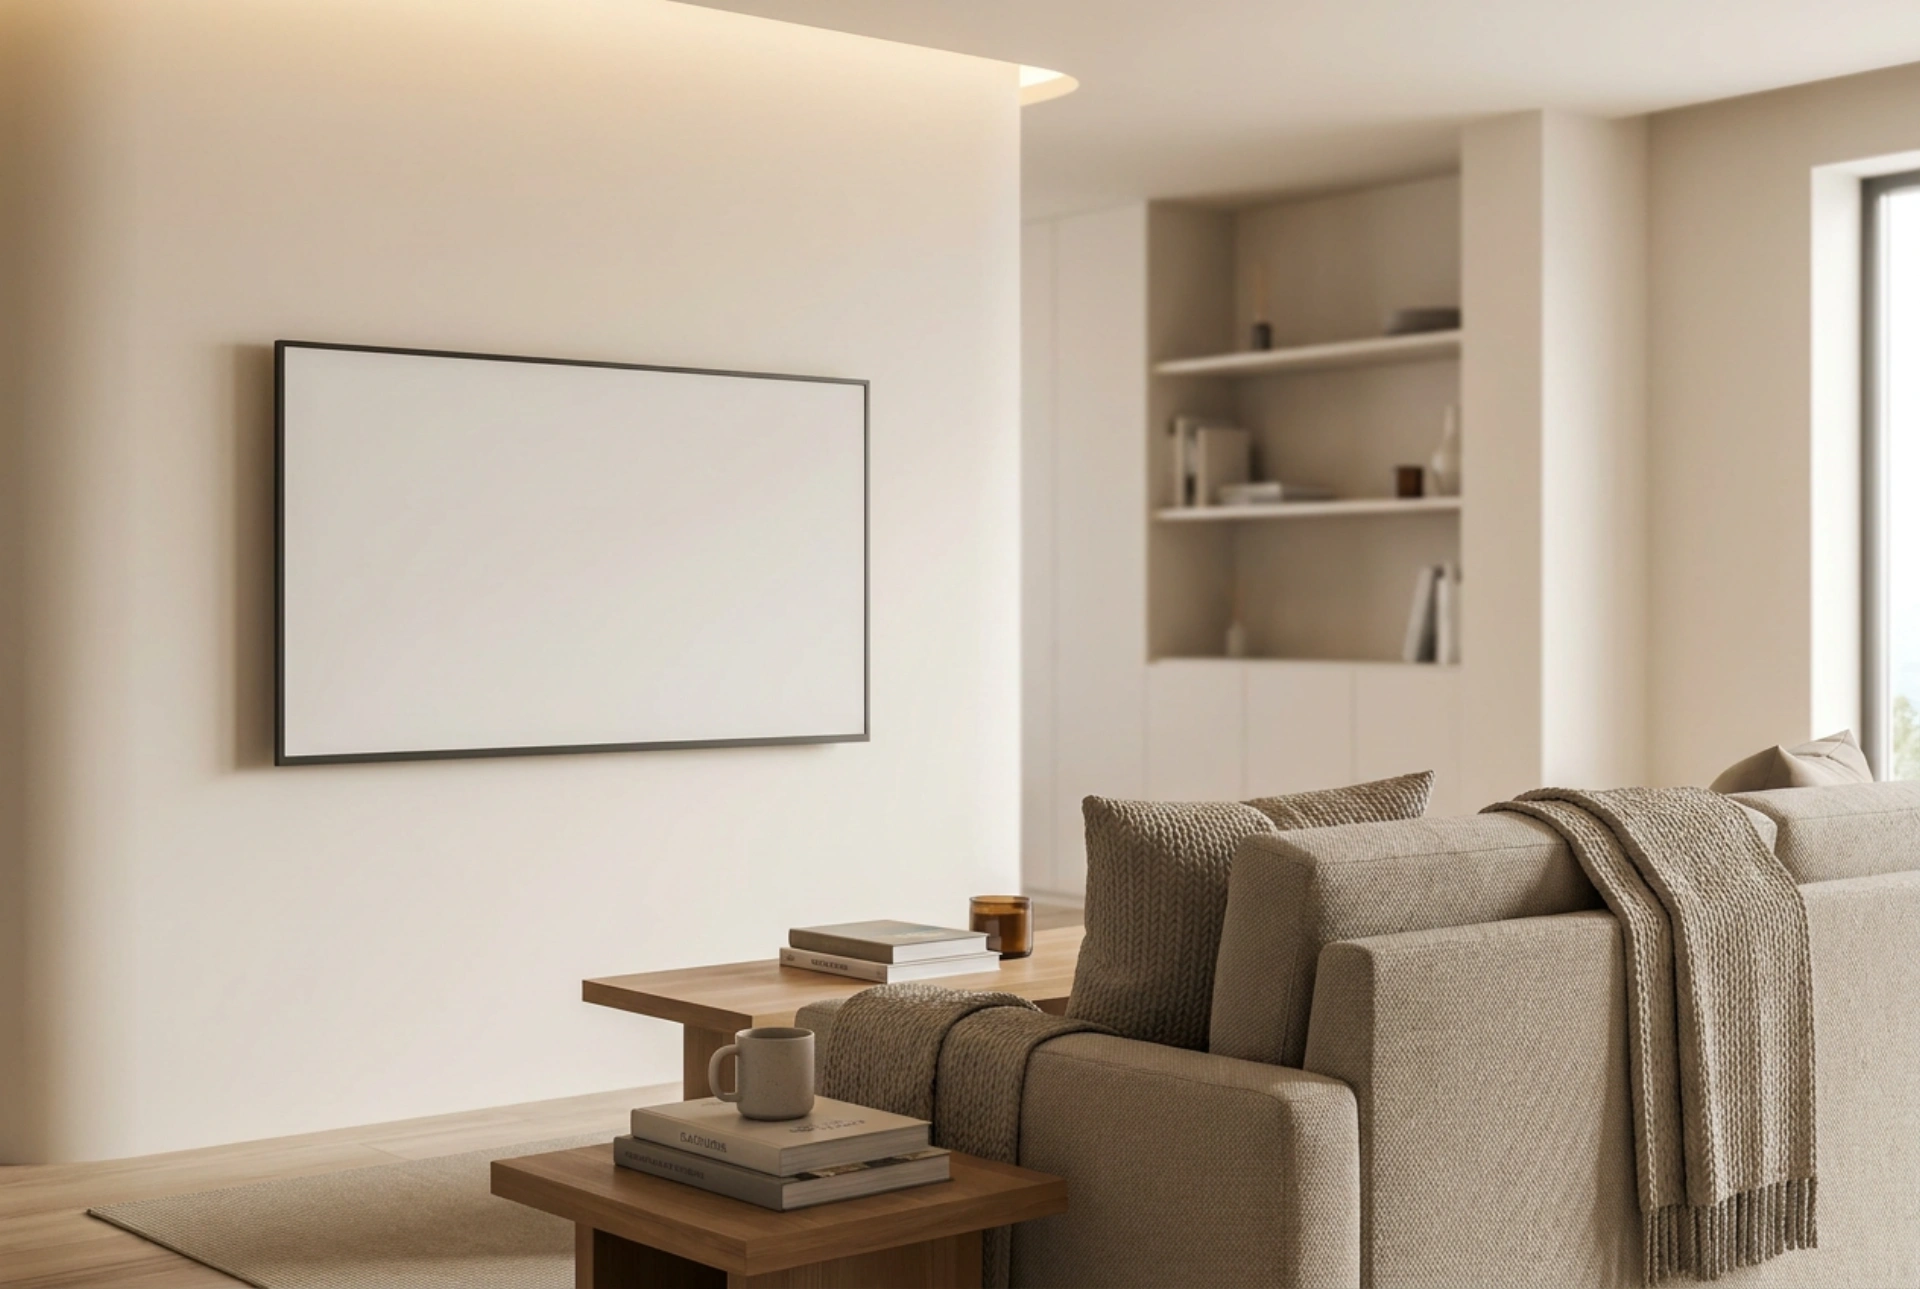


Positioning a ceiling-mounted projector screen and determining the optimal seating distance is a matter of precise optical geometry and human ergonomics rather than personal preference. Achieving a cinema-grade experience at home requires understanding how light dispersion, viewing angles, and screen dimensions interact with your living space.
The Ergonomics of Viewing Angles and Eye Strain
When installing a screen on the ceiling, the primary physical constraint is the vertical viewing angle. According to established cinematic standards, such as those from the Society of Motion Picture and Television Engineers (SMPTE), your eyes should naturally align with the top third of the projected image. The maximum vertical gaze angle should not exceed 15 to 20 degrees from the horizontal plane to prevent neck fatigue and strain on the extraocular muscles.
A screen mounted too high forces viewers to tilt their heads backward, leading to physical discomfort over extended periods. Therefore, when utilizing a ceiling-recessed or ceiling-mounted casing, the screen must feature a sufficient black drop—the dark, non-reflective material at the top of the screen—to lower the active viewing area to an ergonomically sound height.
Calculating the Optimal Seating Distance
Seating distance is directly proportional to the horizontal width of the screen, governed by human visual acuity and the resolution of the projector. To determine the ideal placement of your sofa, you must calculate the visual field angle. For a standard 1080p high-definition projector, a viewing angle of roughly 30 degrees is recommended, which translates to a seating distance of approximately 1.5 to 2 times the width of the screen. For 4K resolution, where individual pixels are practically invisible to the human eye even at closer range, you can sit closer, targeting a 40-degree field of view, which equates to roughly 1.2 to 1.5 times the screen width.
- 100-inch Screen (approx. 2.2m width): Ideal seating distance ranges between 3.3 and 4.4 metres for 1080p, and 2.6 to 3.3 metres for 4K.
- 120-inch Screen (approx. 2.7m width): Ideal seating distance ranges between 4.0 and 5.4 metres for 1080p, and 3.2 to 4.0 metres for 4K.
Sitting too close to a lower-resolution projection results in "screen-door effect," where the grid pattern of the pixels becomes visible, while sitting too far reduces the immersive impact and makes fine details or subtitles difficult to resolve.
Throw Ratio, Lens Shift, and Geometric Distortion
The relationship between the projector, the ceiling screen, and the seating is also dictated by the projector’s optical lens system. Every projector has a specific throw ratio, which is the ratio of the distance from the lens to the screen to the width of the screen. You must ensure that the projector can throw an image that perfectly fills the screen from its mounted position behind or above the sofa.
Furthermore, because a ceiling-mounted projector sits high above the center of the screen, the light path is naturally angled downward. This projection angle causes geometric distortion known as keystoning, where the image appears wider at the bottom than the top. While digital keystone correction can digitally square the image, it does so by scaling and disabling active pixels, which reduces overall resolution, brightness, and sharpness. To maintain pixel-perfect fidelity, rely instead on physical lens shift—an optical adjustment that moves the lens assembly vertically within the projector housing without tilting the unit itself.
Screen Fabric Physics: Gain and Ambient Light
The material composition of your ceiling screen dictates how light behaves when it hits the surface. Screen gain is a measurement of the reflectivity of the fabric compared to a standard barium sulfate whiteboard. A gain of 1.0 reflects light equally in all directions (isotropic diffusion), offering wide viewing angles, making it perfect for wide sofa arrangements. High-gain screens (above 1.2) focus the light into a narrower cone toward the center of the room, which increases brightness for viewers seated directly in front of the screen but causes "hotspotting" and dimming for those seated at the ends of the sofa.
If your room has ambient light, a matte white screen will wash out easily. In these environments, an Ambient Light Rejecting (ALR) screen is necessary. ALR screens use microscopic physical structures or optical filters to redirect off-axis light (such as light from windows or ceiling lamps) away from the viewer’s eyes, while reflecting the targeted light from the projector straight toward the sofa.
Step-by-Step Calibration Procedure
To execute this setup without error, follow a logical physical sequence before committing to permanent installations:
- Determine screen size: Select a screen size that fits comfortably on your wall and complies with the physical constraints of your room's ceiling height.
- Calculate sofa placement: Apply the multiplier (e.g., 1.5x screen width) to establish the position of the seating area.
- Verify projector throw: Place the projector at its calculated throw distance to ensure the image matches the screen's active area.
- Adjust the height: Adjust the ceiling mount drop length so that the bottom third of the projected image sits at eye level when seated.





