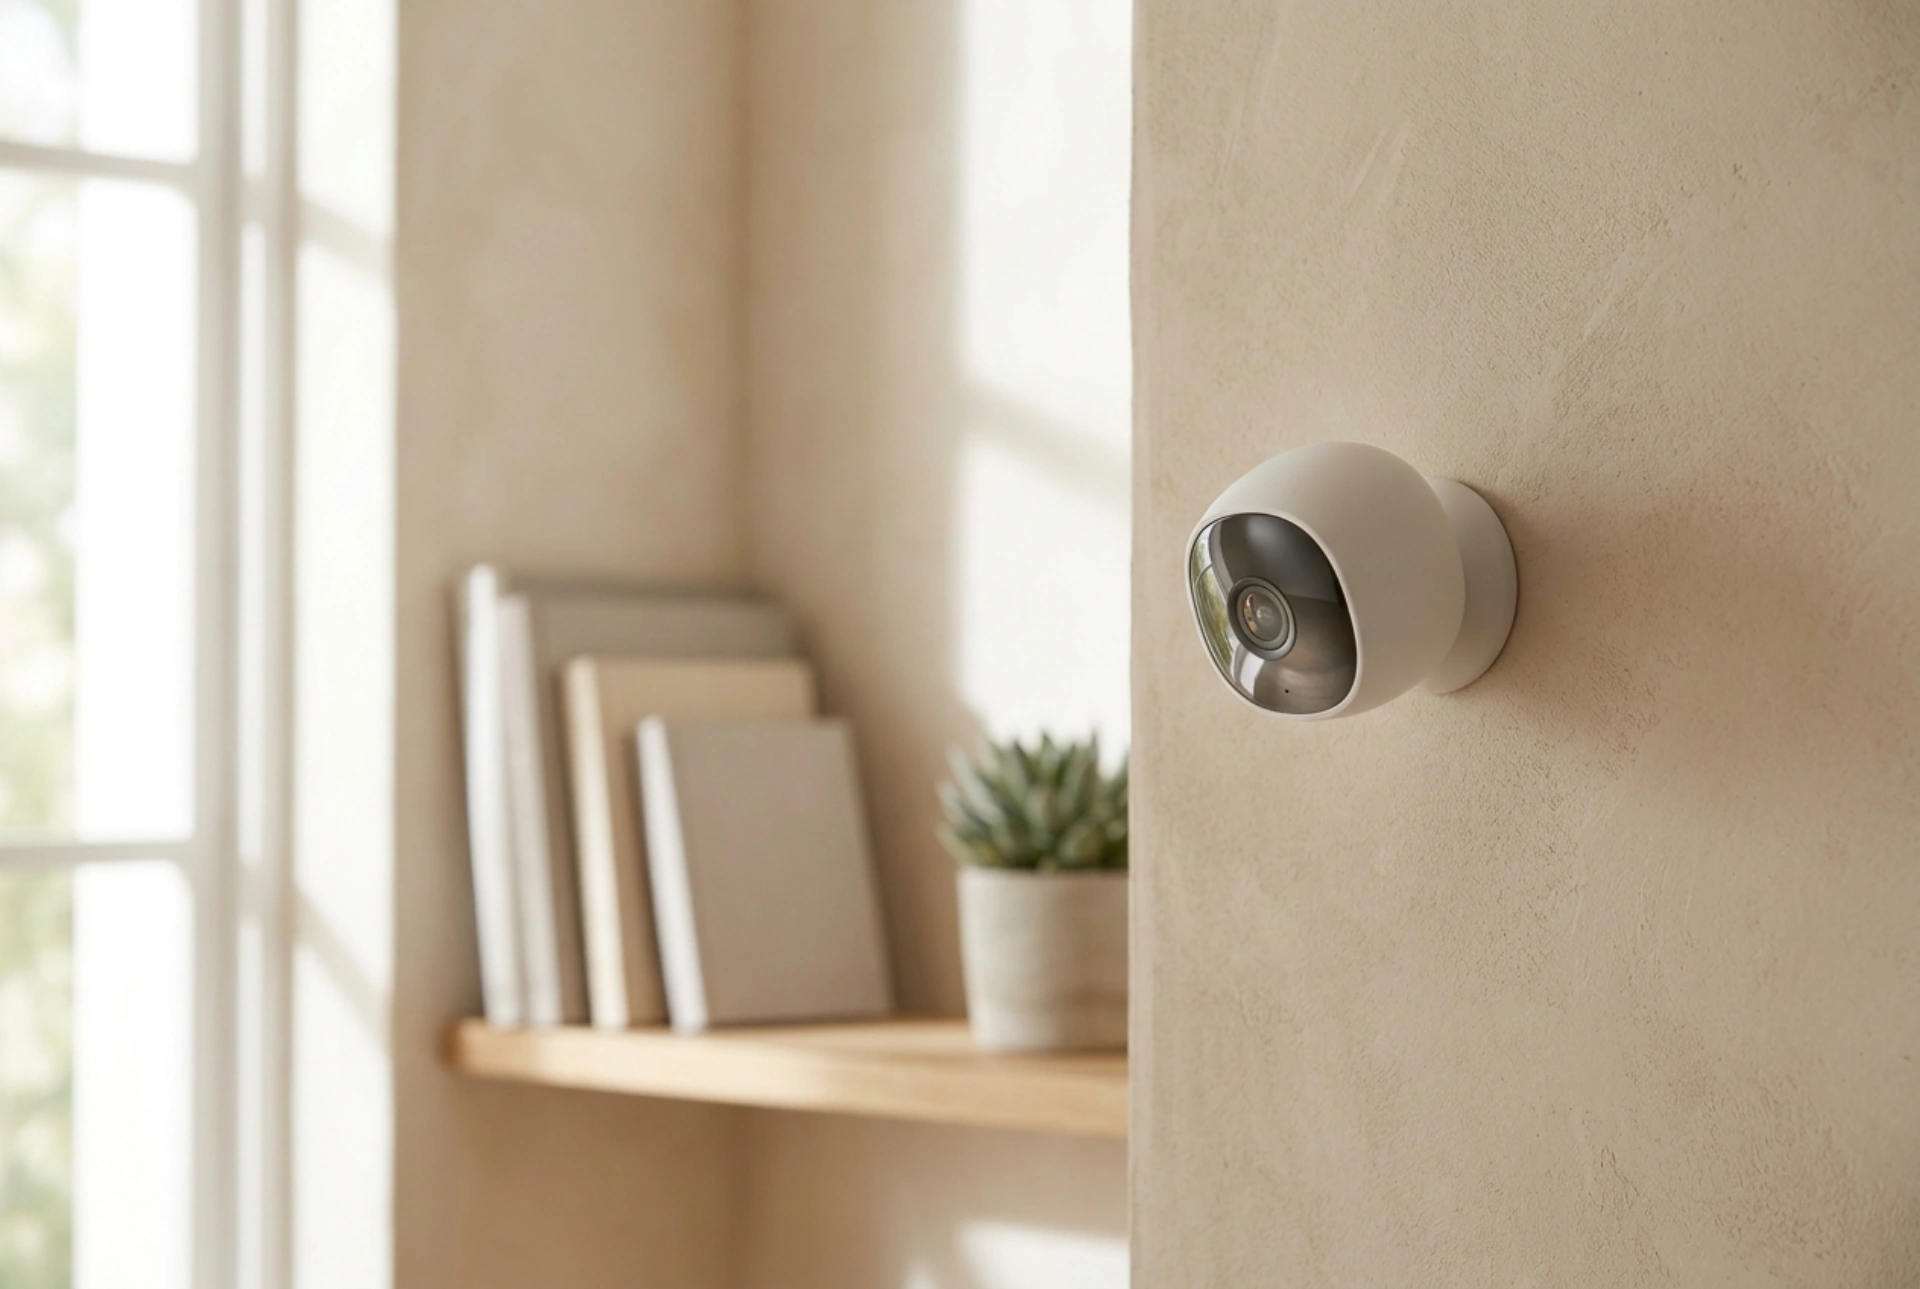


Configuring motion-activated recording on a home security camera ensures that you capture critical events without wasting storage space or bandwidth on hours of empty footage. Achieving a reliable setup requires understanding the physical mechanisms of detection and systematically calibrating your device parameters.
Understanding Detection Technologies: PIR vs. Optical Pixel Analysis
Before adjusting software settings, you must identify which detection technology your camera uses, as this dictates how the device perceives movement. Most modern home cameras rely on either Passive Infrared (PIR) sensors or software-based pixel analysis. PIR sensors detect changes in infrared radiation (heat signatures) within their field of view. When a warm body, such as a human or a large animal, crosses the sensor's zones, the sudden differential in thermal energy triggers the recording. This physical mechanism is highly effective because it ignores inanimate movement like swaying tree branches or drifting shadows.
In contrast, software-based optical detection continuously monitors the video feed, comparing consecutive frames at a pixel level. When a predefined percentage of pixels changes colour or brightness between frames, the software registers motion. While highly sensitive, optical detection is prone to false triggers from shifting sunlight, headlights, or heavy rain. Knowing your camera's underlying technology allows you to adjust settings based on physical realities rather than trial and error.
Optimising Camera Placement to Prevent False Triggers
Physical positioning is the foundation of accurate motion detection. If your camera relies on optical pixel analysis, placing it behind a glass window pane will render it highly unreliable. Glass reflects infrared light from the camera’s own night-vision LEDs back into the lens, causing a blinding glare that blocks actual motion. Furthermore, double-glazed windows block the thermal radiation required by PIR sensors entirely, preventing them from detecting any movement outside.
To maximise efficiency, mount the camera at an angle of 15 to 20 degrees downward. This positioning ensures that subjects cross the sensor's path laterally rather than walking directly toward the lens. PIR sensors are significantly more sensitive to objects moving across their field of view than those moving directly towards them, as lateral movement crosses multiple thermal zones rapidly, generating a stronger trigger signal.
Calibrating Sensitivity and Defining Activity Zones
Once the physical installation is complete, navigate to your camera's configuration interface to adjust the digital parameters. The two most critical settings are sensitivity and activity zones. The sensitivity slider determines the threshold of change required to trigger a recording. A setting that is too high will record every passing insect or dust particle, while a setting that is too low may miss slower-moving human activity. Start at a medium value and adjust incrementally based on test walks.
Activity zones allow you to mask out areas of the frame that experience constant, non-critical movement. In the camera's setup interface, use the grid tool to deselect areas containing busy roads, swaying trees, or public footpaths. By confining the detection grid strictly to your private property, such as a driveway or doorway, you eliminate the vast majority of false alerts and focus the processor solely on relevant sectors.
Configuring Recording Buffers and Cooldown Times
To ensure you do not miss the moments immediately leading up to an event, configure the pre-record buffer if your system supports continuous internal memory caching. The pre-record mechanism continuously saves a rolling 3 to 5 seconds of video to a temporary volatile memory buffer. When motion is detected, this buffered footage is appended to the start of the saved file, capturing the complete sequence of events from the very beginning.
Additionally, adjust the post-record duration and detection cooldown. The post-record setting dictates how long the camera continues to write to storage after motion ceases; setting this to 15 to 30 seconds ensures that pauses in action do not split a single event into multiple fragmented clips. The cooldown timer, or detection interval, prevents the camera from triggering repeatedly within a short window, conserving battery power in wireless units and reducing notification fatigue.





